e-STUDIO2330C/2820C/2830C/3520C/3530C/4520C
© 2008 TOSHIBA TEC CORPORATION All rights reserved
2-53
Procedures
* You can start with any of the procedures. But it is recommended to perform the procedures in order, as listed
below. You can use one procedure in conjunction with another. But if this changes the image quality more
than required or loses the effectiveness of the adjustment, restore the settings made in the previously used
procedure to the original ones. Then use other procedures.
* Both the service technician and the user can use procedures (1) and (3).
* Only the service technician must use procedures (2) and (4).
(1) Press the [IMAGE] button on the Control Panel. Press the [ONE TOUCH ADJUSTMENT] button.
Press the [MARKER] button.
After selecting the "Marker" option, copy and check the copy image quality.
When the copy image quality with the "Marker" option is insufficient, cancel the "Marker" option and use
the next procedure.
(The one-touch adjustment can be canceled by pressing the [ONE TOUCH ADJUSTMENT] button again.)
(2) Enter adjustment mode [05]. Change the value for code [1769] to adjust the tint of colors in Marker mode.
[05] code
Subcode
Acceptable value range
Default
05-1769
0 to 5
0 to 6
3
* Set the value in increments of approximately 1, while checking the copy image until the optimum value is
obtained.
* The subcode varies according to the color where the adjustment is performed. Refer to the table below and
set the subcode for the color to be adjusted.
Subcode
Color to adjust
0 Y
(Yellow)
1 M
(Magenta)
2 C
(Cyan)
3 R
(Red)
4 G
(Green)
5 B
(Blue)
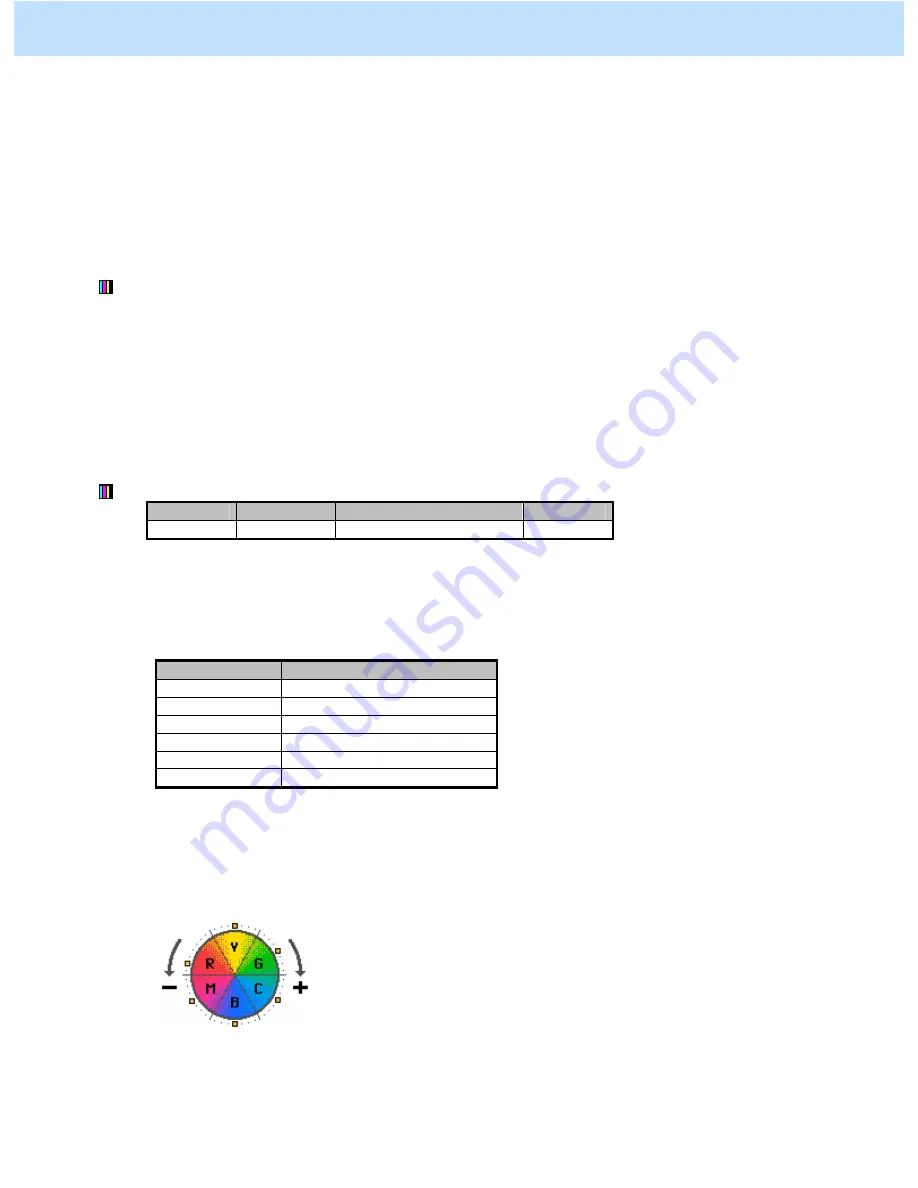
* Setting a value larger than the default value moves the hue of the color selected to [+] as shown below. On
the other hand, setting a value smaller than the default value moves it to [-].
(For instance, set 6 for R (Red). Then the tint of the red is closely matched with that of Y (Yellow). Set 0
for R (Red). Then the tint of the red will be closely matched with that of M (Magenta).
After adjusting the hue, copy and check the copy image quality.
If further image quality adjustments are still necessary, use the next procedure.
2. Copier-specific Adjustments


