2
E
r
r
o
r
!
B
o
o
k
m
a
r
k
n
o
Configuring the Instrument
2-15
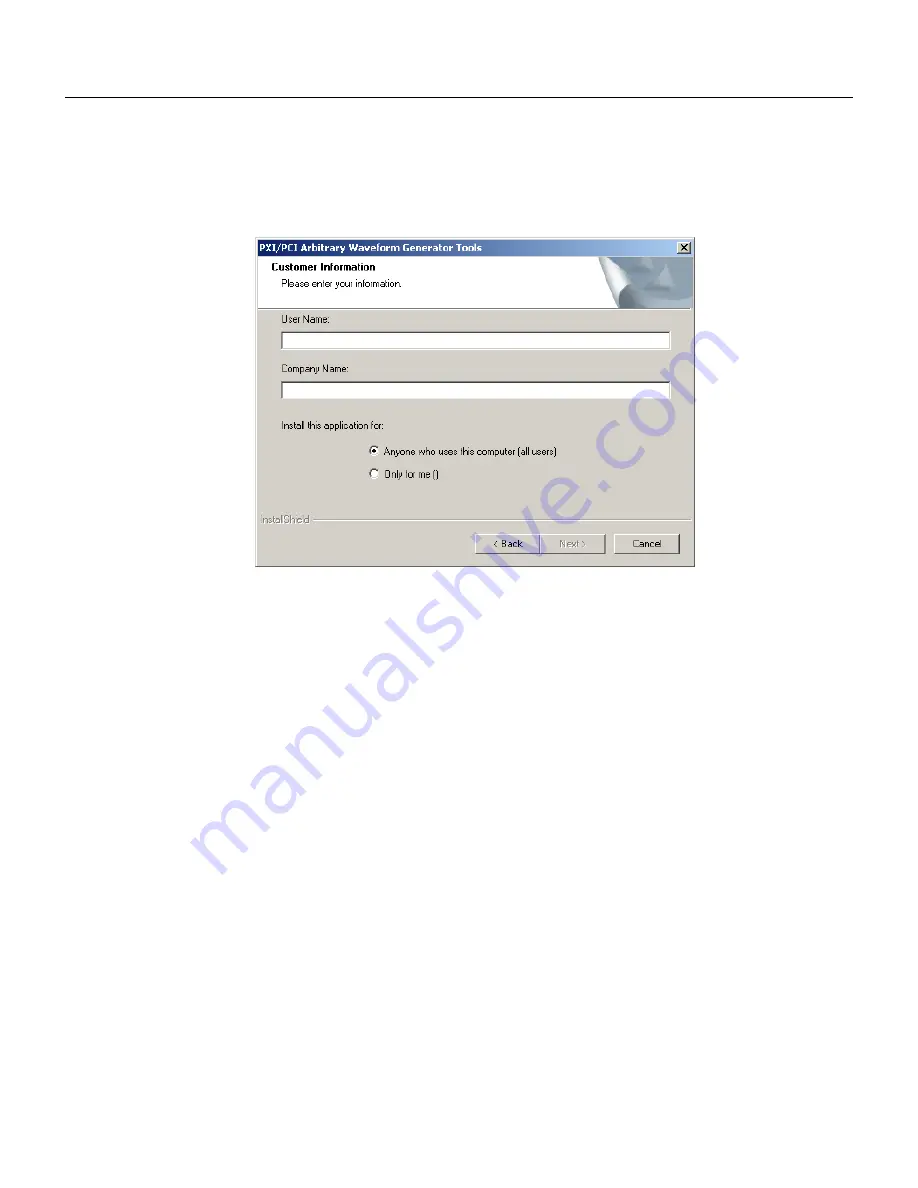
Press Next and type the customer details at the “Customer
I
nformation” Window, as shown in Figure 2-10.
Figure
2-10
– Customer Information Step
After typing the customer details press Next and select the Setup
Type. You can select from three options: 1) Select 5251 if you
purchased and are installing the 5251, or 2) Select Custom if you
are an advanced user and want to refine your installation process.
We recommend that you install using option above and complete
the installation process by clicking on the Next button and then
Finish. If you select the Custom option, then you’ll have to type in
some other parameters such as new path for your destination folder
and choosing which feature to install, as shown in Figures 2-11.
Содержание 5251
Страница 17: ...List of Figures continued xiv...
Страница 35: ...TE5251 User Manual 1 18 This page was intentionally left blank...
Страница 37: ...TE5251 User Manual 2 2...
Страница 134: ...TE5251 User Manual 3 82 Figure 3 62 Log File Example...
Страница 222: ...TE5251 User Manual 4 88 This page was left intentionally blank...
Страница 258: ...TE5251 User Manual 5 36 This page was intentionally left blank...
Страница 288: ...TE5251 User Manual 6 30 This page was intentionally left blank...
Страница 289: ...1 Appendices Appendix Title Page A Specifications A 1...
Страница 290: ...TE5251 User Manual 2...


