SP LINK | Using SP LINK
6
|
Doc #OI0005 Rev26 2020
SP PRO Fast Setup
To quickly set your newly installed SP PRO and start producing power, follow the steps below.
STEP 1:
Download the latest version of SP LINK from
www.selectronic.com.au
and install on your PC
STEP 2:
Connect your SP PRO to the computer using the supplied USB cable.
STEP 3:
Turn on the battery power to the SP PRO and wait 30 seconds for the front LEDs to light up.
STEP 4:
Start SP LINK on your Computer.
STEP 5:
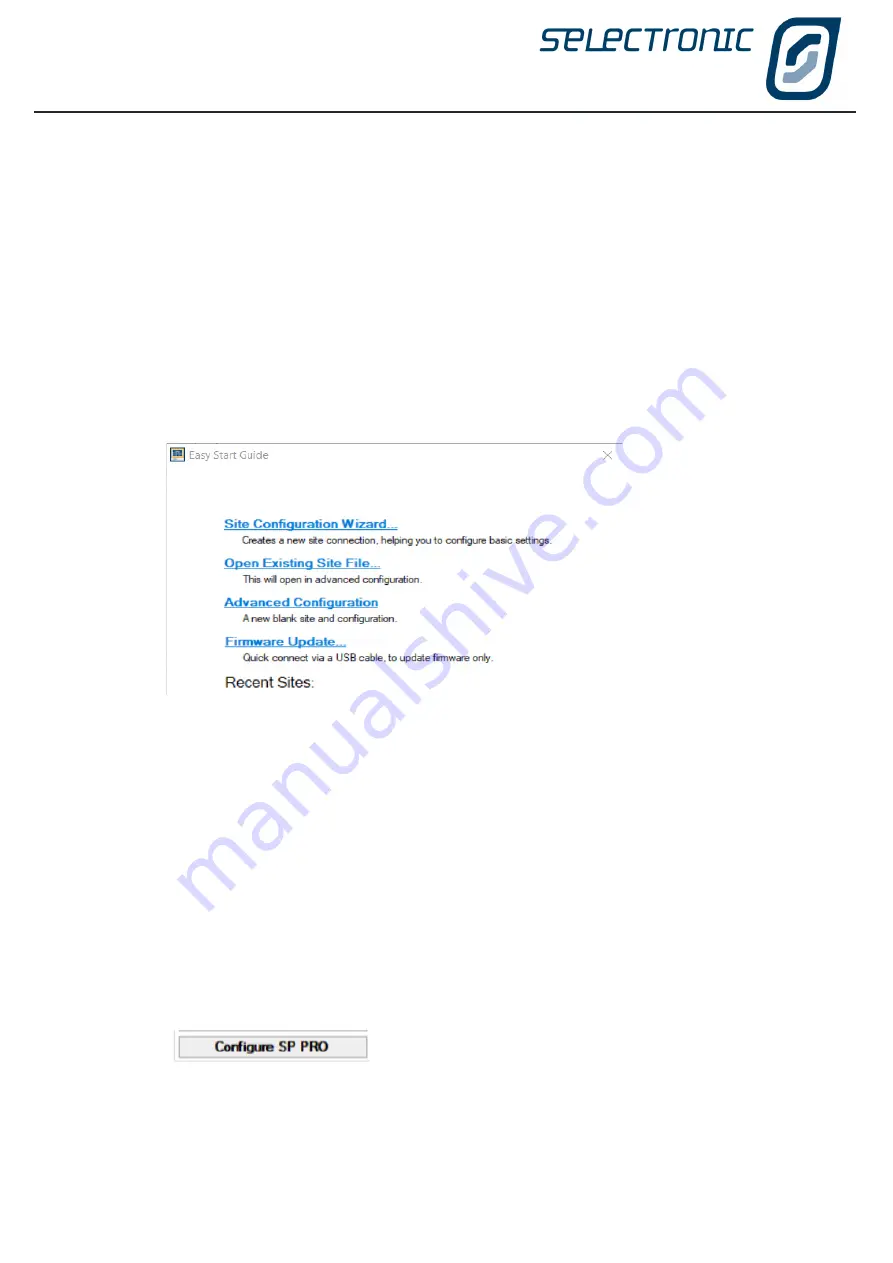
Select “Firmware Update” being the forth entry in the easy start guide. Follow instructions to
update the SP PRO firmware.
STEP 6:
Return to the easy start guide and select “Site Configuration Wizard” being the first entry.
STEP 6:
Follow the steps in the Site Configuration Wizard to create a configuration for the SP PRO.
STEP 7:
Review the Summary of Settings screen to ensure your newly created configuration details
are correct.
STEP 8:
When the wizard is complete you will be at the Connection Settings tab. Click Connect.
STEP 9:
You will be prompted to save your newly configured site and configuration. Once this is done
SP LINK will connect to your inverter.
STEP 10:
Click “Configuration Settings” Tab
STEP 6:
Click
button and enter Settings passcode 74 when prompted.
See the next section for more detailed setup information.
Содержание SP PRO 2i Series
Страница 1: ...Instruction Manual for SP LINK Configuration and monitoring for SP PRO series 2i ...
Страница 31: ...SP LINK Using SP LINK Doc OI0005 Rev26 2020 31 Blank Page ...
Страница 91: ...SP LINK Performance Monitoring Doc OI0005 Rev26 2020 91 BLANK PAGE ...
Страница 97: ...SP LINK Service Settings Doc OI0005 Rev26 2020 97 Blank Page ...


