SP LINK | Using SP LINK
20
|
Doc #OI0005 Rev26 2020
Configuring the SP PRO
To avoid unexpected operation, the SP PRO is prevented from turning on until a configuration
setting has been saved by clicking “Configure SP PRO”. The ON LED on the front panel will flash
red until the SP PRO has been configured for the first time or after a reset to factory defaults.
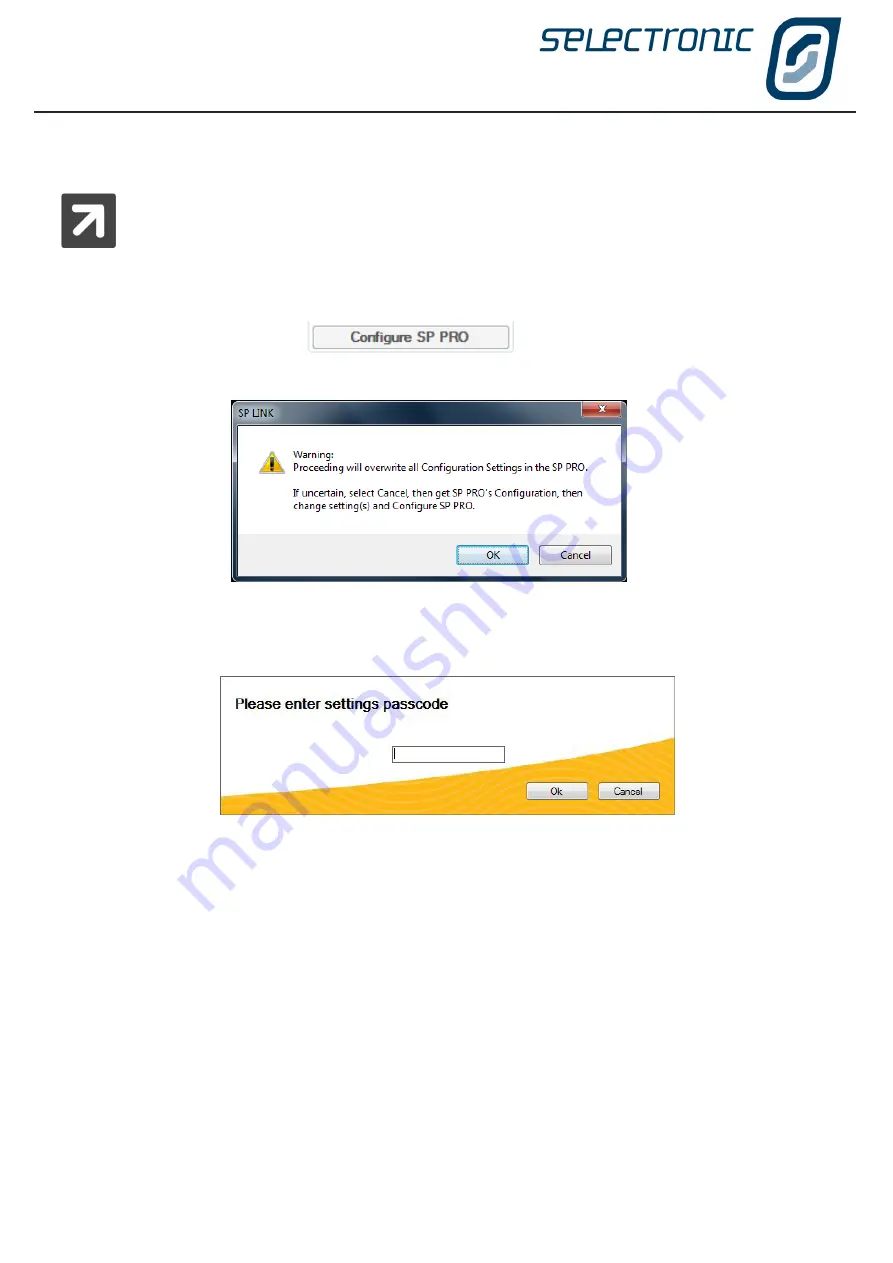
With SP LINK connected to the SP PRO, Click “Configure SP PRO” from the File - Configuration Settings menu
or the button on the Configuration Setting page.
SP LINK will - unless “Configure SP PRO” has just been performed - warn that all settings will be overwritten.
For security purposes, to ensure no-one can tamper with the SP PRO configuration settings, you will now
be asked to enter the passcode. This passcode will remain active for five minutes or until the SP PRO is
disconnected and will not need to be re-entered until then.
The default passcode is 74, however you can alter this if you wish. We will cover altering the passcode when
we get to “Service Settings”.
Once you have entered the passcode click “OK”
SP LINK will verify passcode and configure the SP PRO with these changes.
SP LINK will indicate if for any reason the Configuration was unsuccessful.
You have now transferred all the Configuration Settings shown in SP LINK into the SP PRO. The settings take
immediate effect and can be performed with the SP PRO fully operational.
Содержание SP PRO 2i Series
Страница 1: ...Instruction Manual for SP LINK Configuration and monitoring for SP PRO series 2i ...
Страница 31: ...SP LINK Using SP LINK Doc OI0005 Rev26 2020 31 Blank Page ...
Страница 91: ...SP LINK Performance Monitoring Doc OI0005 Rev26 2020 91 BLANK PAGE ...
Страница 97: ...SP LINK Service Settings Doc OI0005 Rev26 2020 97 Blank Page ...


