G A L A X Y N A S L X 5 C O N F I G U R A T I O N A N D S Y S T E M I N T E G R A T I O N G U I D E
28
Section 2 Basic Setup
Note: For more console based management tools, see ‘ Functions of the console
display’.
2.3 Remote Administration
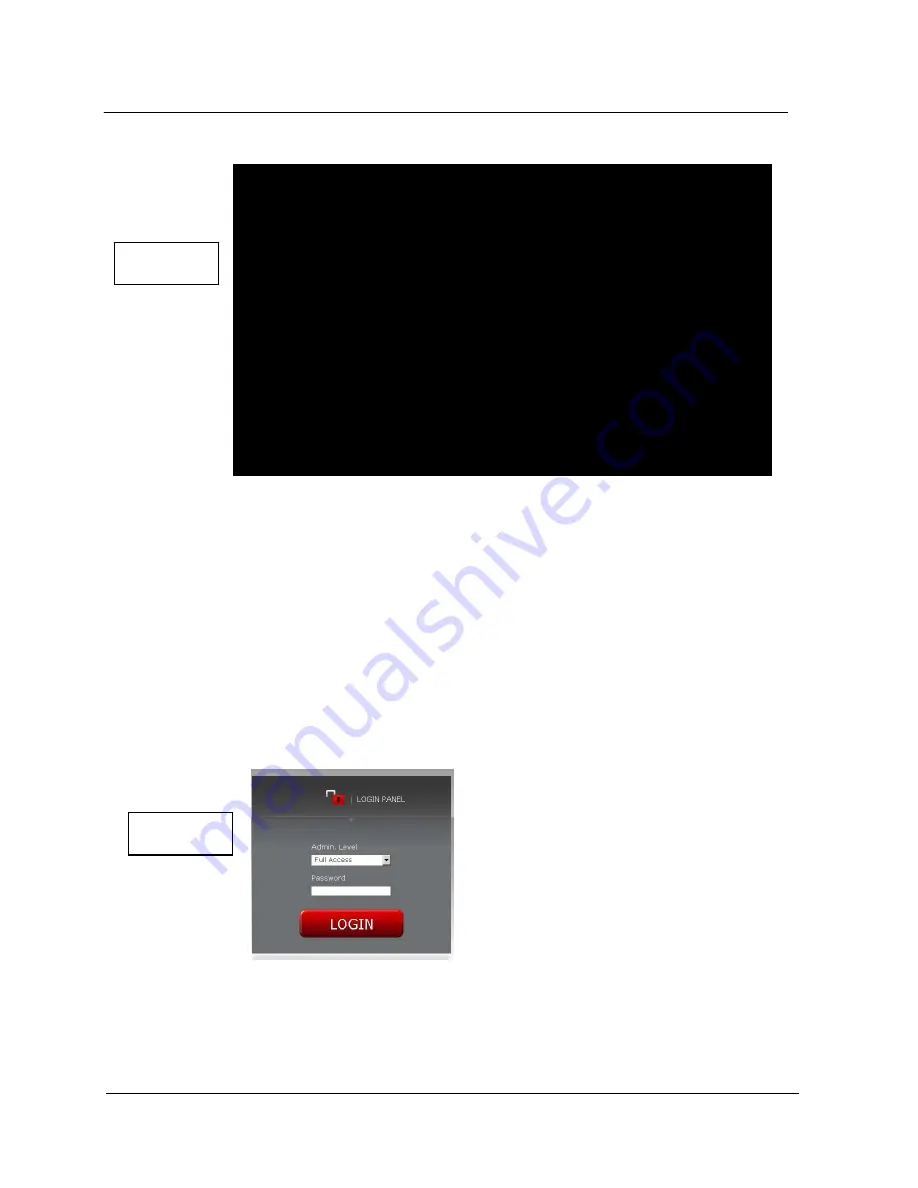
2.3.1 Logging into the Galaxy NAS LX5 Figure 2.5
Disconnect the display and keyboard from the NAS and continue with the configuration over Ethernet.
Connect to the Galaxy NAS LX5 via a network using any standard browser by typing the IP address
into the URL entry line: https://192.168.0.220 or the assigned DHCP IP address. Log into the Galaxy
NAS LX5 with ‘full privileges’ using the standard password:
galaxynas
. See figure 2.5
Note: The password
galaxynas
is case sensitive. Also note that the Galaxy NAS LX5
uses SSL so the URL entry starts with ‘https://’
Figure 2.5
elp
You can use below key sequences (C-means ‘Left Ctrl’,A-‘Left Alt’):
C-A-N – to edit static IP addresses
C-A-P – to restore default factory administrator settings
C-A-I – to restore default factory IP configuration
C-A-T – to run Console Tools
C-A-X – to run Extended Tools
C-A-W – to run Hardware Configuration
C-A-R - to run CLI Management Tool for RAID controller
C-A-F - to run CLI Management Tool for Fibre Channel controller
C-A-H – to display hardware and drivers info
F2
- to display all network interface
F5
– to refresh console info
C-A-S – to shutdown the system
Figure 2.4


