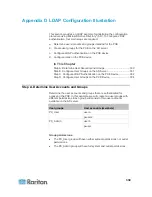
Appendix D: LDAP Configuration Illustration
332
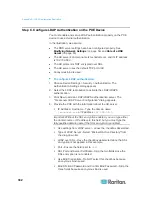
Step C. Configure LDAP Authentication on the PXE Device
You must enable and set up LDAP authentication properly on the PXE
device to use external authentication.
In the illustration, we assume:
The DNS server settings have been configured properly. See
Modifying Network Settings
(on page 56) and
Role of a DNS
Server
(on page 63).
The AD server's domain name is
techadssl.com
, and its IP address
is
192.168.56.3
.
The AD protocol is NOT encrypted over SSL.
The AD server uses the default TCP port
389
.
Anonymous bind is used.
To configure LDAP authentication:
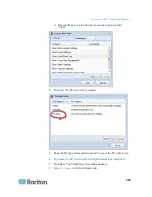
1. Choose Device Settings > Security > Authentication. The
Authentication Settings dialog appears.
2. Select the LDAP radio button to activate the LDAP/LDAPS
authentication.
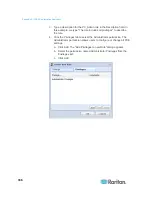
3. Click New to add an LDAP/LDAPS authentication server. The
"Create new LDAP Server Configuration" dialog appears.
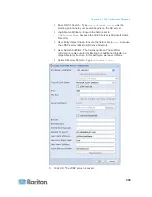
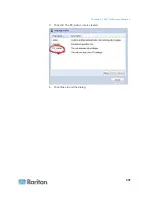
4. Provide the PXE with the information about the AD server.
IP Address / Hostname - Type the domain name
techadssl.com
or IP address
192.168.56.3
.
Important: Without the SSL encryption enabled, you can type either
the domain name or IP address in this field, but you must type the
fully qualified domain name if the SSL encryption is enabled.
Use settings from LDAP server - Leave the checkbox deselected.
Type of LDAP Server - Select "Microsoft Active Directory" from
the drop-down list.
LDAP over SSL - Have the checkbox deselected since the SSL
encryption is not applied in this example.
Port - Ensure the field is set to
389
.
SSL Port and Server Certificate - Skip the two fields since the
SSL encryption is not enabled.
Use Bind Credentials - Do NOT select this checkbox because
anonymous bind is used.
Bind DN, Bind Password and Confirm Bind Password -- Skip the
three fields because anonymous bind is used.
Содержание PXE
Страница 1: ...Copyright 2014 Raritan Inc PXE 0C v3 0 E August 2014 255 80 0008 00 Raritan PXE User Guide Release 3 0...
Страница 12: ...Contents xii To Assert and Assertion Timeout 352 To De assert and Deassertion Hysteresis 354 Index 357...
Страница 16: ......
Страница 50: ...Chapter 5 Using the PDU 34 4 Pull up the operating handle until the colorful rectangle or triangle turns RED...
Страница 200: ...Chapter 6 Using the Web Interface 184 10 To print the currently selected topic click the Print this page icon...
Страница 339: ...Appendix A Specifications 323 RS 485 Pin signal definition al 4 5 6 D bi direction al Data 7 8...
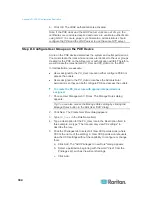
Страница 353: ...Appendix D LDAP Configuration Illustration 337 5 Click OK The PX_Admin role is created 6 Click Close to quit the dialog...
Страница 380: ...Index 364 Z Zero U Products 1...
Страница 381: ......

