


7 Operation
C-863.12 Mercury Controller
MS249E
Version: 1.2.1
91
7.6.3
Controlling Axis Motion
PIMikroMove is used in the following to activate joystick control for the positioner. It is not
necessary to know the corresponding GCS commands.
NOTICE
Unintentional motion while activating the joystick!
If no joystick is connected to the C-863.12, activating the joystick in the software can cause
unintentional motion of the axis connected.
➢
Activate the joystick in the software only if a joystick is actually connected to the C-863.12.
INFORMATION
The use of macros provides a wide range of application possibilities for joystick control. In
particular, the joystick button can be used in macros for a wide variety of applications. Details
and examples of macros are found in "Controller Macros" (p. 97).
INFORMATION
The C-863.12 supports one logical axis and is therefore normally used with positioners that
only have one motion axis. In this case, the designation "axis" is synonymous with "positioner".
Therefore, no distinction is made between "positioner" and "axis" in the following operational
instructions.
Requirements
✓
You have started operation of the positioner (p. 62) and initial motion with
PIMikroMove.
✓
You have connected a joystick to the C-863.12 (p. 47).
Controlling axis motion via a joystick
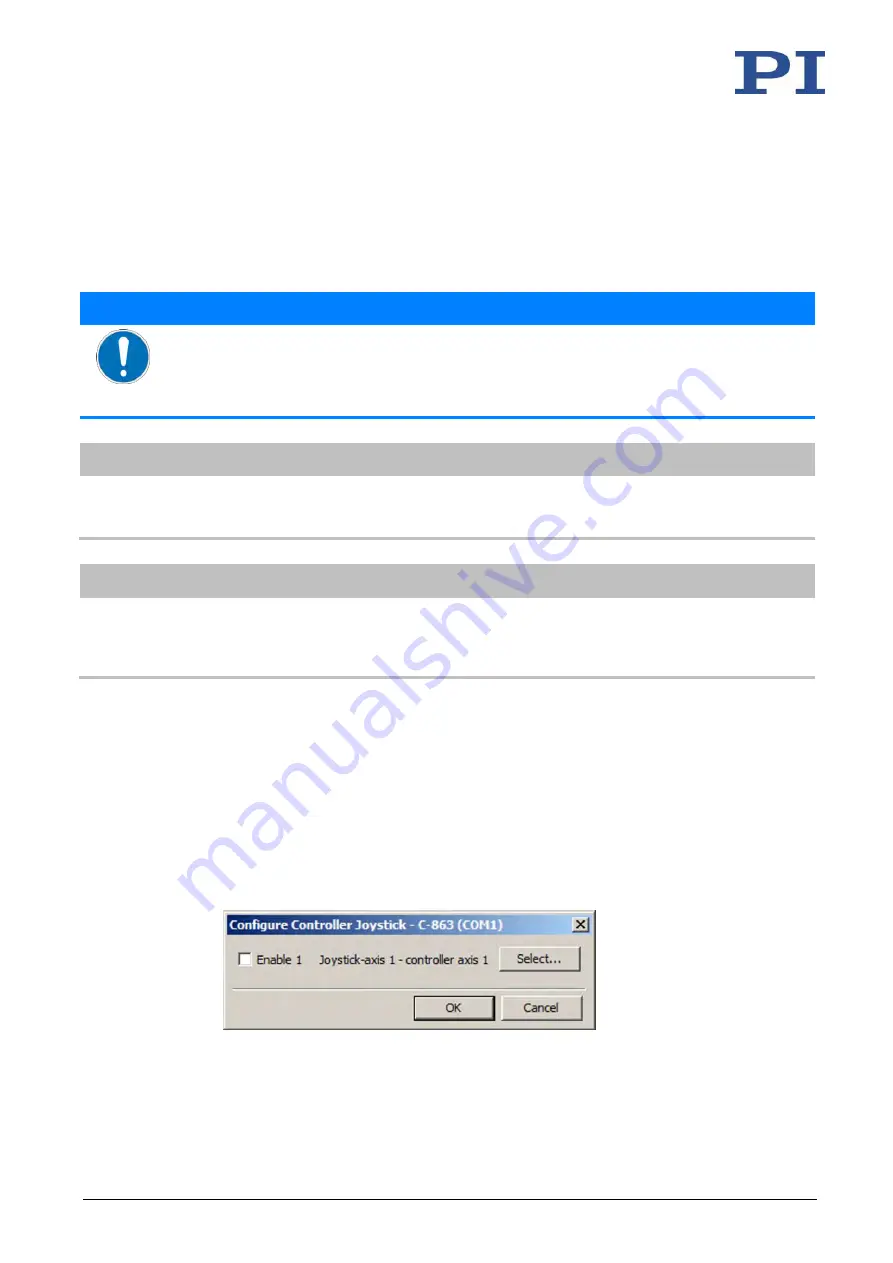
1.
Open the
Configure Controller Joystick
window in the main window of PIMikroMove via
the
C-863.12 > Configure controller joystick(s)...
menu item.
The C-863.12 joystick and its axis are listed in the
Configure Controller Joystick
window.
2.
Assign the axis to be moved to the joystick axis:
a)
Click
Select
in the
Configure Controller Joystick
window.