– 74 –
Chapter 4 Shooting — Special recording functions
Special recording functions
You can use special recording functions such as pre-recording and loop recording by setting the menu.
Pre-recording
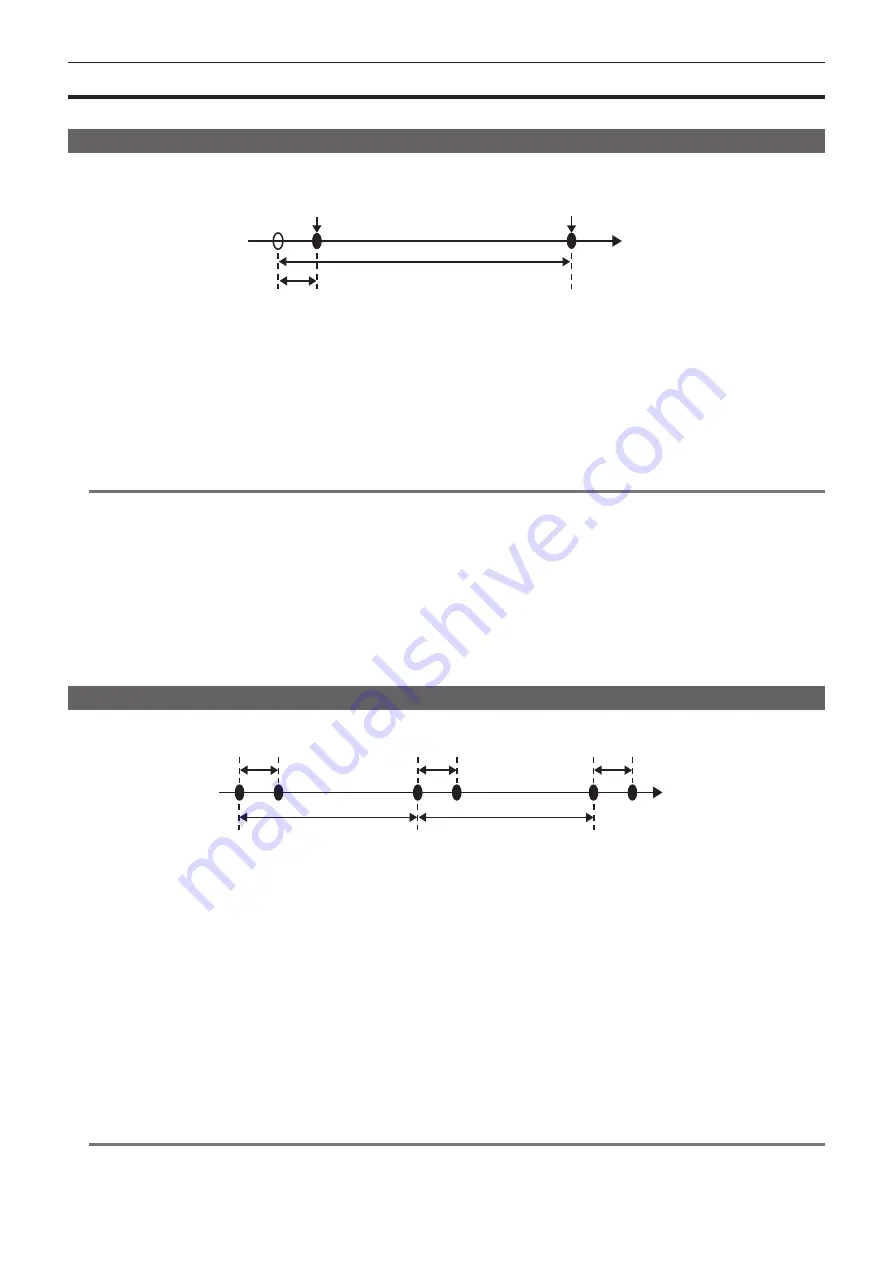
This function enables recording of video and audio from a fixed amount of time (approx. 3 seconds during HD recording, and approx. 7 seconds during
SD recording) before recording is actually started.
Operation to start recording
Operation to stop recording
Actual recording time
Pre-recording time
(Time)
1
Check the settings of each item in the main menu
→
[SYSTEM MODE].
For details on system modes in which the pre-recording function can be used, refer to the table in “System modes and recording functions”
(page 79).
For details on menu operations, refer to “Setting menu basic operations” (page 129).
2
Set [ON] in the main menu
→
[RECORDING SETUP]
→
[PRE REC].
3
Press the <REC> button.
f
[P-REC] is displayed while recording, and [P-] is displayed while paused. (page 169)
@
@
NOTE
t
[P-REC] indication when [PRE REC] is set to [OFF]
When [PRE REC] is set to [OFF], [REC] is displayed until recording of video or audio to the P2 card is completely finished after recording is stopped.
Refer to “One clip recording mode status display” (page 169) for information about the [P-REC] indicator.
t
t
Video and audio according to the preset time sometimes cannot be recorded in the following cases:
- Immediately after the power is turned on
- After recording-related settings have been altered in the setting menu
- Immediately after the P2 card is inserted
- After playback or recording check is performed
t
The pre-recording function does not function in the following cases:
- When an item other than [NORMAL] is selected in the main menu
→
[RECORDING SETUP]
→
[RECORDING]
Interval recording
The camera will record one frame at each set time interval.
1 frame recording
1 frame recording
1 frame recording
(Time)
[INTERVAL TIME] set time
[INTERVAL TIME] set time
1
Set all items in the main menu
→
[SYSTEM MODE].
2
Set [INTERVAL] in the main menu
→
[RECORDING SETUP]
→
[RECORDING].
3
Set the time in the main menu
→
[RECORDING SETUP]
→
[RECORDING SETTING]
→
[INTERVAL TIME].
4
Press the <REC> button.
f
The camera will repeat the operation of one frame recording at each set time interval.
f
To stop recording, press the <HOME> button to display the [HOME] screen of SmartUI, and press the <STOP> button. Recording cannot be
stopped on screens other than [HOME], because the function other than stop function is assigned to the <STOP> button.
f
To clear settings, set [NORMAL] in the main menu
→
[RECORDING SETUP]
→
[RECORDING].
f
When [OFF] is set in the main menu
→
[RECORDING SETUP]
→
[RECORDING SETTING]
→
[RECORDING HOLD], interval recording settings
are cleared by turning off the camera.
f
[I-REC] is displayed while recording, and [I-] is displayed while paused. However, if the setting in step
is less than two seconds, [I-REC] flashes
according to the set interval time.
f
When recording is stopped, [I-] flashes.
@
@
NOTE
t
Pre-recording and one-clip recording will not operate.
t
Audio is not recorded.
t
Recorded data (data recorded until the camera was stopped) is included in one clip.
Содержание AJ-PX380G
Страница 9: ...Before using the camera read this chapter Chapter 1 Overview ...
Страница 165: ...Details displayed on the viewfinder are described Chapter 8 Display ...
Страница 192: ...This chapter describes how to use the camera by connecting to network Chapter 10 Network Connection ...
Страница 213: ...Maintenance and error messages of the camera are described Chapter 11 Maintenance ...
Страница 219: ...This chapter describes the specifications of this product Chapter 12 Specification ...


