Creating Zones on a Page
Processing Documents - 34
5
Repeat steps 2–4 until you have finished drawing zones around
each area that you want to process.
You can draw up to 64 separate zones. A number appears
within each zone indicating the order in which it will be
recognized.
Overlapping Zones
. When you draw a zone over an existing zone, the
borders of the new zone will wrap around the boundaries of the existing
zone. The zones will not overlap.
You can use the Polygon tool to draw a zone one side at a time. This is
useful for drawing non-rectangular zones.
To draw a zone one side at a time:
1
Click the Polygon tool in the Tool palette.
The mouse pointer in the Image View becomes a drawing tool.
2
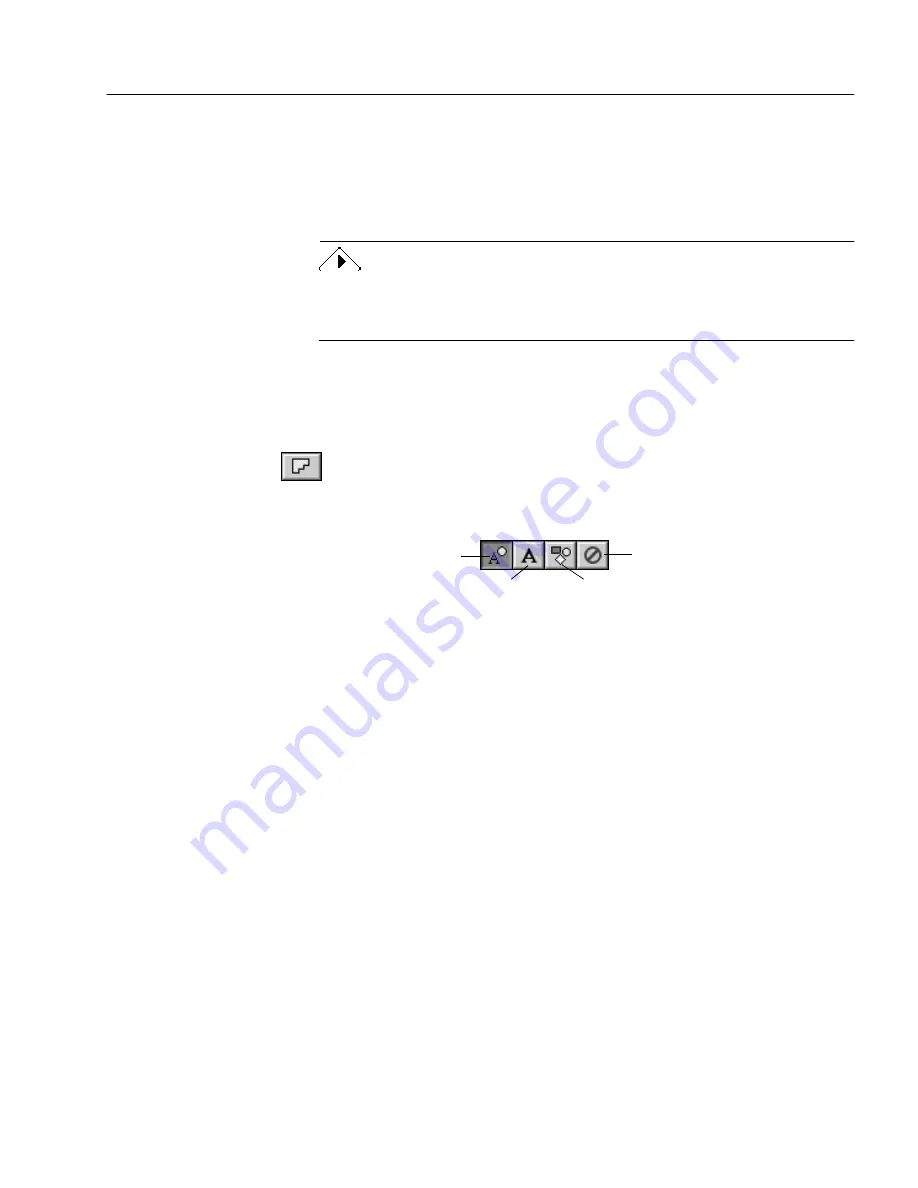
Click the appropriate zone type in the Zone Info palette.
3
Position the drawing tool where you want to start drawing the
first side of the zone.
4
Click the mouse button once.
5
Drag the drawing tool to form the first side of your zone.
6
Click the mouse button again when you have drawn the
desired line length.
A line appears.
7
Draw a perpendicular line in either direction to form the next
side of the zone.
8
Repeat steps 6 and 7 to finish drawing each side of your zone.
Text (use only for single
columns and tables)
Graphic
Automatic
Ignore


