Hardware
356
6.
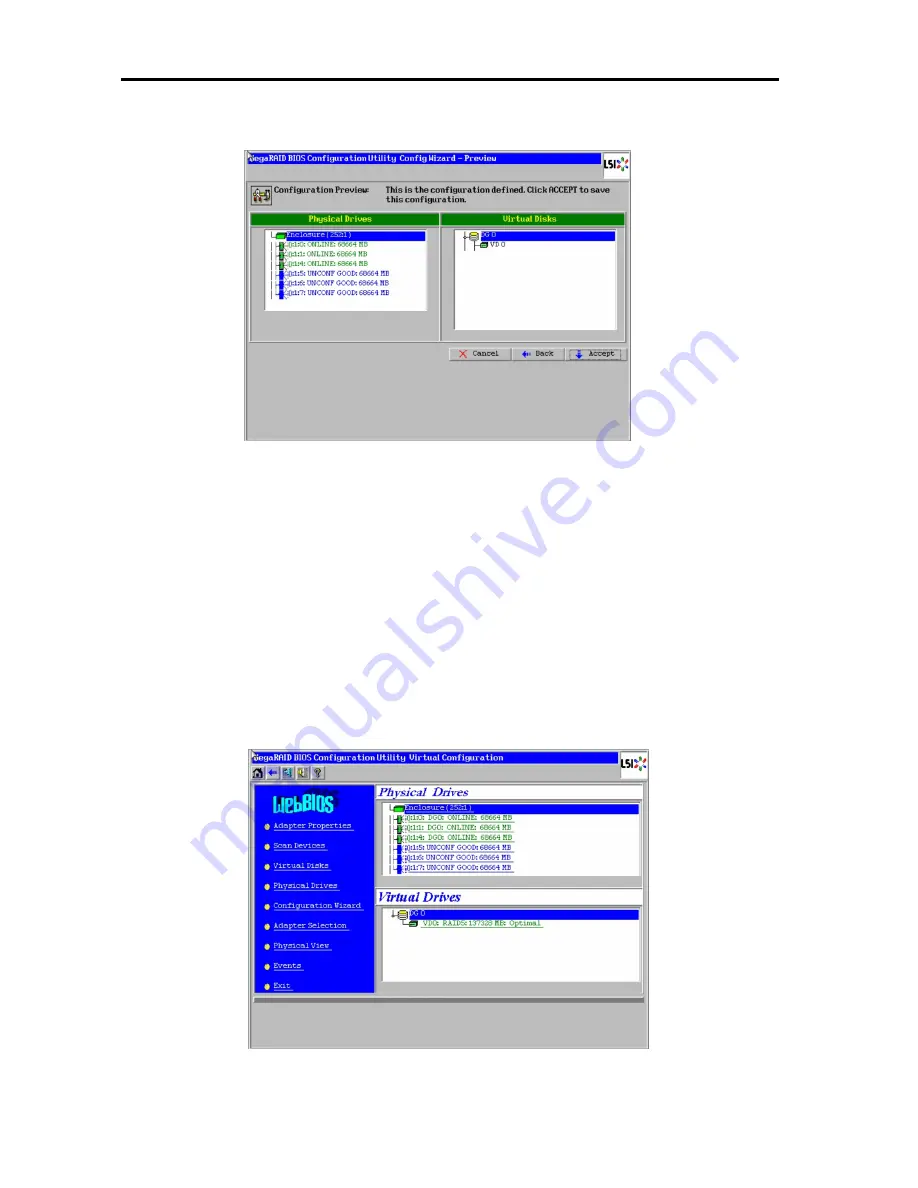
VD 0 is created in DG 0 as shown in the screen below.
7.
After making sure that the VD is created correctly, select [Accept] at the lower right of the
screen and press
Enter
.
8.
The confirmation message "Save this Configuration?" appears. Select "Yes" and press
Enter
to save the configuration.
9.
The confirmation message "All data on the new Virtual Disks will be lost. Want to
Initialize?" appears. Normally, select "Yes" and press
Enter
.
10.
"Virtual Disks" operation screen is displayed. If no other operation is required, select
[Home] at the lower left of the screen and press
Enter
.
11.
The WebBIOS Home Menu is displayed. Virtual Disk you have created is displayed in the
lower right frame of the screen.
Содержание Express 5800
Страница 73: ...73 Memo ...
Страница 279: ...Hardware 279 3 BIOS Menu screen is displayed ...
Страница 336: ...Hardware 336 Display Screen for WebBIOS Physical Drives Property Screen for Universal RAIDUtility Physical Devices ...
Страница 339: ...Hardware 339 3 BIOS will start Select Save Exit then press Enter ...
Страница 365: ...Hardware 365 6 Select Home at the lower left of the screen and press Enter to go back to WebBIOS Home Menu ...
Страница 444: ...444 Part Number Part number FRU File ID FRU file ID Asset Tag Asset management tag ...
Страница 526: ...526 Then input User Name for Authentication and select Keyboard interactive Then input Password ...
Страница 573: ...573 Memo ...
Страница 583: ...Software 583 Memo ...
Страница 690: ...Operation and Maintenance 690 Memo ...
Страница 719: ...XXIX Memo ...


