Hardware
182
Installation
Install a hard disk drive by following the procedure below. Install in other slots with the same
procedure.
1. Refer to “Preparation for Mounting/Unmounting” for preparation.
2. Check slots to install a hard disk drive.
3. Remove a Disk Dummy Tray to add a hard disk drive.
For replacement, remove the hard disk drive to be replaced.
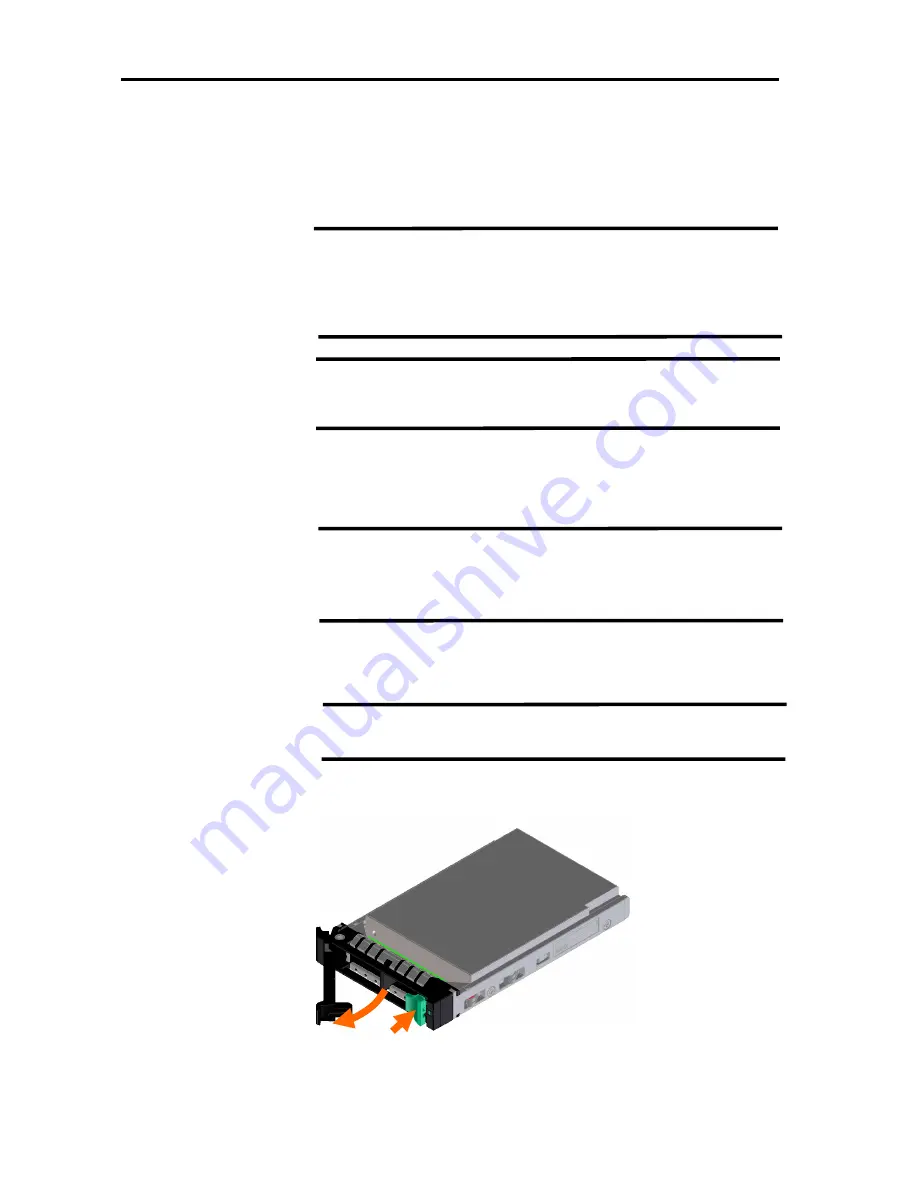
4. Unlock the drive carrier of a newly installed hard disk and pull out the handle.
NOTE:
There is no need to unmount the server from the rack to
install/uninstall a hard disk drive.
In the RAID system such as RAID1, 5, 6, 10, and 50, replacement
can be performed even when the power of the server is ON.
IMPORTANT:
Use the same NEC model number for had disk drives configuring
the same disk array when the RAID system in configured.
IMPORTANT:
Keep the Disk Dummy Tray removed for addition in a safe place.
NOTE:Note that location numbers are assigned to hard disk drives
starting from number 0. Refer to “RAID System
Configuration/Before using WebBIOS/
Slot numbers and their
indications on utility software”
(1)
(2)
Содержание Express 5800
Страница 73: ...73 Memo ...
Страница 279: ...Hardware 279 3 BIOS Menu screen is displayed ...
Страница 336: ...Hardware 336 Display Screen for WebBIOS Physical Drives Property Screen for Universal RAIDUtility Physical Devices ...
Страница 339: ...Hardware 339 3 BIOS will start Select Save Exit then press Enter ...
Страница 365: ...Hardware 365 6 Select Home at the lower left of the screen and press Enter to go back to WebBIOS Home Menu ...
Страница 444: ...444 Part Number Part number FRU File ID FRU file ID Asset Tag Asset management tag ...
Страница 526: ...526 Then input User Name for Authentication and select Keyboard interactive Then input Password ...
Страница 573: ...573 Memo ...
Страница 583: ...Software 583 Memo ...
Страница 690: ...Operation and Maintenance 690 Memo ...
Страница 719: ...XXIX Memo ...


