4-32
Upgrading Your System
CAUTION
Observe static precautions. Use an antistatic wrist strap.
3.
Remove the device from its protective wrapper and place it on an antistatic surface. Record the
drive model and serial number in the equipment log.
4.
Set any drive jumpers or switches before you install the drive. See the documentation that
comes with the device for jumper or switch information.
Note:
If the drive comes with drive rails, do not use them. Remove any rails
already attached.
5.
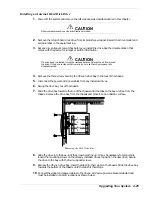
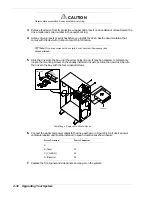
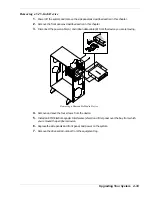
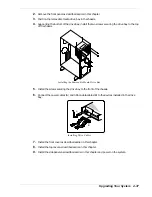
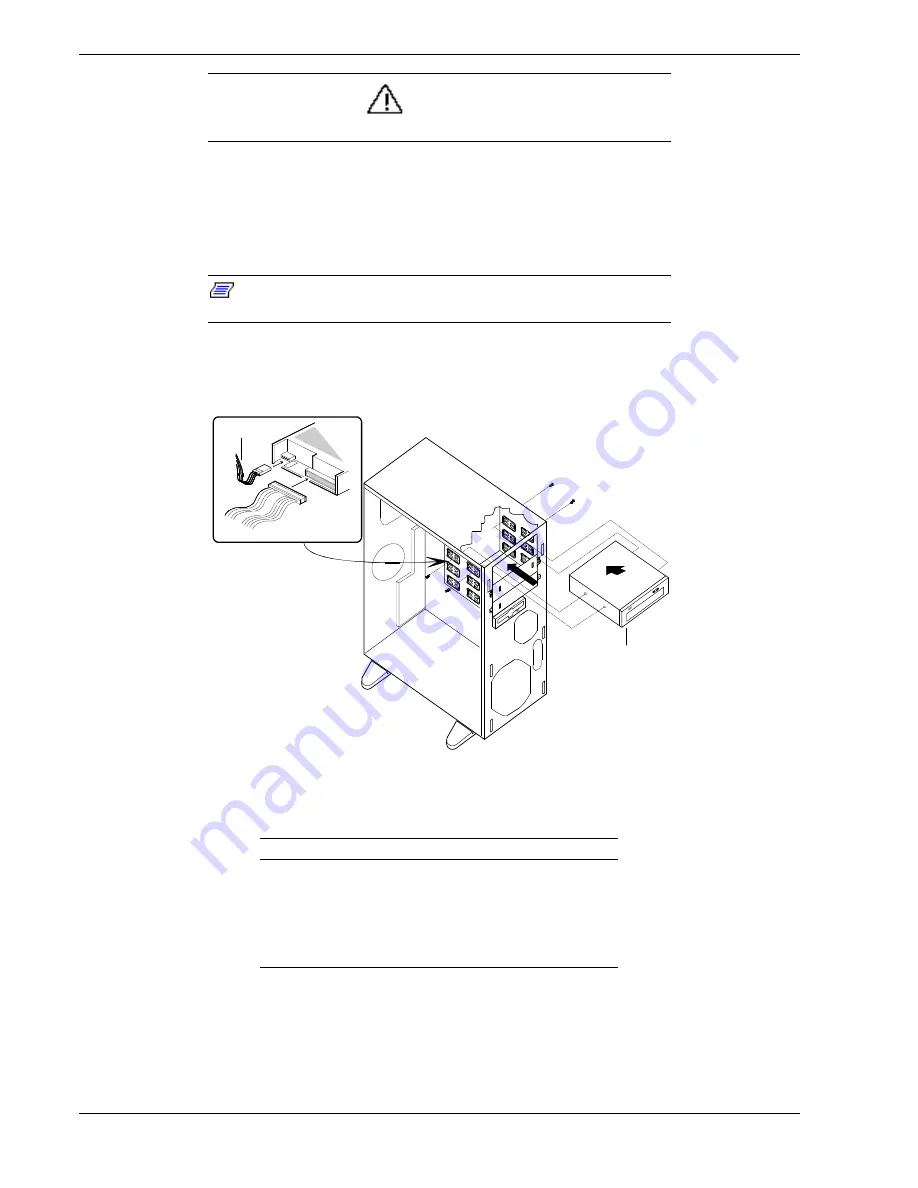
Slide the drive into the bay until the screw holes line up. It may be necessary to temporarily
loosen the mounting screws on the already installed drives to position the new drive. Secure
the drive to the bay with the four supplied screws.
5.25" Drive
Power Cable
Installing a Removable Media Device
6.
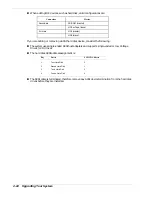
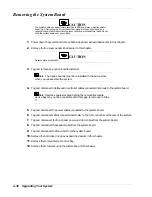
Connect the signal and power cables to the drive as shown in Figure 5-15. All device power
cables are labeled and must be installed in specific locations as shown below:
Drive Location
Power Connector
A
B (Tape)
P5
C (CD-ROM)
P3
D (Diskette)
P6
7.
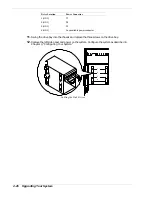
Replace the front panel and side panels, and power on the system.
Содержание EXPRESS 5800 ES1400 SERIES Online
Страница 1: ...EXPRESS5800 ES1400 SERIES ONLINE SERVICE GUIDE...
Страница 8: ...Using This Guide xv...
Страница 21: ......
Страница 33: ...2 12 Setting Up the System...
Страница 60: ...Configuring Your System 3 27...
Страница 130: ...Problem Solving 5 21...
Страница 131: ......
Страница 132: ......
Страница 142: ...6 10 Illustrated Parts Breakdown...
Страница 143: ...A System Cabling n Before You Begin n Static Precautions n Standard Configuration n RAID Configuration...
Страница 149: ...System Cabling A 7 WIDE SCSI CABLE 68 pins IDE CABLE 40 pins Standard System Cable Routing...
Страница 152: ...B System Setup Utility n System Setup Utility SSU n Creating SSU Diskettes n Running the SSU n Exiting the SSU...
Страница 160: ...System Setup Utility B 9 Adding and Removing ISA Cards Window...
Страница 163: ...B 12 System Setup Utility System Resource Usage Window...

