2
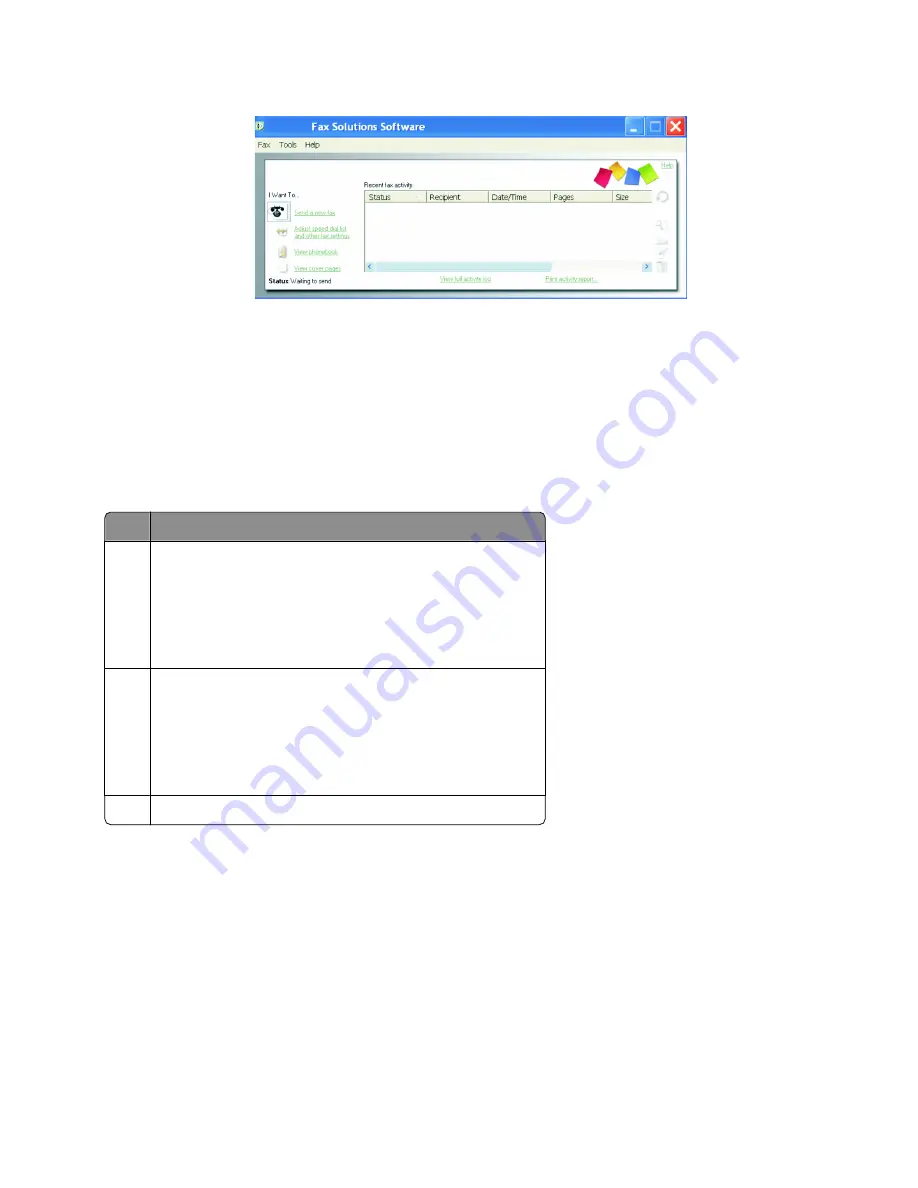
When the Fax Solutions Software appears, as shown, use the “I Want To” menu to:
•
Send a fax.
•
Adjust the Speed Dial list and other fax settings.
•
View and use the phone book, so you can add new contacts or groups, edit or delete contacts or groups, and
add contacts or groups to Speed Dial lists.
•
View several sample cover pages that you can choose from. You can also add your company logo to a sample
cover page.
3
To access any of the items in the “I Want To” menu, click the item.
4
If needed, click the toolbar items to:
Click To
Fax
•
Send a fax.
•
Forward a fax.
•
View, print, or modify a fax.
•
Delete a fax.
•
Retry to send a fax.
Tools
•
Access and use the phone book.
•
View several sample cover pages you can choose from.
•
View a fax history.
•
Change software preferences for fax lists.
•
Adjust fax settings.
Help Locate information on faxing, fax settings, and so on.
For information on changing fax settings, see “Customizing settings using the Fax Setup Utility” on page 175.
5
After changing settings, click
OK
.
6
Close the Fax Solutions Software.
Receiving a fax using the computer
Receiving a fax automatically
1
From the desktop, double-click the
Productivity Studio
icon.
2
From the Settings area in the left pane of the Welcome screen, click
Setup and manage faxes
.
Faxing using the computer
170
Содержание X9575
Страница 1: ...9500 Series All In One User s Guide 2007 www lexmark com ...
Страница 2: ......
Страница 14: ...14 ...


