ORBIMAT CA
| Operating instructions
Service and troubleshooting
(09.03.15) OW_ORBIMAT_CA_BA_871060202_04_EN
orbitalum tools
GmbH, D-78224 Singen, www.orbitalum.com, Tel. +49 (0) 77 31 792-0
65
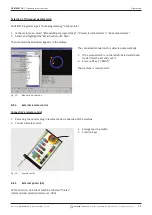
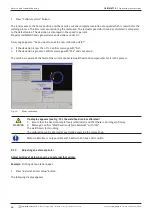
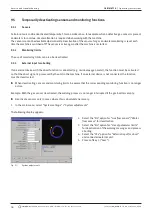
2. Select and highlight fields and enter desired values.
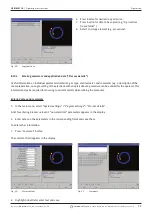
Fig. 35:
Printer - Settings (external)
9.1.4
Switching on an internal printer
Inserting a new paper roll
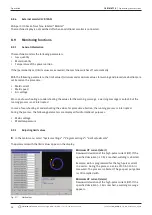
This function is used exclusively for insertion of a new paper roll into the internal printer.
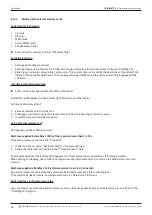
1. Switch on the "
Internal printer
" button.
The button for paper feed is activated.
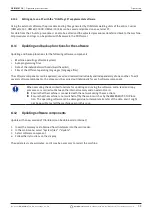
2. Open printer hood and cover of the printer.
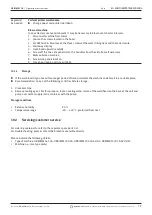
3. Remove empty paper sleeve with the axis. Remove any paper present in the printer
by pressing the button on the printer (line advance). Do not pull on the paper here!
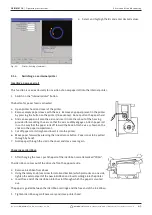
4. Slide a new paper roll onto the axis and insert it into the cut-out of the housing
provided for mounting the axis so that the axis audibly engages. Attach paper roll
in such a way that the paper rolls off toward the back. Attach axis as shown on the
sticker in the paper compartment.
5. Cut off paper start straight and insert it into the printer.
6. Move paper forward by pressing the line advance button. Paper is not to be pulled
through by hand!
7. Guide paper through the slot in the cover and close cover again.
Changing an ink ribbon
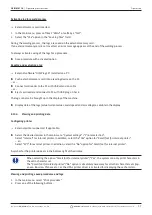
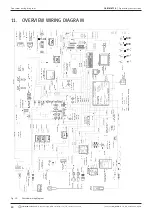
1. After changing the cover, push the part of the ink ribbon cassette marked "
PUSH
".
The ink ribbon comes out of the drive shaft on the opposite side.
2. Remove ink ribbon from above.
3. Using the rotary knob (see arrow for rotation direction) which protrudes on one side,
tighten the external part of the new ink ribbon and insert cartridge into the printer.
4. Insert free end of the ink ribbon into the slot through which the paper is also led
out.
The paper is guided between the ink ribbon cartridge and the free end of the ink ribbon.
5. Tighten ink ribbon again if necessary and close printer hood.

