ORBIMAT CA
| Operating instructions
Operation
(09.03.15) OW_ORBIMAT_CA_BA_871060202_04_EN
orbitalum tools
GmbH, D-78224 Singen, www.orbitalum.com, Tel. +49 (0) 77 31 792-0
33
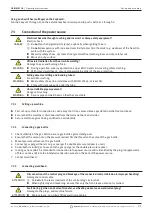
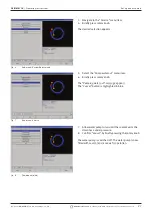
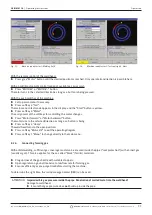
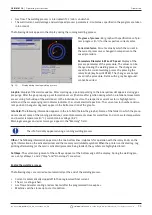
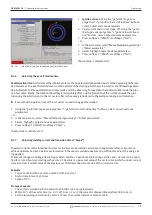
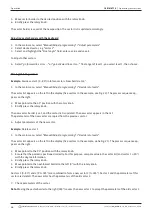
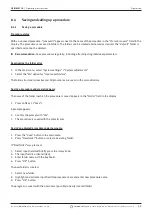
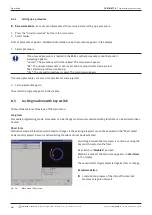
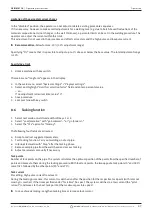
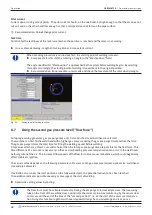
Fig. 13:
Machine ready to start - Welding (left)
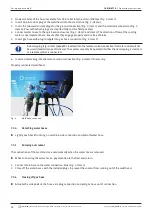
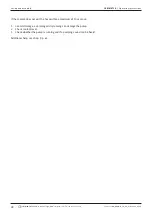
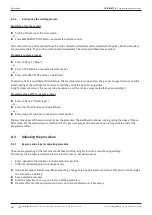
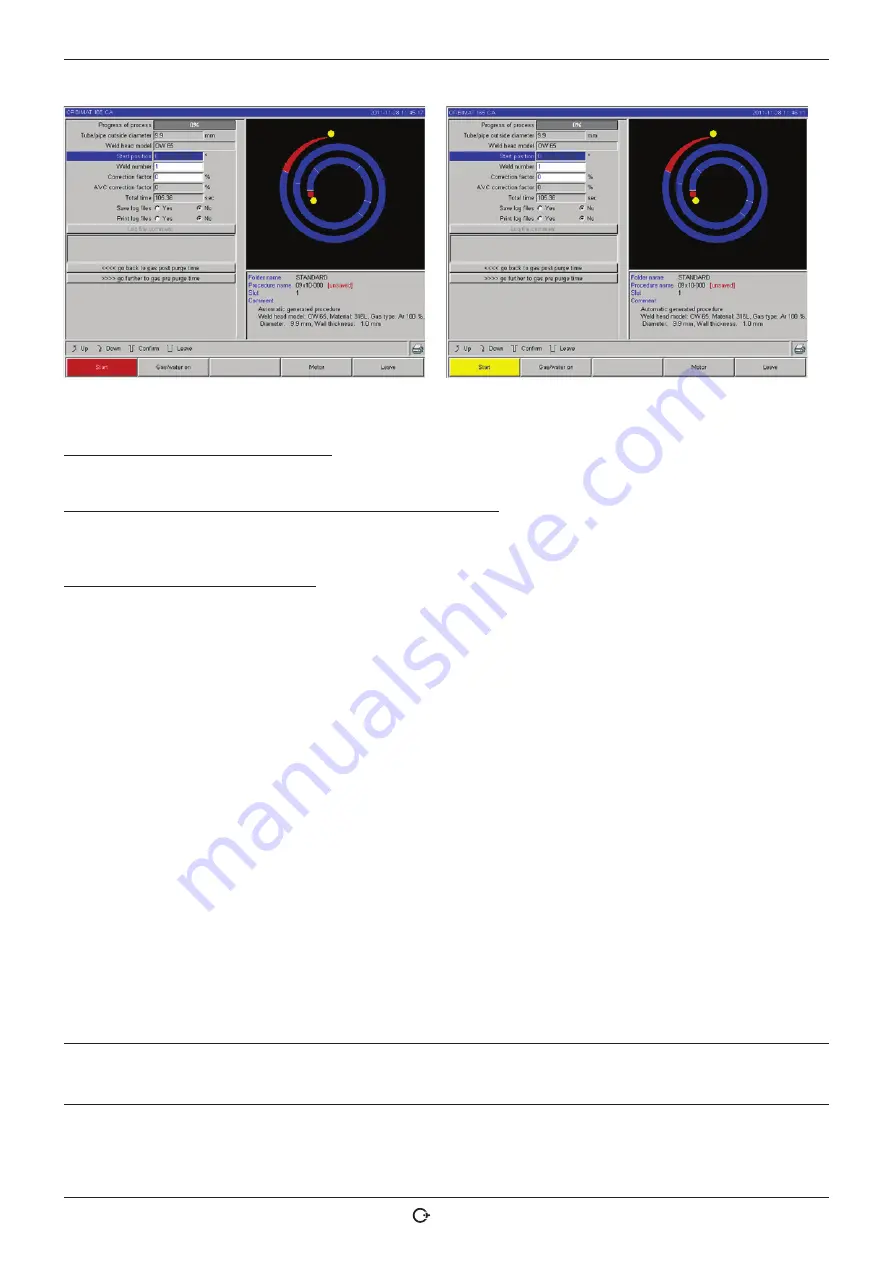
Fig. 14:
Machine ready to start - Test run (right) - Start
With the remote control of the weld head:
X
Press grey "
Motor
" button until the desired position is reached. Only one rotation direction is possible here.
With an additional remote control (optional, available as accessory):
X
Press "
MOTOR+
" or "
MOTOR –
" button.
The rotor turns in the selected direction as long as a button is being pressed.
With the push switches of the machine:
X
Call up main menu if necessary.
X
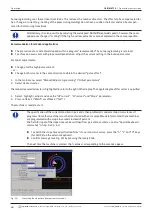
Press softkey 2 "
Test
".
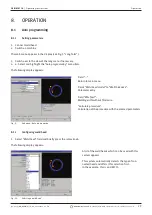
The main menu in test mode appears in the display, and the "
Start
" button is yellow.
X
Press softkey 4 "
Motor
".
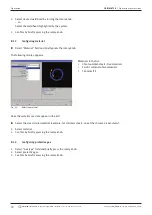
The assignment of the softkeys for controlling the motor changes.
X
Press "
Motor forward
" or "
Motor backward
" button.
The motor runs in the selected direction as long as a button is being.
X
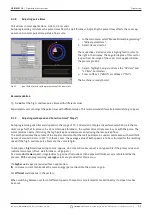
Press softkey 2 "
Home
".
The weld head turns to the open position.
X
Press softkey "
Motor OK
" to exit the operating diagram.
X
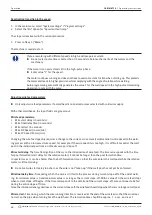
Press softkey 5 "
Menu
" to change directly to the main menu.
8.2.4
Connecting forming gas
With orbital welding, sufficient gas coverage must also be ensured inside the pipe ("root protection") with an inert gas
(usually argon). This also applies for the so-called "black" (ferritic) materials.
X
Plug up lines of the gas bottle with suitable stoppers.
X
Open regulator on gas bottle and set a low flow rate for forming gas.
X
Ensure sufficient gas pre purge time before starting the machine.
To determine the right time, the residual oxygen meter (ORB) can be used.
ATTENTION
Impermissible gas pressure inside the pipe. Penetration of melted metal into the weld head!
Damage to weld head.
X
Ensure that gas pressure does
not
build up inside the pipe.

