WindO/I-NV4 User’s Manual
26-5
2 Using the Simulator
26
Sim
ula
to
r F
un
ctio
n
2
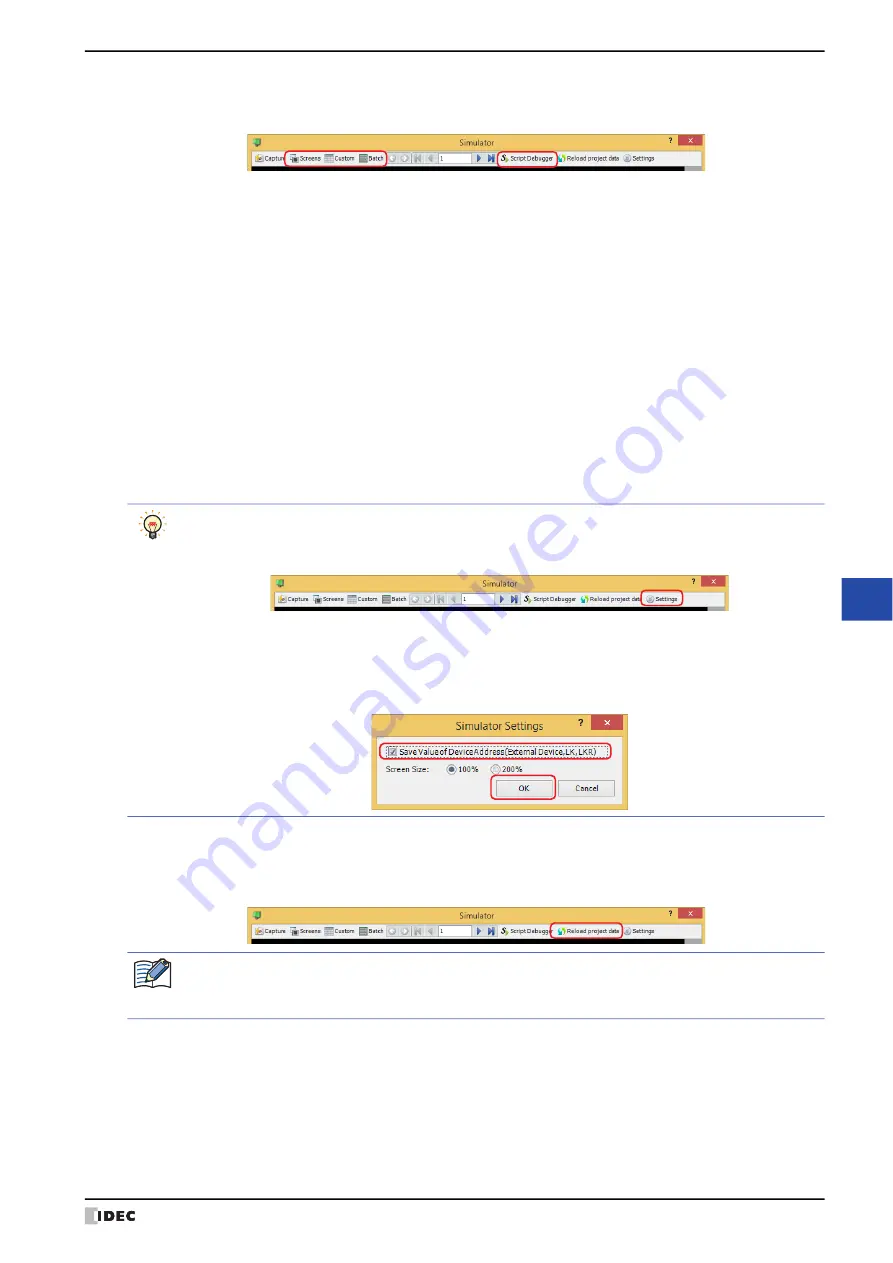
Select the monitor being used.
When monitoring starts, the screen monitor is displayed.
■
Screens
Automatically checks device addresses used on the screen displayed on the Simulator. For details, refer to “3.2 Screen
■
Custom
Registers monitored device addresses individually and displays the value of device addresses. For details, refer to “3.3
Custom Monitor” on page 26-11.
■
Batch
Registers monitored device address as a batch for sequential address numbers and displays the value of device
addresses. For details, refer to “3.4 Batch Monitor” on page 26-13.
■
Script Debugger
Check the operation of the script used in the project. For details, refer to “3.5 Script Debugger” on page 26-15.
3
Check operation of project data by monitoring and changing values of device addresses, and edit project data if there
is an error.
If the monitored screen is switches, repeat steps
1
.
4
If you have edited the project data, click
Reload project data
to update the project displayed in the simulator.
The Reload Project dialog box is displayed.
If the
Save Value of Device Address (External Device, LK, LKR)
check box is cleared, proceed to step
6
.
Click
Settings
to save the values of device addresses on the external device, HMI keep relays (LK), and
HMI keep registers (LKR) that were input in the simulator.
The Simulator Settings dialog box is displayed.
After the
Simulator Settings
dialog box is displayed, select the
Save Value of Device Address
(External Device, LK, LKR)
check box, and then click
OK
.
The values of device addresses that are saved are the values when the simulator is terminated or when
Reload project data
is clicked.
If the project data was changed, a confirmation message to save the project data is displayed.
• Click
OK
to save and load the project data.
• Click
Cancel
to return to the editing screen without saving the project data.
Содержание WindO/I-NV4
Страница 1: ...B 1701 16 User s Manual...
Страница 50: ...1 WindO I NV4 Specifications 2 18 WindO I NV4 User s Manual Baltic ANSI 1257 Cyrillic ANSI 1251...
Страница 108: ...5 WindO I NV4 Common Operations and Settings 2 76 WindO I NV4 User s Manual...
Страница 256: ...7 BACnet Communication 3 148 WindO I NV4 User s Manual...
Страница 372: ...6 Screen Restrictions 5 32 WindO I NV4 User s Manual...
Страница 390: ...5 Part Library Function 6 18 WindO I NV4 User s Manual...
Страница 420: ...3 Text 7 30 WindO I NV4 User s Manual...
Страница 522: ...5 Key Button 8 102 WindO I NV4 User s Manual Password Input These keys switch the user on the Password Input Screen...
Страница 628: ...2 Multi State Lamp 9 34 WindO I NV4 User s Manual...
Страница 924: ...4 Meter 11 76 WindO I NV4 User s Manual...
Страница 990: ...7 Timer 12 66 WindO I NV4 User s Manual...
Страница 1030: ...4 Using Data and Detected Alarms 13 40 WindO I NV4 User s Manual...
Страница 1098: ...4 Using the Data 15 22 WindO I NV4 User s Manual...
Страница 1248: ...5 Restrictions 22 18 WindO I NV4 User s Manual...
Страница 1370: ...2 Monitoring on the MICRO I 25 28 WindO I NV4 User s Manual...
Страница 1388: ...4 Restrictions 26 18 WindO I NV4 User s Manual...
Страница 1546: ...5 Module Configuration Dialog Box 30 36 WindO I NV4 User s Manual...
Страница 1614: ...3 Settings 34 14 WindO I NV4 User s Manual...
Страница 1694: ...5 HG1P 35 80 WindO I NV4 User s Manual 5 6 Dimensions Unit mm Cable Dimensions 191 169 56 70 6 51 55 7...
Страница 1726: ...5 Text Alignment A 10 WindO I NV4 User s Manual...


