


4
ABOUT THE SETTING SCREEN
4-111
9. [Common Settings] Menu
■
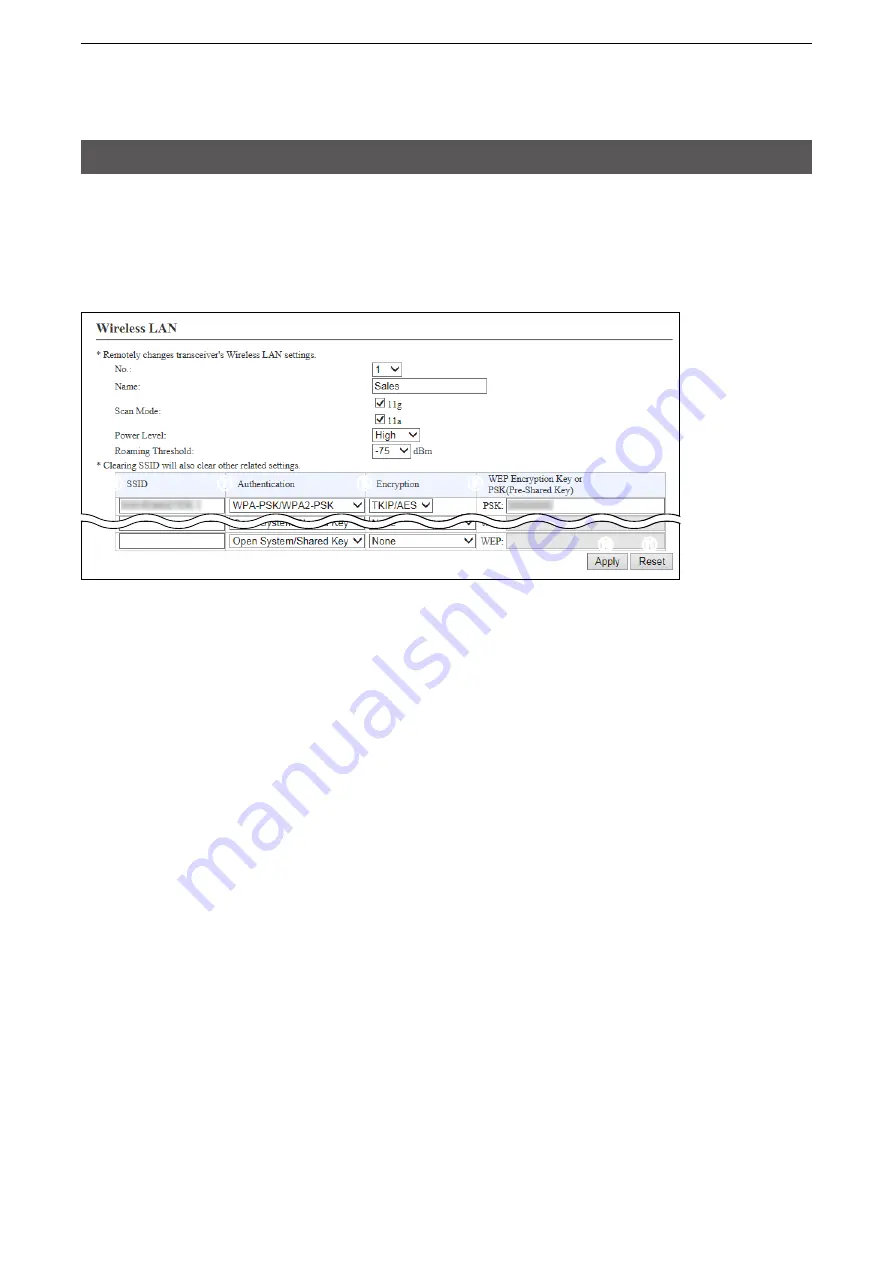
Wireless LAN
Registers wireless LAN settings that are commonly used by the WLAN transceivers.
L
You can individually set the common settings to each registered group in the “Common Setting List” field on the
[Common Settings] screen.
L
If any setting in this screen has been changed, you must reboot the WLAN transceivers.
(This is only an example.)
1
2
3
4
5
6
7
8
9
10
11
1
No. �����������
Select a group number between 1 and 20 to assign to the WLAN
transceivers.
Up to 20 groups can be registered.
2
Name ����������
Enter a Group name of up to 31 characters.
3
Scan Mode �������
Select the frequency band that the WLAN transceiver uses.
(Default:
M
✔
11g,
M
✔
11a)
Selecting “11g” includes “11b.”
L
Access points that comply with the wireless LAN standards, can be used
with the WLAN transceiver.
4
Power Level �������
Set the WLAN transceiver transmit power level to High, Middle, or Low.
(Default: High)
L
When “High” is set, the transmission distance of the WLAN transceiver is
maximum.
Or when setting to a lower level, the distance will be reduced.
L
Power Level is set to a lower level when you want to:
• Reduce the communication range.
• Limit the communication area and improve security.
• Reduce electrical interference among WLAN transceivers.
• Control the communication speed in an environment where some access
points are installed in a comparatively small area.
5
Roaming Threshold ���
Set the received signal strength level when the WLAN transceiver starts
roaming.
The selectable level is between –1 and –100 dBm. (Default: –75 (dBm))
L
When setting to high level (example: –50 dBm), it becomes easy to start
roaming. Or when setting to low level (example: –90 dBm), it becomes
difficult to start roaming.
[Common Settings]–[Wireless LAN]