


9.
Enter the User Name and User Password. When trying to connect to the remote server,
the system will check the Server ID, User Name and User Password together. If either
of the variables is incorrect, the Remote software will not be able to connect to the site.
10. Check the Emergency Alarm checkbox to use the custom alarm each time the alarm
occurs on the remote site
11. Choose the *.wav file for the custom alarm in the Sound File field. Click Browse to
locate the *.wav sound file that will play every time that the alarm is triggered on the re-
mote site.
12. Configure the Duration of Sound Wave for the custom alarm: 1-99 sec.
13. Click OK to save the new connection, or click Cancel to close the new site setup window
without saving
14. To delete an individual site, choose it in the Connections list, and click Delete
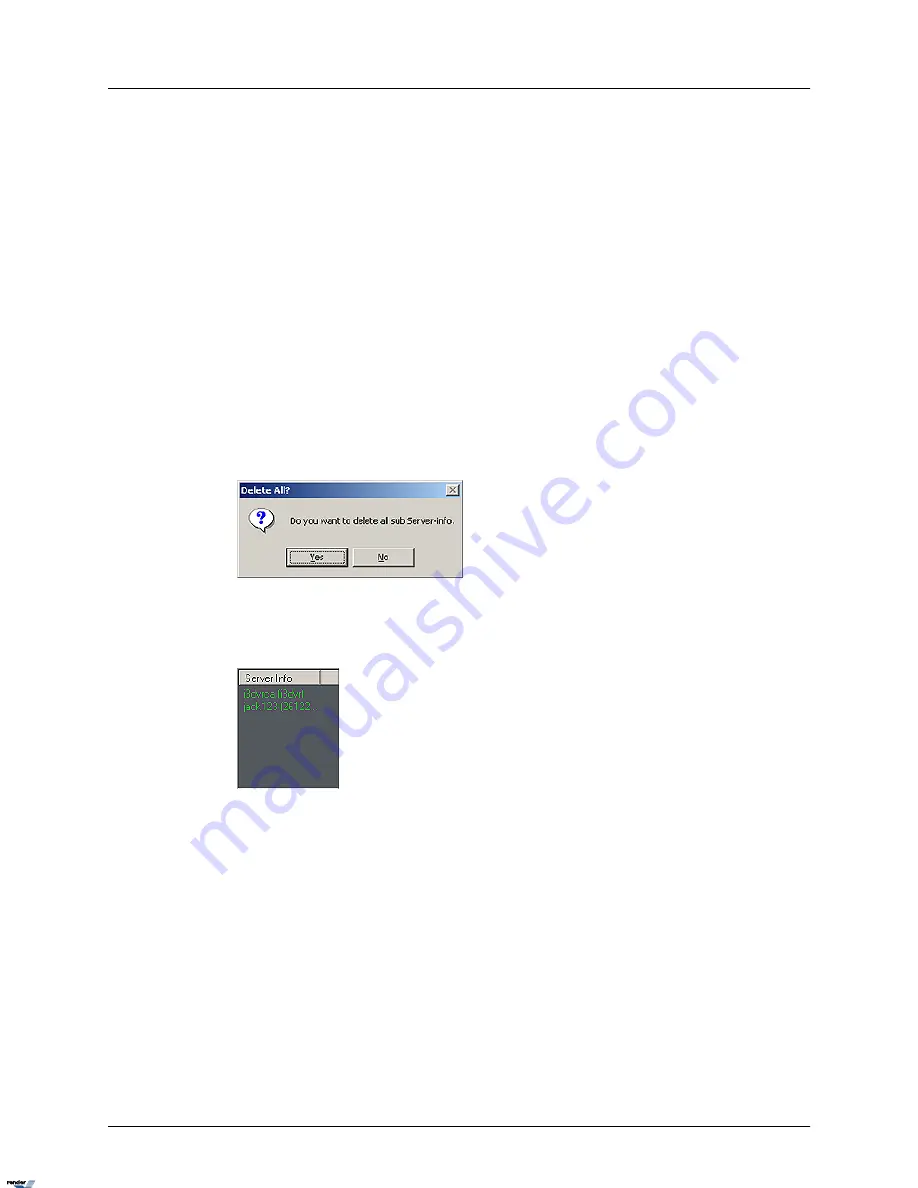
15. To delete the entire group, choose the group from the list and click Delete. Click Yes in
the window below to delete the group.
16. When information for the new site is completed, it will appear in green font in the Server
Info window on the main screen. In this example there are currently 2 configured remote
sites, both are currently offline.
Main Screen
The areas of the i³Remote main screen are:
19. Power
10. Date and Time
1. About
20. Sensor/Control panel
11. View/Stop
2. Help
21. Camera panel
12. Search
3. Emergency Monitor
22. Screen Division
13. Setup
4. Health Monitor
23. Full Screen
14. Connections
5. Intelli-Upgrader
24. Multi-Site Selection Tool
15. Disconnect
6. K-Remote Backup Server
25. Multi-Site Display
16. Multi-Site
7. 2-Way Audio
17. Server Info
8. Minimize
136
i³Remote
XML to PDF by RenderX XEP XSL-FO Formatter, visit us at
http://www.renderx.com/


