EasyMatch QC User’s Manual Version 2.1
2-38
Lessons
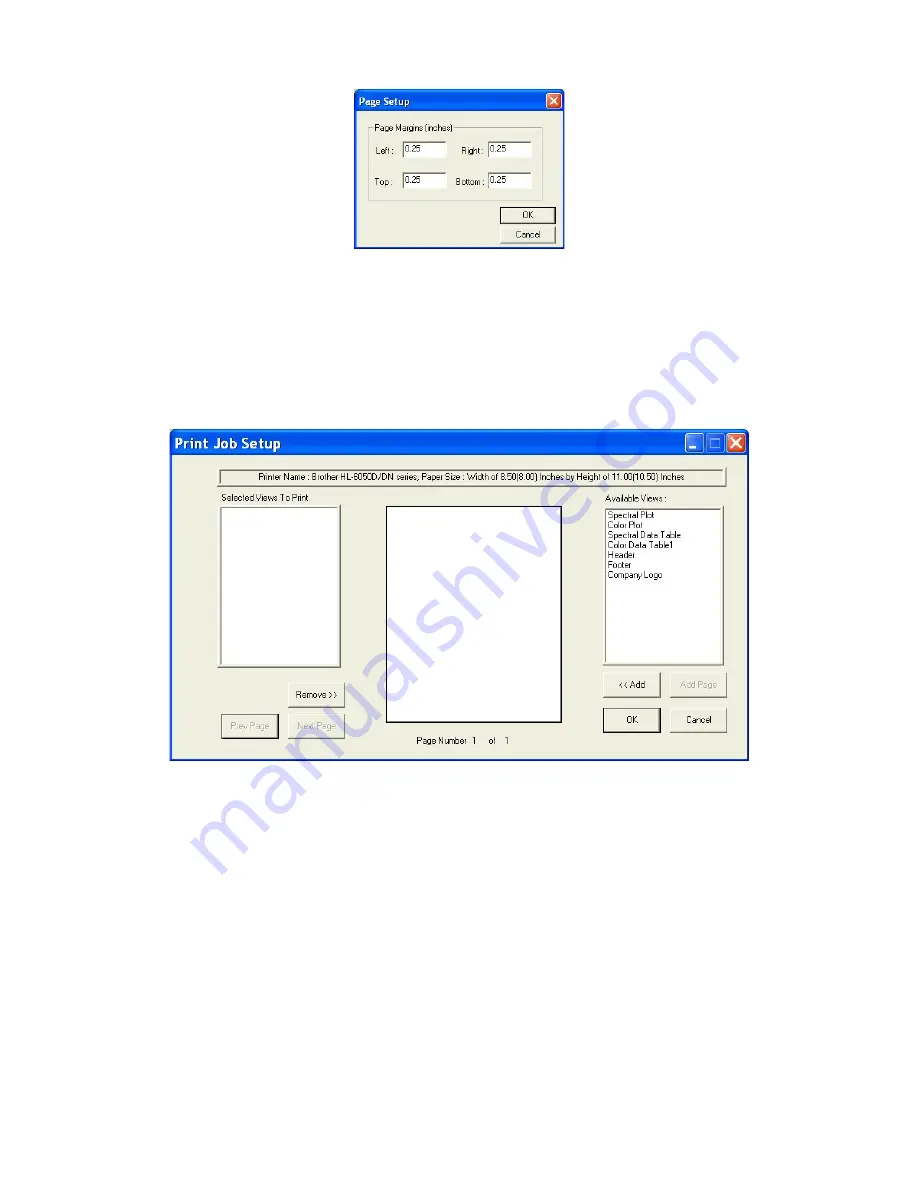
10. Choose
Print Job Setup
from the
File
menu. The Print Job Setup screen appears. Note that the
name of the default printer and the dimensions of the page and the printable area on the page are
indicated at the top of the screen. The data views listed under “Available Items” are the ones that are
included in the current job, plus your company logo, header, and footer. If the Color Data Table, 2D
Color Plot, Spectral Plot, and Spectral Data Table are not included in the current job, you will not
see them in the list and you will not be able to add them to your print job. In that case, exit this
screen and open a job containing all of these data views, or add the needed views to the current job.
11. Insert your company logo by clicking on “Company Logo” in the Available Items box on the right
side of the screen and then clicking the
Add
button. Company Logo is added to the Selected Items
box on the left side of the screen.
Содержание EasyMatch QC
Страница 11: ...Part I Software Overview...
Страница 105: ...EasyMatch QC User s Manual Version 2 1 2 50 Lessons...
Страница 112: ...Part II Software Menu Commands...
Страница 140: ...EasyMatch QC User s Manual Version 2 1 3 28 The File Menu...
Страница 150: ...EasyMatch QC User s Manual Version 2 1 3 38 The File Menu...
Страница 156: ...EasyMatch QC User s Manual Version 2 1 5 2 The View Menu Toolbar is not displayed...
Страница 227: ...Part III Instruments...
Страница 290: ...Part IV Reference...
Страница 325: ...EasyMatch QC User s Manual Version 2 1 Measurement Values A 35...


