EasyMatch QC User’s Manual Version 2.1
2-10
Lessons
Lesson 2: Standardizing and Confirming Standardization
Using the White Tile
This lesson will walk you through an example reflectance standardization for a LabScan XE. Other
instruments are standardized in slightly different fashions. After standardization, we will confirm a
reading of the white calibration tile. Your instrument should already be attached to the computer and
installed in EasyMatch QC before performing this lesson.
Instructions for standardization in transmittance are provided in Lesson 3.
This lesson does not apply to the ColorQuest XT.
1. Open a new job.
2. Choose
Set Modes
from the
Sensor
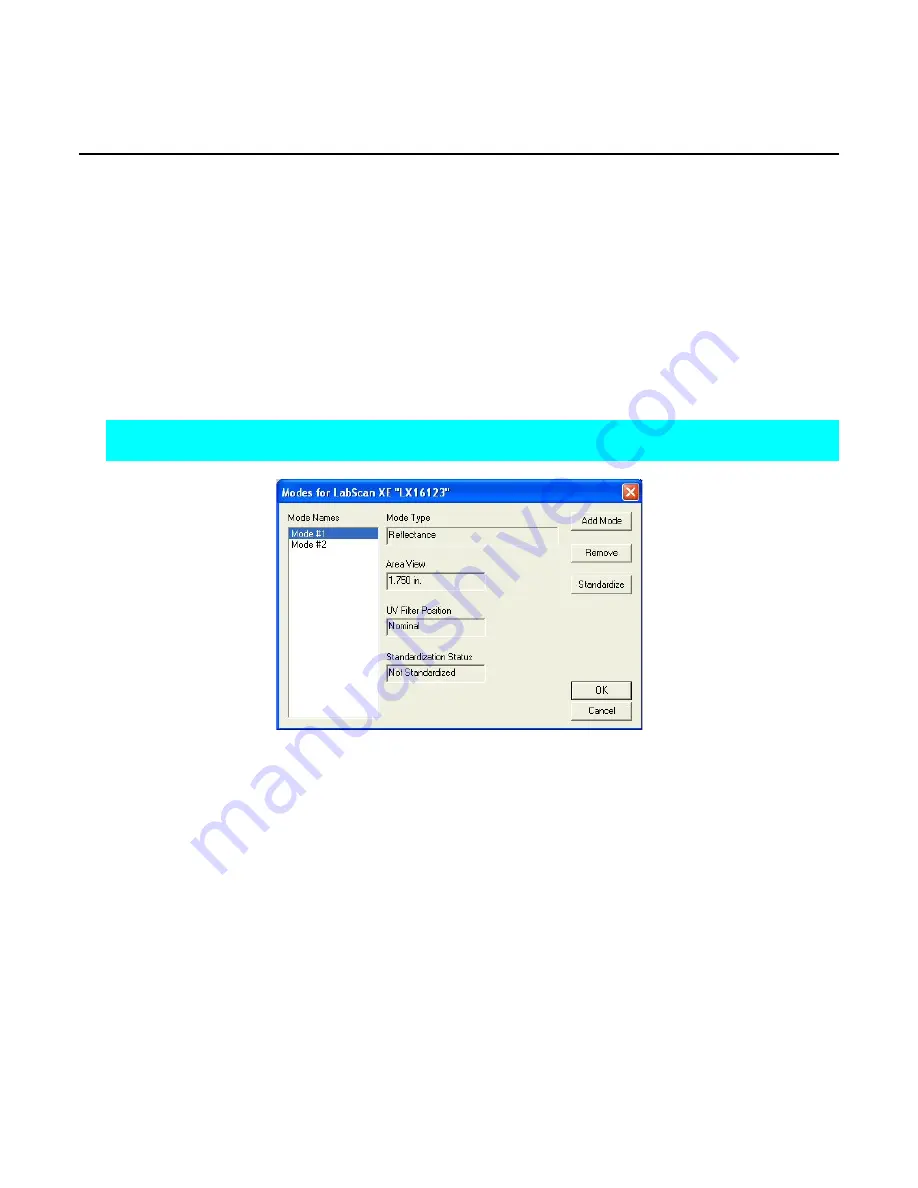
menu. The following screen will appear.
Note: If your instrument is a ColorFlex or MiniScan, only one mode is available and you should
simply click the Standardize button on the toolbar and skip to Step 3.
3. Highlight each of the existing modes in turn and examine the parameters shown on the right side of
the screen until you find the standardization mode desired (reflectance or RSIN). If such a mode
doesn’t exist, create it using the
Add Mode
button.
4. With the desired mode selected (highlighted), click
Standardize
. The following prompt will appear.
If you are using a diffuse (sphere) instrument, you will be prompted for the light trap rather than the
black glass.
Содержание EasyMatch QC
Страница 11: ...Part I Software Overview...
Страница 105: ...EasyMatch QC User s Manual Version 2 1 2 50 Lessons...
Страница 112: ...Part II Software Menu Commands...
Страница 140: ...EasyMatch QC User s Manual Version 2 1 3 28 The File Menu...
Страница 150: ...EasyMatch QC User s Manual Version 2 1 3 38 The File Menu...
Страница 156: ...EasyMatch QC User s Manual Version 2 1 5 2 The View Menu Toolbar is not displayed...
Страница 227: ...Part III Instruments...
Страница 290: ...Part IV Reference...
Страница 325: ...EasyMatch QC User s Manual Version 2 1 Measurement Values A 35...


