8. MAINTENANCE OPERATIONS
8-9
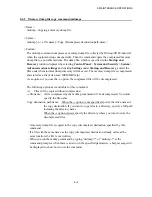
8.2.2 Configuring the settings related to a memory dump
This subsection describes how to configure the settings related to a memory dump.
Use the following procedure when you want change the memory dump setting to the one
recommended for this equipment. You do not have to follow this procedure if you are already
using the memory dump setting recommended for this equipment, for example, immediately
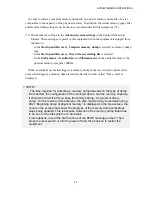
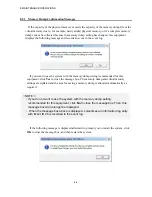
after the equipment is shipped from the factory, or if you click
Yes
in " 8.2.1 Memory
Dump Confirmation Messages ".
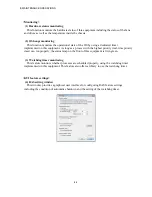
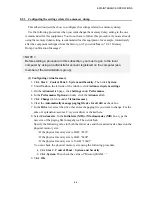
(1) Configuring virtual memory
1. Click
Start
>
Control Panel
>
System and Security
. Then click
System
.
2. Under
Task
on the left side of the window, click
Advanced system settings
.
3. On the
Advanced
tab page, click
Settings
under
Performance
.
4. In the
Performance Options
window, click the
Advanced
tab.
5. Click
Change
which is under
Virtual memory
.
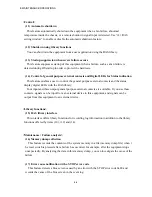
6. Clear the
Automatically manage paging file size for all drives
check box.
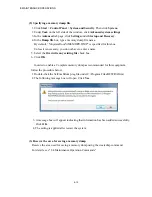
7. In the
Drive
list, select the drive that stores the paging file you want to change. For the
sake of explanation, assume C: (system drive) is clicked here.
8. Select
Custom size
. In the
Initial size (MB)
or
Maximum size (MB)
box, type the
new size of the paging file in megabytes. Then click
Set.
Specify the following value for both the initial size and the maximum size based on the
physical memory size.
・
If the physical memory size is 4GB: “4313”
・
If the physical memory size is 8GB: “8409”
・
If the physical memory size is 16GB: “16601”
You can check the physical memory size using the following procedure.
a. Click
Start
>
Control Panel
>
System and Security
.
b. Click
System
. Then check the value of “Memory(RAM)
:
”
9. Click
OK
.
< NOTE >
Before starting a procedure in this subsection, you must log on to the local
computer by using an administrator account registered on the computer (as a
member of the Administrators group).
Содержание HF-W2000
Страница 44: ...This Page Intentionally Left Blank ...
Страница 72: ...This Page Intentionally Left Blank ...
Страница 84: ...2 OPERATION 2 12 4 Click ACPI x64 based PC Microsoft ACPI Compliant System PCI Express Root Complex ...
Страница 102: ...This Page Intentionally Left Blank ...
Страница 133: ......
Страница 134: ...This Page Intentionally Left Blank ...
Страница 176: ...This Page Intentionally Left Blank ...
Страница 204: ...This Page Intentionally Left Blank ...
Страница 245: ...This Page Intentionally Left Blank ...
Страница 279: ...This Page Intentionally Left Blank ...
Страница 323: ...This Page Intentionally Left Blank ...

