6. CHECKUP AND MAINTENANCE
6-22
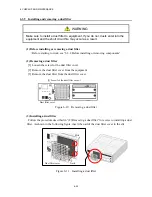
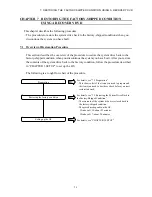
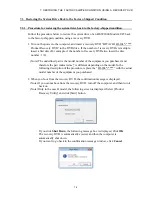
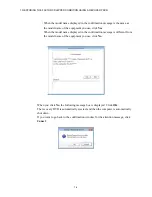
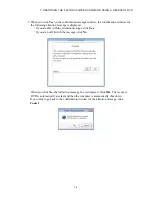
6.3.9 Installing and removing a dust filter
(1) Before installing or removing a dust filter
・
Before starting to work, see “6.3.2 Before installing or removing components”.
(2) Removing a dust filter
[1] Loosen the screw for the dust filter cover.
[2] Remove the dust filter cover from the equipment.
[3] Remove the dust filter from the dust filter cover.
Figure 6-10 Removing a dust filter
(3) Installing a dust filter
Follow the procedure described in “(2) Removing a dust filter” in reverse to installing a dust
filter. As shown in the following figure, insert the nail of the dust filter cover in the slit.
Figure 6-11 Installing a dust filter
WARNING
Make sure to install a dust filter to equipment. If you do not, dusts enter into the
equipment and the short circuit fire may occur as a result.
[1] Screw for the dust filter cover×1
Dust filter cover
Dust filter cover
Nails
Slits
Содержание HF-W2000
Страница 44: ...This Page Intentionally Left Blank ...
Страница 72: ...This Page Intentionally Left Blank ...
Страница 84: ...2 OPERATION 2 12 4 Click ACPI x64 based PC Microsoft ACPI Compliant System PCI Express Root Complex ...
Страница 102: ...This Page Intentionally Left Blank ...
Страница 133: ......
Страница 134: ...This Page Intentionally Left Blank ...
Страница 176: ...This Page Intentionally Left Blank ...
Страница 204: ...This Page Intentionally Left Blank ...
Страница 245: ...This Page Intentionally Left Blank ...
Страница 279: ...This Page Intentionally Left Blank ...
Страница 323: ...This Page Intentionally Left Blank ...

