2. Edit the employee ID.
Note
• The employee ID should be between 1 and 99999999.
• The employee ID should not start with 0 and should not be
duplicated.
3. Tap the Name field and input the user name on the soft
keyboard.
Note
• Numbers, upper case letters, lower case letters, and special
characters are allowed in the user name.
• Up to 32 characters are allowed in the user name.
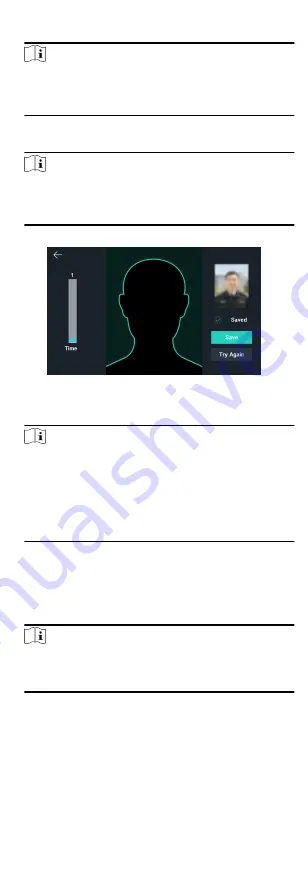
4. Tap the Face Picture field to enter the face picture adding page.
Figure 8-4 Add Face Picture
5. Position your face looking at the camera.
Note
• Make sure your face picture is in the face picture outline
when adding the face picture.
• Make sure the captured face picture is in good quality and is
accurate.
• For details about the instructions of adding face pictures,
see Tips When Collecting/Comparing Face Picture.
After completely adding the face picture, a captured face
picture will be displayed at the upper right corner of the page.
6. Tap Save to save the face picture.
7. Optional: Tap Try Again and adjust your face position to add
the face picture again.
Note
The maximum duration for adding a face picture is 15s. You can
check the remaining time for adding a face picture on the left
of the page.
8. Enable or disable the Administrator Permission function.
Enable Administrator Permission
The user is the administrator. Except for the normal
attendance function, the user can also enter the Home page
to operate after authenticating the permission.
Disable Administrator Permission
17
Содержание DS-K1T605 Series
Страница 1: ...Face Recognition Terminal UD07930B E...
Страница 104: ...95...
Страница 105: ...C Relationship between Device Height Person Height and Standing Distance 96...
Страница 107: ...E Dimension 98...


