9 Computer Operations
220
Comput
er Operat
ions
9
3
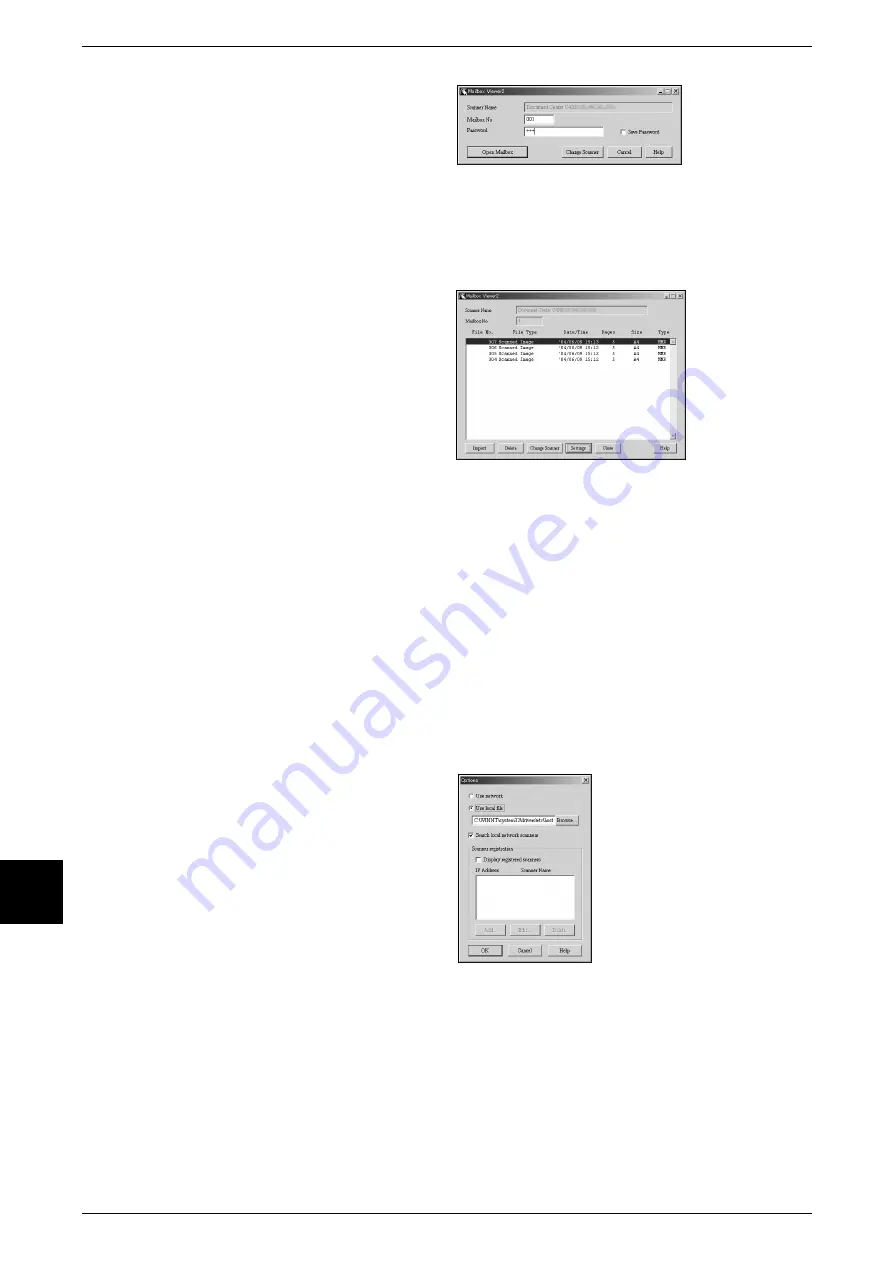
In the [Mailbox No.] field, input the
mailbox number (001 to 200) that
contains the document you wish to
import, and input a password (up to
20 digits) into the [Password] field.
Note
•
When you check the [Save Password] check box, you can skip steps 2 to 4 the next time you
select the same mailbox.
•
Clicking [Change Scanner] returns to step 2, where you can reselect a scanner.
4
Click [Open Mailbox].
5
Click [Import].
Important •
Mailbox Viewer 2 does not
support importing one
document at a time. All
documents stored on the
selected mailbox are imported
when you click on [Import].
Note
•
To import documents, the
[Auto Import] check box must
be checked in Mailbox Viewer
2.
For information about Mailbox Viewer 2 settings, refer to "Configure the Import Method for Scanned
Documents" (P.221).
6
Clicking on the [Import] button removes all stored documents from the mailbox, and
saves them in the specified directory (default: C\Program Files\Fuji Xerox\Network
Scan\Temp).
Changing Mailbox Viewer 2 Settings
To learn about fields in the displayed dialog box, click on [Help] and refer to the Mailbox Viewer 2
online help.
Configure the Display Method for the Scanner Name
You can change the display method
for the scanner name shown when
that scanner is selected.
To change the scanner name
display method, click on [Options] in
the scanner select dialog box and
configure the display.
Содержание Document Centre C250
Страница 1: ...Document Centre C450 C360 C250 User Guide ...
Страница 14: ......
Страница 98: ......
Страница 198: ......
Страница 204: ......
Страница 210: ......
Страница 356: ......
Страница 388: ......
Страница 408: ......
Страница 430: ......
Страница 487: ...Paper Jams 485 Problem Solving 16 4 Return the light finisher to the main body ...
Страница 535: ...18 Glossary This chapter describes the glossary provided by the machine z Glossary 534 ...
Страница 554: ......
Страница 556: ......


