49
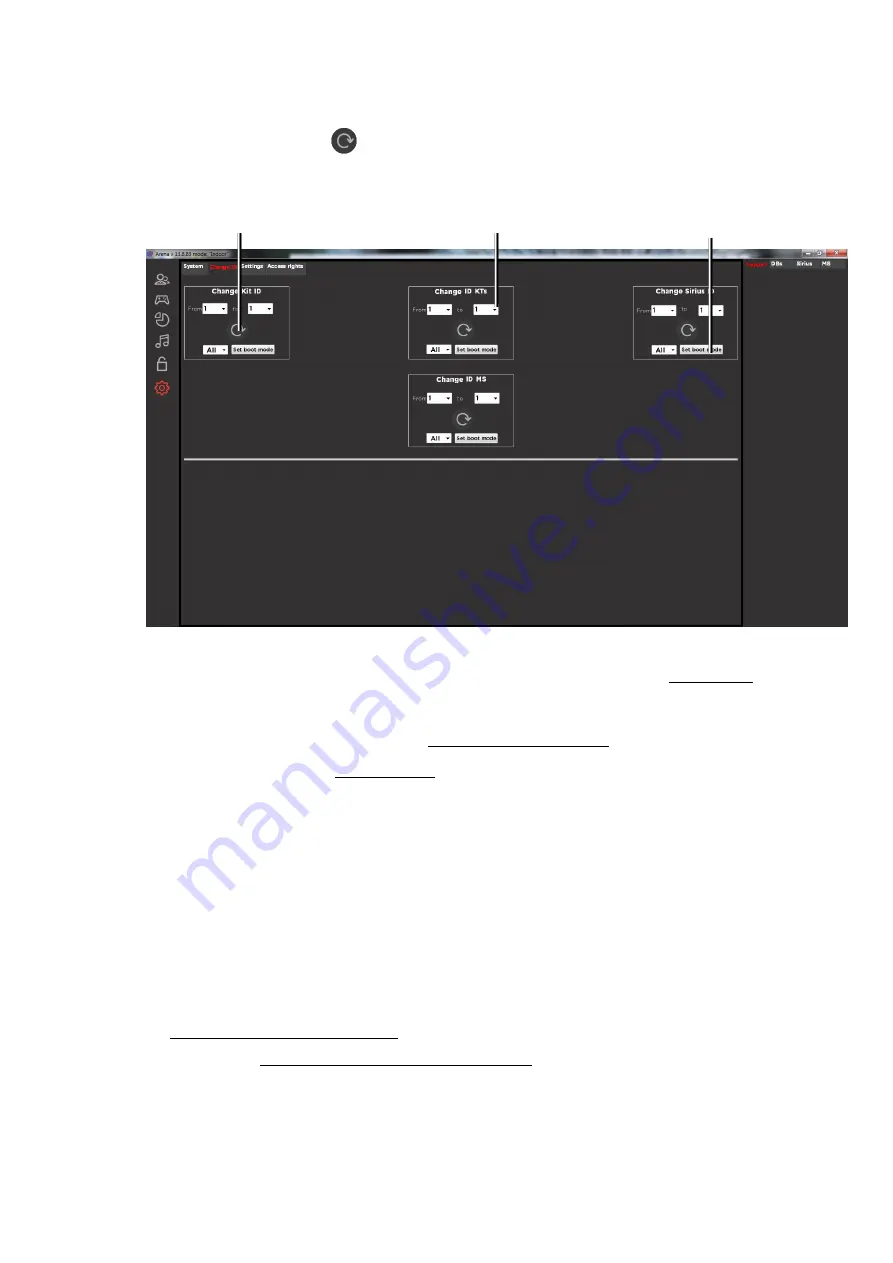
From the drop-down list, select the number to which the ID should be changed.
Press the button .
Turn the kit/device off and on again in normal mode.
ID Change Tab
In the tab you can also remotely transfer additional devices to boot mode. This is
necessary to update the firmware of the microcontrollers of the equipment. A
description of the translation procedure is given in chapter 11.
For game kits, it is also possible to change the ID manually:
Turn on the kit in service mode
- with the blaster trigger pressed (in the firmware
older than version 25.13.8 - with the blaster functional button held down).
At the same time, hold the trigger and reload button for about 8-9 seconds.
After the sound signal, release the trigger and button - the kit ID will be reset to the
1st number.
Briefly pressing the reload button, set the desired number. Changing the number
will be accompanied by a sound signal.
Turn off the kit and turn on as usual
10.6.3.
Settings
The “Settings” tab is divided into two parts: the upper one allows you to configure the
TV Out server and the displayed information on an external screen, the lower one - the form
of printed statistics.
The setup of the TV Out server
is given in Chapter 12.
In the field "Setting the form of printed statistics" you can create an individual form,
which is printed at the end of the games. The following fields are available for editing: name,
phone, website, club or company address.
To replace the upper logo, you must upload (by clicking on the "Browse" button) a .png
image of 45x45 pixels in size, for the lower logo - 680x120. When loading a larger image, the
"Change"
Button
Select device
number
Putting the device
into boot mode


