Note
Only a few, old software
packages require you to use the
SETVGA program.
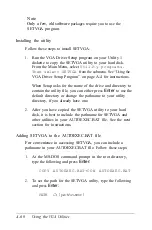
Installing the utility
Follow these steps to install SETVGA:
1.
Run the VGA Driver Setup program on your Utility 1
diskette to copy the SETVGA utility to your hard disk.
From the Main Menu, select
Utility programs.
Then select SETVGA
from the submenu. See “Using the
VGA Driver Setup Program” on page A-4 for instructions.
When Setup asks for the name of the drive and directory to
contain the utility file, you can either press
Enter
to use the
default directory or change the pathname to your utility
directory, if you already have one.
2.
After you have copied the SETVGA utility to your hard
disk, it is best to include the pathname for SETVGA and
other utilities in your AUTOEXEC.BAT file. See the next
section for instructions.
Adding SETVGA to the AUTOEXEC.BAT file
For
convenience in accessing SETVGA, you can include a
pathname in your AUTOEXEC.BAT file. Follow these steps:
1.
At the MS-DOS command prompt in the root directory,
type the following and press
Enter:
COPY AUTOEXEC.BAT+CON AUTOEXEC.BAT
2.
To set the path for the SETVGA utility, type the following
and press
Enter:
PATH
C:\pathname\
A-60
Using the
VGA Utilities
Содержание Equity 386/25
Страница 1: ......
Страница 3: ......
Страница 14: ...xii ...
Страница 20: ...6 lntroduction ...
Страница 63: ...Hard disk drive types continued Running the Setup Program 2 25 ...
Страница 142: ...5 34 lnstalling and Removing Options ...
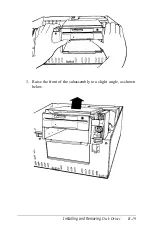
Страница 216: ...3 Raise the front of the subassembly to a slight angle as shown below Installing and Removing Disk Drives B 19 ...
Страница 248: ...C 14 Physically Formatting a Hard Disk ...
Страница 298: ...F 6 Specifications ...
Страница 326: ......

