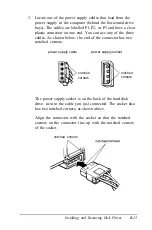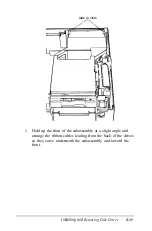
2.
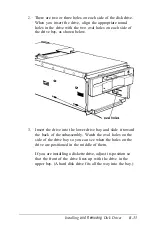
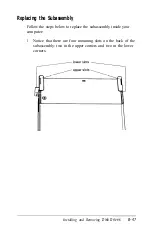
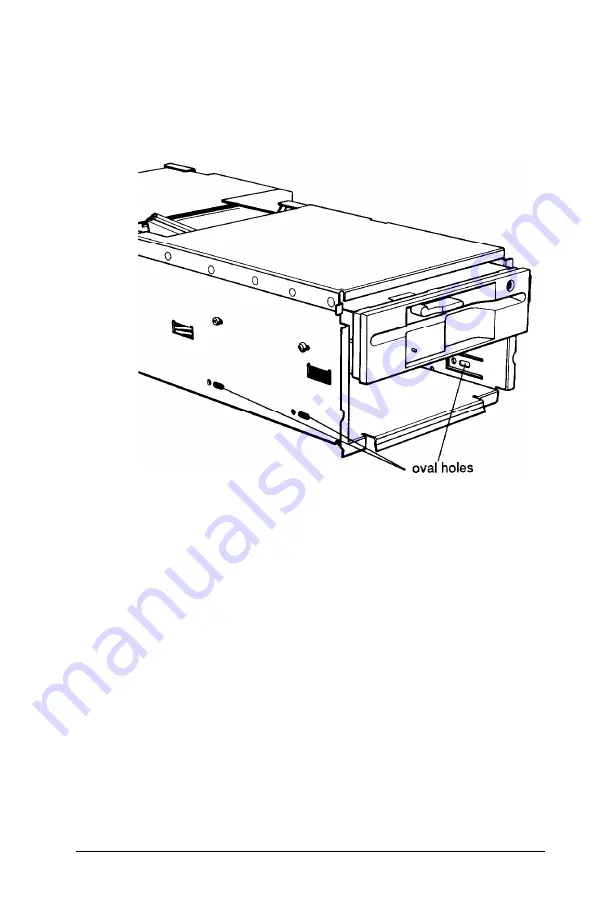
There are two or three holes on each side of the disk drive.
When you insert the drive, align the appropriate round
holes in the drive with the two oval holes on each side of
the drive bay, as shown below.
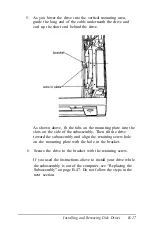
3.
Insert the drive into the lower drive bay and slide it toward
the back of the subassembly. Watch the oval holes on the
side of the drive bay so you can see when the holes on the
drive are positioned in the middle of them.
If you are installing a diskette drive, adjust its position so
that the front of the drive lines up with the drive in the
upper bay. (A hard disk drive fits all the way into the bay.)
Installing
and Removing
Disk Drives
B-35
Содержание Equity 386/25
Страница 1: ......
Страница 3: ......
Страница 14: ...xii ...
Страница 20: ...6 lntroduction ...
Страница 63: ...Hard disk drive types continued Running the Setup Program 2 25 ...
Страница 142: ...5 34 lnstalling and Removing Options ...
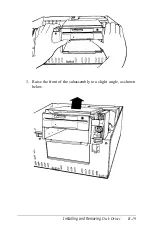
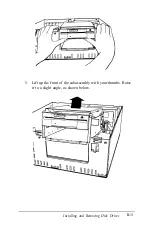
Страница 216: ...3 Raise the front of the subassembly to a slight angle as shown below Installing and Removing Disk Drives B 19 ...
Страница 248: ...C 14 Physically Formatting a Hard Disk ...
Страница 298: ...F 6 Specifications ...
Страница 326: ......

