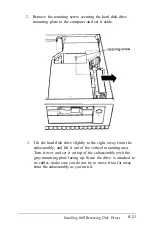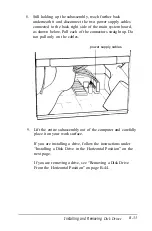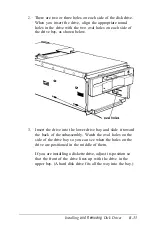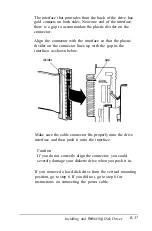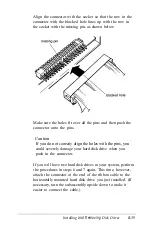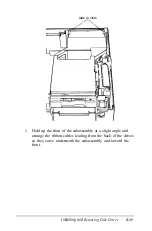
2.
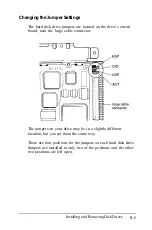
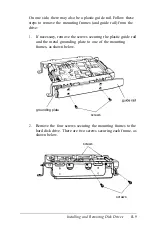
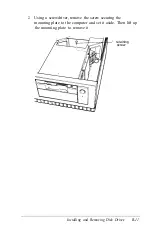
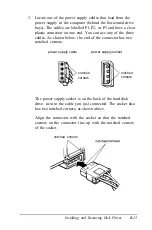
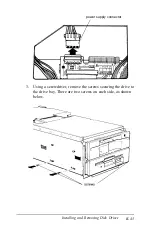
Remove the retaining screw securing the hard disk drive
mounting plate to the computer and set it aside.
3.
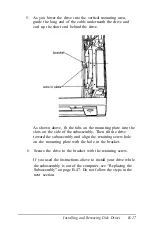
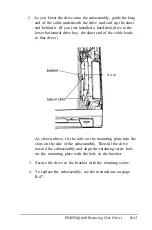
Tilt the hard disk drive slightly to the right, away from the
subassembly, and lift it out of the vertical mounting area.
Turn it over and set it on top of the subassembly with the
gray mounting plate facing up. Since the drive is attached to
its cables, make sure you do not try to move it too far away
from the subassembly as you turn it.
Installing
and
Removing Disk Drives
B-25
Содержание Equity 386/25
Страница 1: ......
Страница 3: ......
Страница 14: ...xii ...
Страница 20: ...6 lntroduction ...
Страница 63: ...Hard disk drive types continued Running the Setup Program 2 25 ...
Страница 142: ...5 34 lnstalling and Removing Options ...
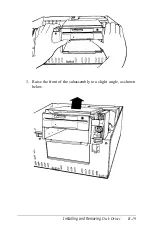
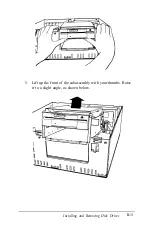
Страница 216: ...3 Raise the front of the subassembly to a slight angle as shown below Installing and Removing Disk Drives B 19 ...
Страница 248: ...C 14 Physically Formatting a Hard Disk ...
Страница 298: ...F 6 Specifications ...
Страница 326: ......

