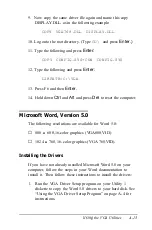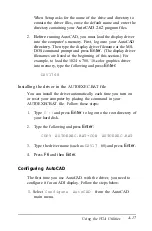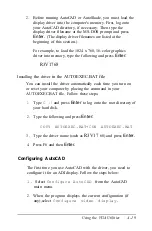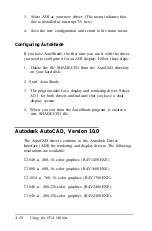
5.
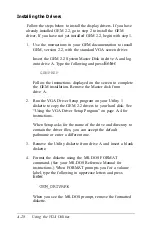
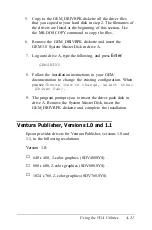
Copy to the GEM_DRIVRPK diskette all of the display
driver files that you copied to your hard disk in step 2. The
filenames of the display drivers are listed at the beginning of
this section. Use the MS-DOS COPY command to copy the
files.
6.
Remove the GEM_DRIVRPK diskette and insert the
GEM 2.2 System Master Disk in drive A.
7.
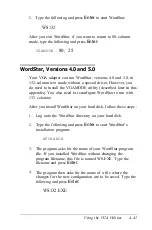
Log onto drive A, type the following, and press
Enter:
SCRNSTAL C:
8.
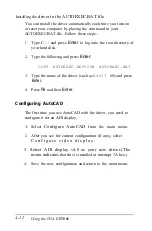
Follow the instructions in your GEM documentation and on
the screen to finish the installation. You’ll choose the
appropriate driver from one of the GEM menus. You may
need to insert the original GEM device driver disk as well as
the GEM_DRIVRPK diskette you created.
Note
If you have installed GEM 2.2 and you want to change to
another display driver, have the GEM_DRIVRPK diskette
ready, and then start from Step 6 to change the driver.
Digital Research GEM, Version 3.0
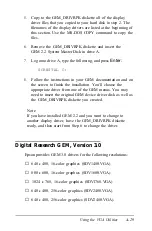
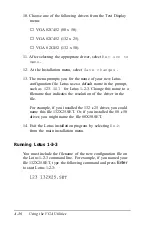
Epson provides GEM 3.0 drivers for the following resolutions:
❏
640
x
480, 16-color graphics (SDV1480.VGA)
❏
800
x
600, 16-color graphics (SDV1600.VGA)
❏
1024
x
768, 16-color graphics (SDVl768.VGA)
❏
640
x
400, 256-color graphics (SDV2400.VGA)
❏
640
x
480, 256-color graphics (SDV2480.VGA).
Using the VGA Utilities
A-29
Содержание Equity 386/25
Страница 1: ......
Страница 3: ......
Страница 14: ...xii ...
Страница 20: ...6 lntroduction ...
Страница 63: ...Hard disk drive types continued Running the Setup Program 2 25 ...
Страница 142: ...5 34 lnstalling and Removing Options ...
Страница 216: ...3 Raise the front of the subassembly to a slight angle as shown below Installing and Removing Disk Drives B 19 ...
Страница 248: ...C 14 Physically Formatting a Hard Disk ...
Страница 298: ...F 6 Specifications ...
Страница 326: ......

