2.
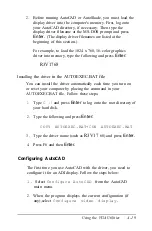
When the program displays the current configuration (if
a n y ) , s e l e c t C o n f i g u r e v i d e o d i s p l a y .
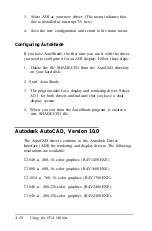
3. Select ADI as your new driver. (The menu indicates that
this is installed at interrupt 7A hex.)
4. Save the new configuration and return to the main menu.
Autodesk AutoCAD, Version 9.00
The AutoCAD drivers conform to the Autodesk Device
Interface (ADI) for rendering and display drivers. Epson
provides the following resolutions for AutoCAD 9.0:
❏
640
x
480, 16-color graphics (R3V1480.EXE)
❏
800
x
600, 16-color graphics (R3V1600.EXE)
❏
1024
x
768, 16-color graphics (R3V1768.EXE).
Installing the Drivers
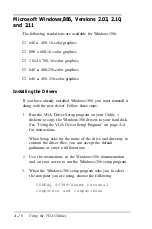
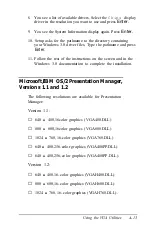
Use the instructions in your AutoCAD documentation to install
the program on your hard disk. To install the drivers, follow the
steps below:
1.
Run the VGA Driver Setup program on your Utility 1
diskette to copy the AutoCAD 9.0 drivers to your hard disk.
See “Using the VGA Driver Setup Program” on page A-4
for instructions.
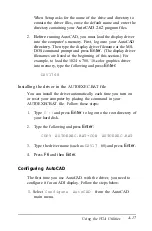
When Setup asks for the name of the drive and directory to
contain the driver files, erase the default name and enter the
directory containing your AutoCAD 9.0 program files.
A-18
Using the VGA Utilities
Содержание Equity 386/25
Страница 1: ......
Страница 3: ......
Страница 14: ...xii ...
Страница 20: ...6 lntroduction ...
Страница 63: ...Hard disk drive types continued Running the Setup Program 2 25 ...
Страница 142: ...5 34 lnstalling and Removing Options ...
Страница 216: ...3 Raise the front of the subassembly to a slight angle as shown below Installing and Removing Disk Drives B 19 ...
Страница 248: ...C 14 Physically Formatting a Hard Disk ...
Страница 298: ...F 6 Specifications ...
Страница 326: ......


