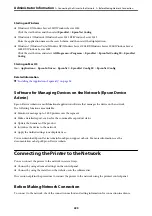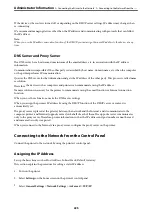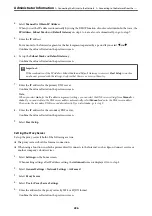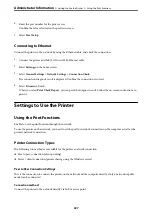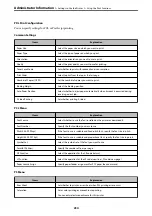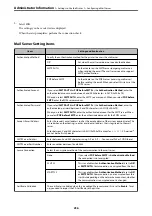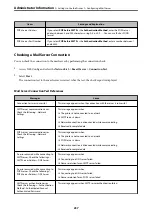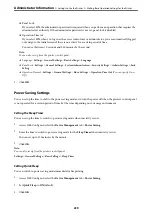
6.
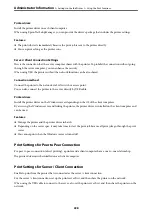
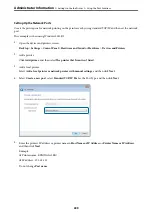
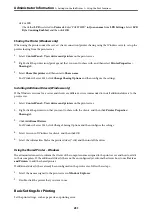
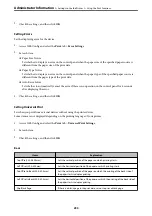
Enter the port number for the proxy server.
Confirm the value reflected on the previous screen.
7.
Select
Start Setup
.
Connecting to Ethernet
Connect the printer to the network by using the Ethernet cable, and check the connection.
1.
Connect the printer and hub (LAN switch) by Ethernet cable.
2.
Select
Settings
on the home screen.
3.
Select
General Settings
>
Network Settings
>
Connection Check
.
The connection diagnosis result is displayed. Confirm the connection is correct.
4.
Select
Dismiss
to finish.
When you select
Print Check Report
, you can print the diagnosis result. Follow the on-screen instructions to
print it.
Settings to Use the Printer
Using the Print Functions
Enable to use the print function through the network.
To use the printer on the network, you need to set the port for network connection on the computer as well as the
printer’s network connection.
Printer Connection Types
The following two methods are available for the printer's network connection.
❏
Peer to peer connection (direct printing)
❏
Server / client connection (printer sharing using the Windows server)
Peer to Peer Connection Settings
This is the connection to connect the printer on the network and the computer directly. Only a network-capable
model can be connected.
Connection method:
Connect the printer to the network directly via hub or access point.
>
>
227

