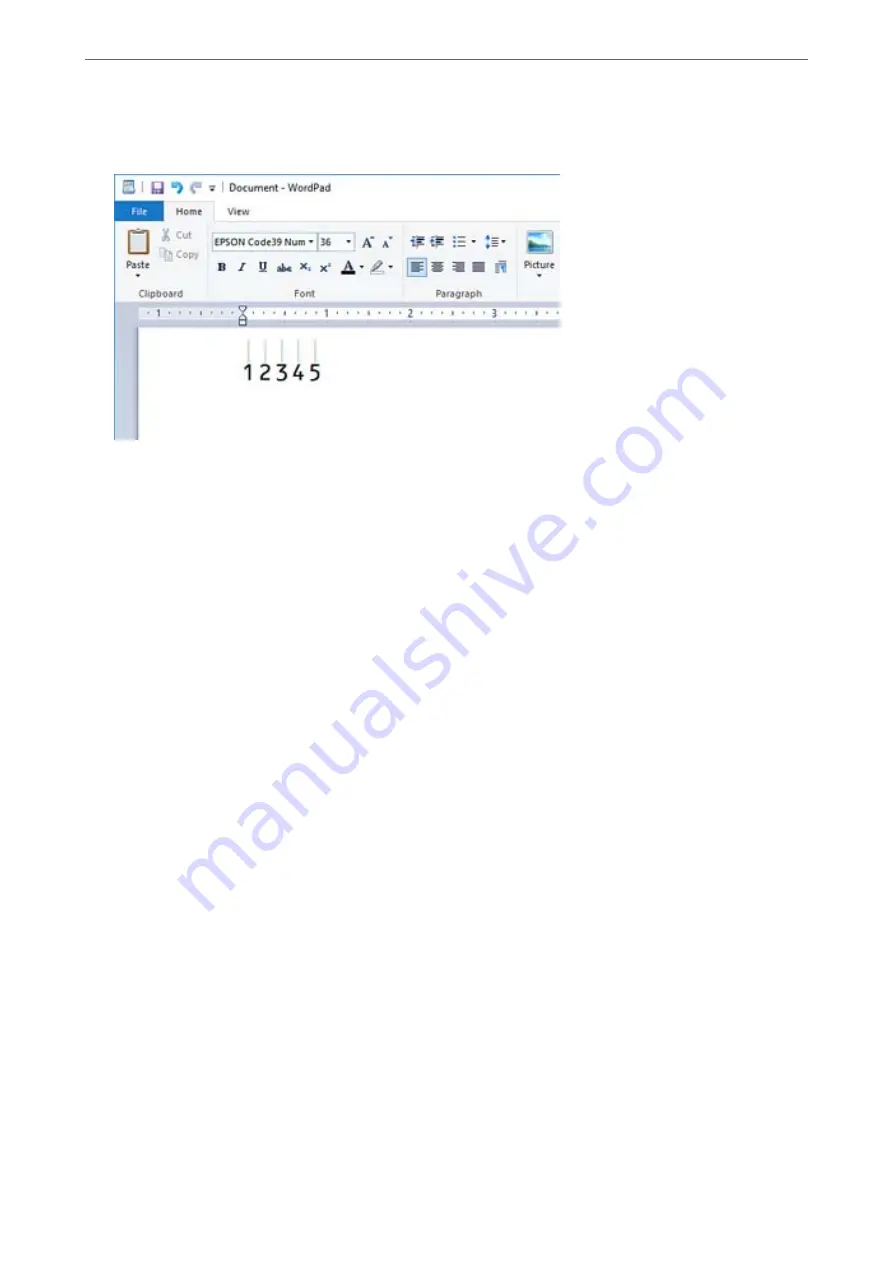
3.
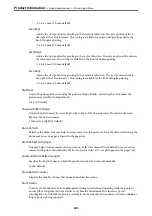
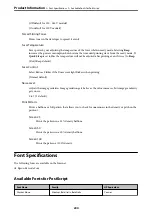
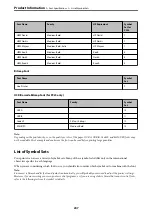
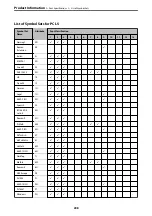
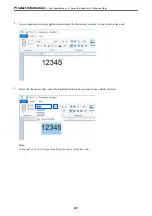
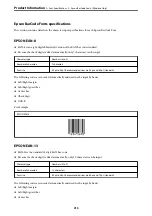
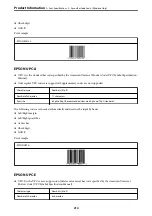
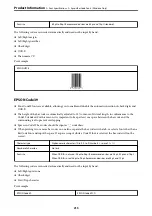
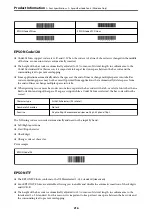
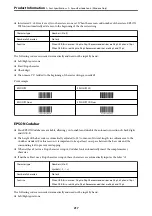
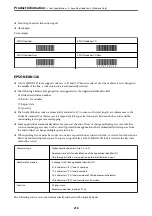
The characters you selected appear as bar code characters similar to those shown below.
4.
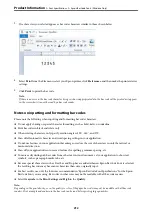
Select
from the File menu, select your Epson printer, click
Preferences
, and then make the printer driver
settings.
5.
Click
to print the bar code.
Note:
If there is an error in the bar code character string, such as inappropriate data, the bar code will be printed as it appears
on the screen, but it cannot be read by a bar code reader.
Notes on inputting and formatting bar codes
Please note the following when inputting and formatting bar code characters:
❏
Do not apply shading or special character formatting, such as bold, italic, or underline.
❏
Print bar codes in black and white only.
❏
When rotating characters, only specify rotation angles of 90˚, 180˚, and 270˚.
❏
Turn off all automatic character and word spacing settings in your application.
❏
Do not use features in your application that enlarge or reduce the size of characters in only the vertical or
horizontal direction.
❏
Turn off your application’s auto-correct features for spelling, grammar, spacing, etc.
❏
To more easily distinguish bar codes from other text in your document, set your application to show text
symbols, such as paragraph marks, tabs, etc.
❏
Because special characters such as Start bar and Stop bar are added when an Epson BarCode Font is selected,
the resulting bar code may have more characters than were originally input.
❏
For best results, use only the font sizes recommended in “Epson BarCode Font Specifications” for the Epson
BarCode Font you are using. Bar codes in other sizes may not be readable with all bar code readers.
❏
Select
Grayscale
in the
Print Settings
and
High
in the
Quality
.
Note:
Depending on the print density, or on the quality or color of the paper, bar codes may not be readable with all bar code
readers. Print a sample and make sure the bar code can be read before printing large quantities.
>
>
Epson BarCode Fonts (Windows Only)
212

