INSTALLATION
EATON
Powerware
®
BladeUPS
®
(12 kVA) User's Guide
S
164201649 Rev 3
www.powerware.com
52
7.
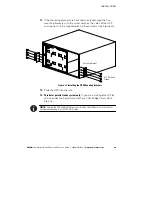
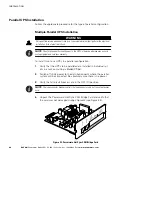
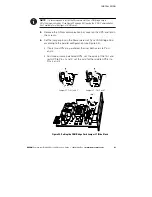
Loosely install the Powerware Hot Sync CAN Bridge Card into the
open X-Slot on the UPS rear panel.
8.
Repeat Steps 4 through 7 to install a CAN Bridge Card in each UPS
to be paralleled.
NOTE
The BladeUPS parallel system can automatically assign identities to each UPS in the
system based on the order in which their CAN Bridge Cards are wired in Steps 9 and 10. For
more information, see “Auto-Identification” on page 99.
9.
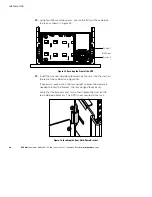
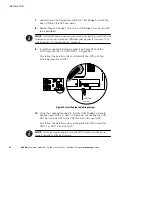
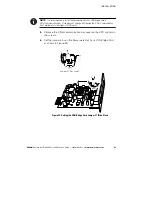
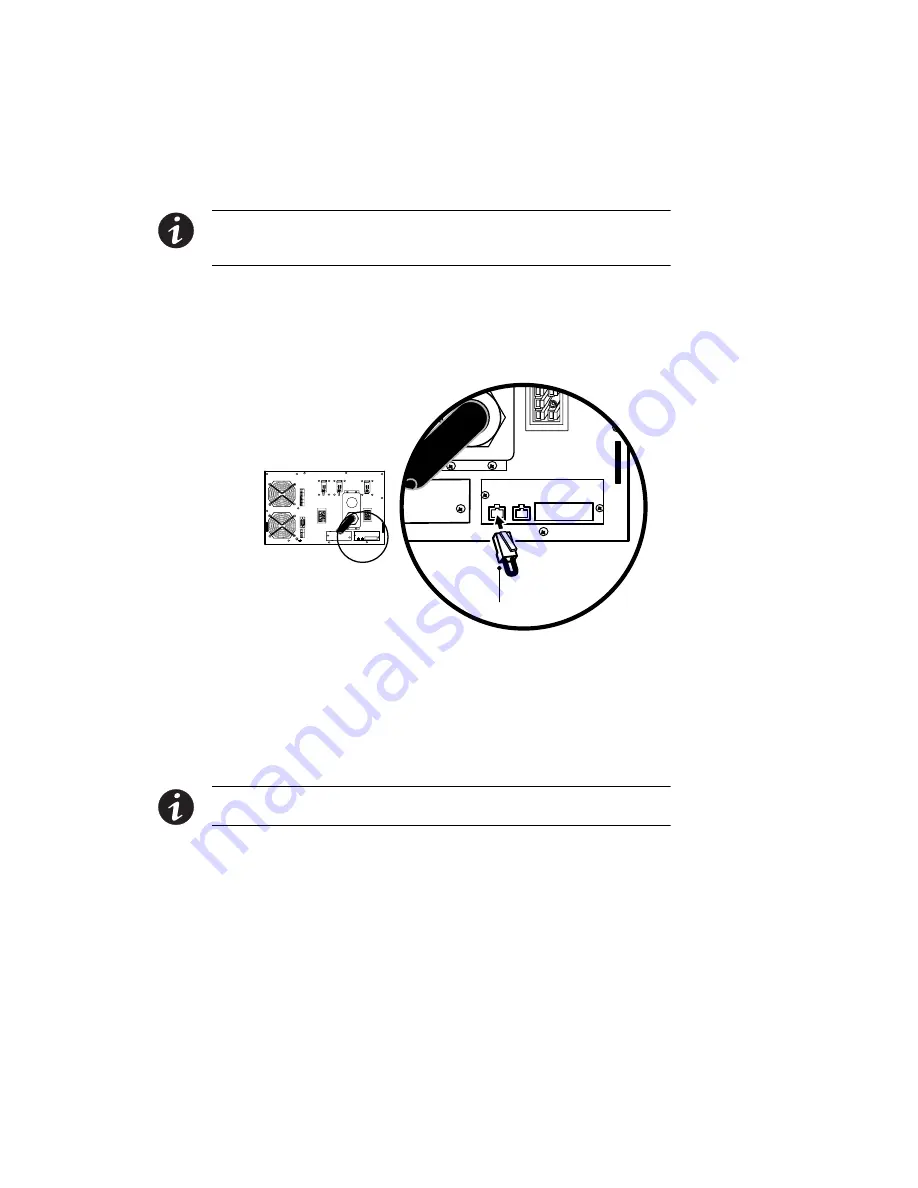
Install the supplied initializing jumper (see Figure 35) into the
CAN IN port on the first UPS (UPS 1 in Figure 36).
On startup, the parallel system will identify the UPS with the
initializing jumper as UNIT 1.
Initializing
Jumper
Figure 35. Installing the Initializing Jumper
10.
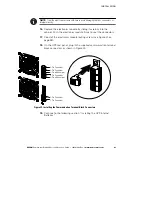
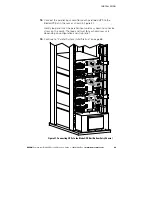
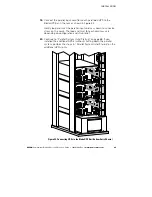
Using the supplied connectors, install a CAN Bridge Card cable
between each UPS as shown in Figure 36, connecting the CAN
OUT port on one UPS to the CAN IN port on the next UPS.
On startup, the parallel system will identify the UPS wired after
UNIT 1 as UNIT 2, and so forth.
NOTE
You can configure the parallel system with UPS 1 at the bottom of the rack (as
shown in Figure 36) or at the top of the rack.
Содержание Powerware BladeUPS
Страница 1: ...Powerware BladeUPS 12 kVA User s Guide ...
Страница 8: ...TABLE OF CONTENTS EATON Powerware BladeUPS 12 kVA User s Guide S 164201649 Rev 3 www powerware com iv ...
Страница 108: ...COMMUNICATION EATON Powerware BladeUPS 12 kVA User s Guide S 164201649 Rev 3 www powerware com 100 ...
Страница 132: ...TROUBLESHOOTING EATON Powerware BladeUPS 12 kVA User s Guide S 164201649 Rev 3 www powerware com 124 ...
Страница 136: ...WARRANTY EATON Powerware BladeUPS 12 kVA User s Guide S 164201649 Rev 3 www powerware com 128 ...
Страница 137: ......
Страница 138: ... 1642016493 164201649 3 ...


