85
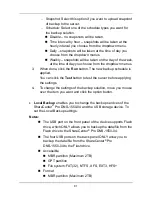
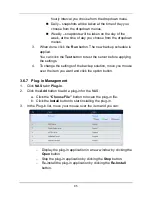
hourly interval you choose from the dropdown menu.
Daily – snapshots will be taken at the time of day you
choose from the dropdown menus.
Weekly – snapshots will be taken on the day of the
week, at the time of day you choose from the dropdown
menus.
3.
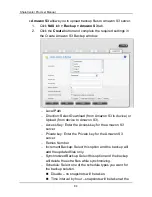
When done, click the
Run
button. The new backup schedule is
applied.
You can click the
Test
button to test the server before applying
the settings.
4.
To change the settings of the backup solution, move you mouse
over the item you want and click the option button.
3.6.7 Plug-in Management
1.
Click
NAS
tab
> Plug-in
.
2.
Click the
Add
button to add a plug-in for the NAS:
a. Click the
“Choose File”
button to locate the plug-in file.
b. Click the
Install
button to start installing the plug-in.
3.
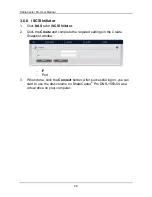
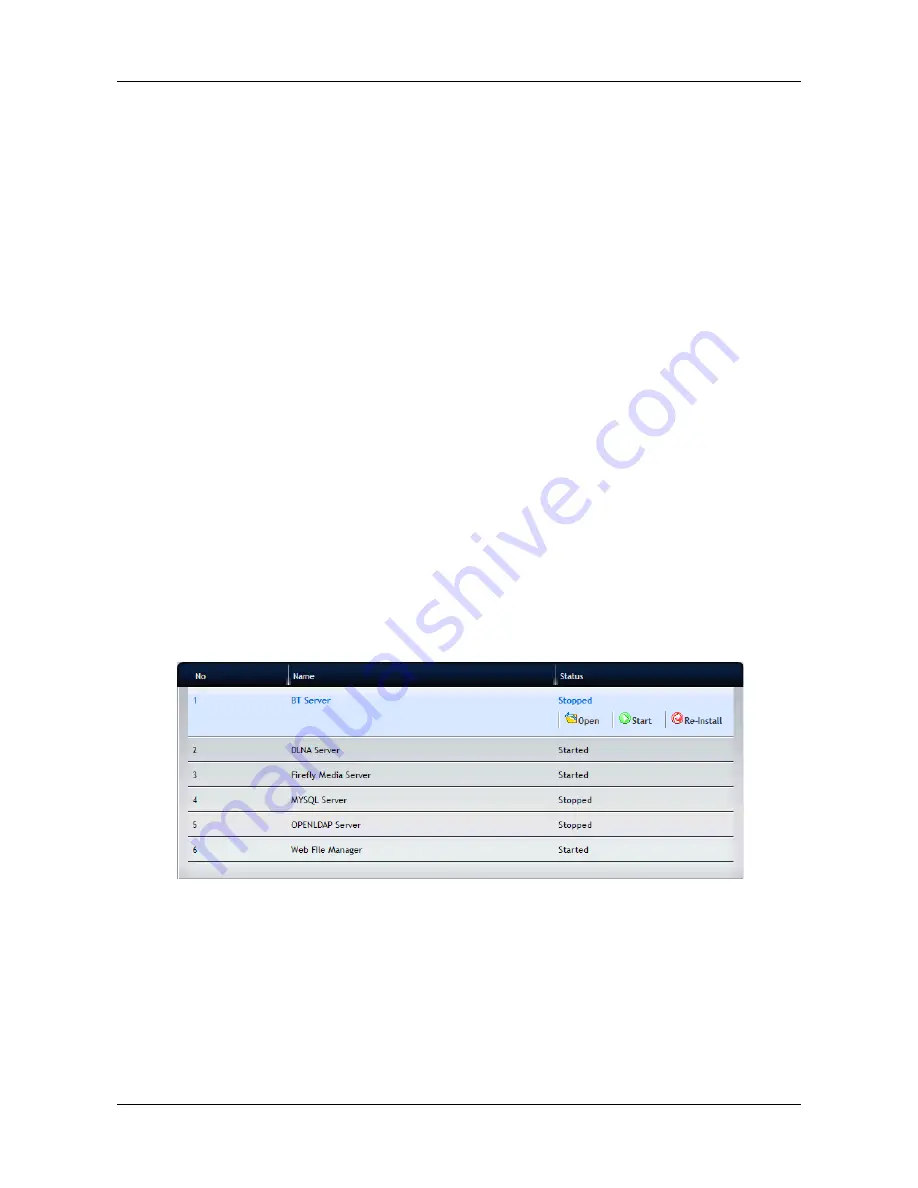
In the Plug-in list, move your mouse over the item and you can:
−
Display the plug-in application in a new window by clicking the
Open
button.
−
Stop the plug-in application by clicking the
Stop
button.
−
Re-install the plug-in application by clicking the
Re-Install
button.
Содержание ShareCenter Pro
Страница 1: ...1 ...
Страница 68: ...ShareCenter Pro User Manual 68 ...
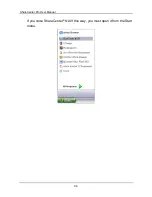
Страница 94: ...ShareCenter Pro User Manual 94 If you close ShareCenter NAVI this way you must open it from the Start menu ...
Страница 102: ...ShareCenter Pro User Manual 102 Drag and drop the folders you want to backup to the Backup your data from window ...
Страница 104: ...ShareCenter Pro User Manual 104 9 Click the Add button The newly created schedule appears in the Schedule List ...
Страница 119: ...119 The Share Folder List appears 4 Double click the individual share folder to view its contents ...
Страница 142: ...ShareCenter Pro User Manual 142 6 The shutdown runs automatically ...

