73
4.
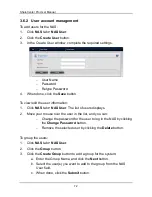
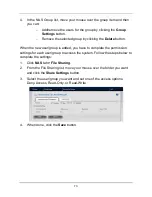
In the NAS Group list, move your mouse over the group item and then
you can:
−
Add/remove the users for the group by clicking the
Group
Settings
button.
−
Remove the selected group by clicking the
Delete
button.
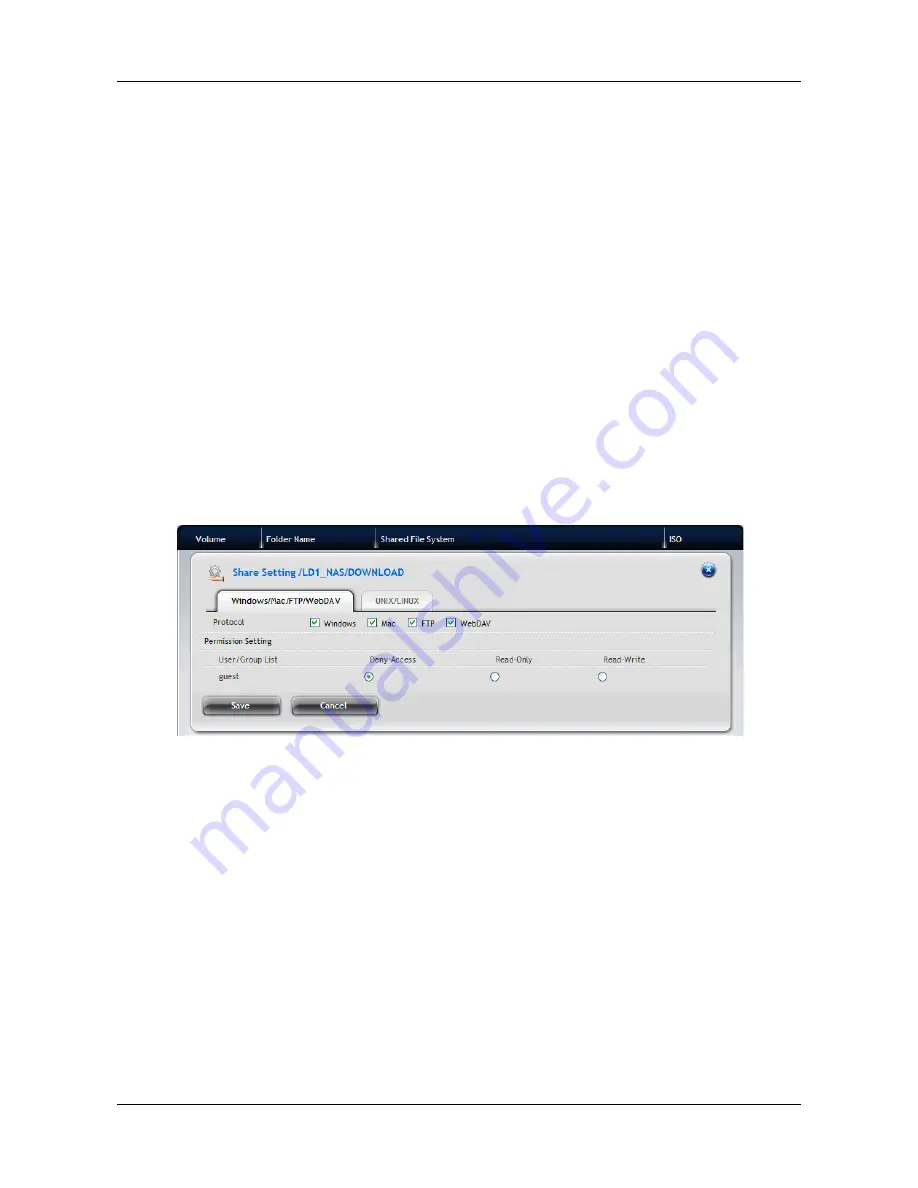
When the new user/group is added, you have to complete the permission
settings for each user/group to access the system. Follow the steps below to
complete the settings:
1.
Click
NAS
tab
> File Sharing
.
2.
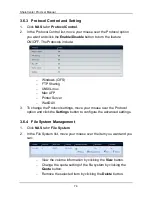
From the File Sharing list, move your mouse over the folder you want
and click the
Share Settings
button.
3.
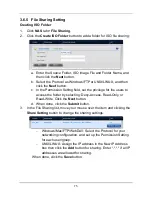
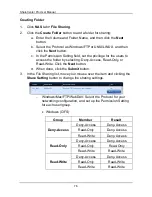
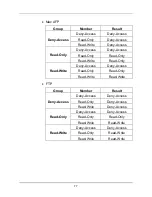
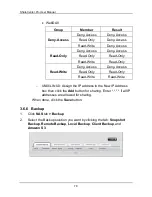
Select the user/group you want and set one of the access options:
Deny-Access, Read-Only, or Read-Write
4.
When done, click the
Save
button.
Содержание ShareCenter Pro
Страница 1: ...1 ...
Страница 68: ...ShareCenter Pro User Manual 68 ...
Страница 94: ...ShareCenter Pro User Manual 94 If you close ShareCenter NAVI this way you must open it from the Start menu ...
Страница 102: ...ShareCenter Pro User Manual 102 Drag and drop the folders you want to backup to the Backup your data from window ...
Страница 104: ...ShareCenter Pro User Manual 104 9 Click the Add button The newly created schedule appears in the Schedule List ...
Страница 119: ...119 The Share Folder List appears 4 Double click the individual share folder to view its contents ...
Страница 142: ...ShareCenter Pro User Manual 142 6 The shutdown runs automatically ...

