35
3.
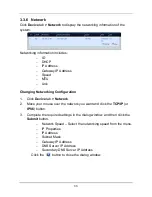
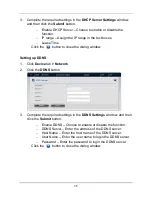
Complete the required settings in the
DHCP Server Settings
window,
and then click the
Submit
button.
−
Enable DHCP Server – Choose to enable or disable the
function.
−
IP range – Assign the IP range in the text boxes.
−
Lease Time
Click the
button to close the dialog window.
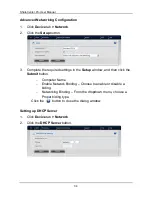
Setting up DDNS
1.
Click
Device
tab
>
Network
.
2.
Click the
DDNS
button.
3.
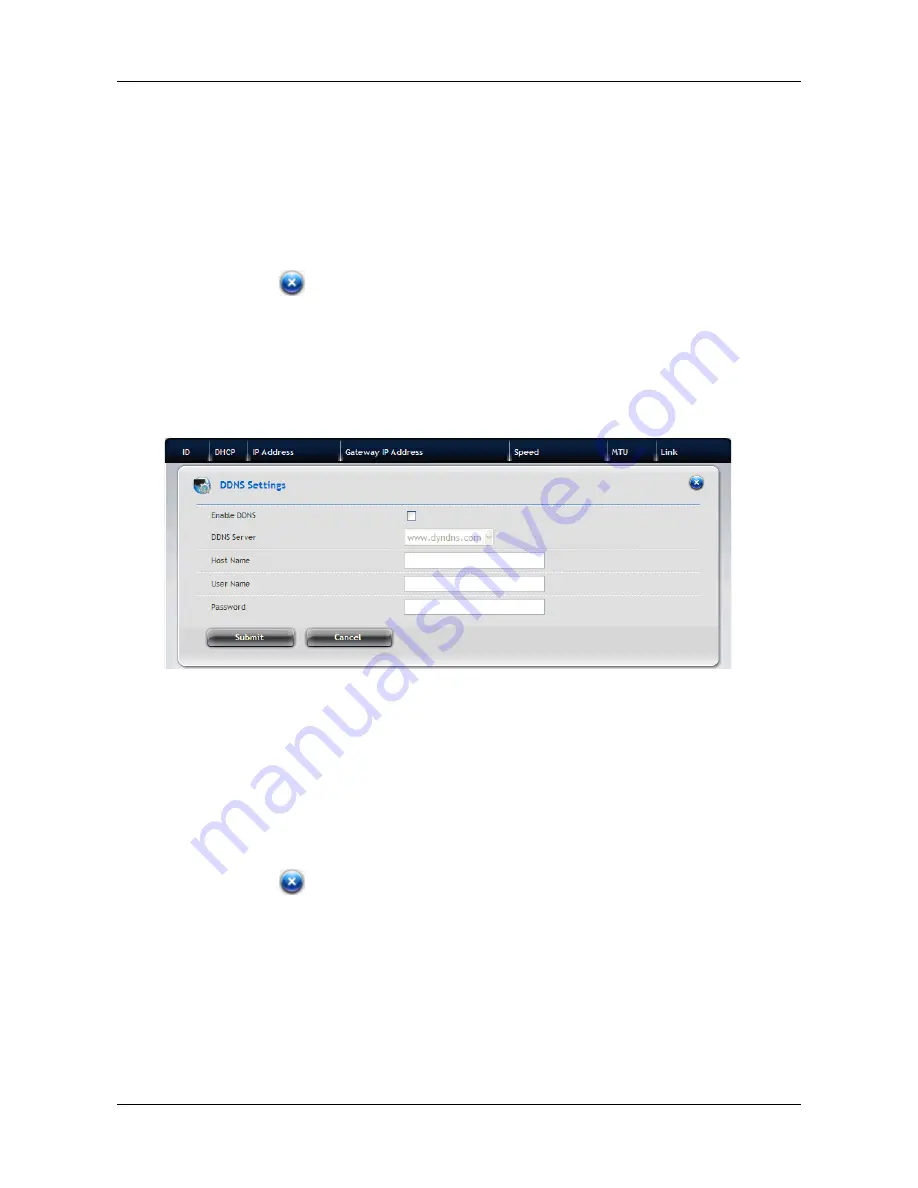
Complete the required settings in the
DDNS Settings
window, and then
click the
Submit
button.
−
Enable DDNS – Choose to enable or disable the function.
−
DDNS Server – Enter the address of the DDNS server.
−
Host Name – Enter the host name of the DDNS server.
−
User Name – Enter the user name to login the DDNS server.
−
Password – Enter the password to login the DDNS server.
Click the
button to close the dialog window.
Содержание ShareCenter Pro
Страница 1: ...1 ...
Страница 68: ...ShareCenter Pro User Manual 68 ...
Страница 94: ...ShareCenter Pro User Manual 94 If you close ShareCenter NAVI this way you must open it from the Start menu ...
Страница 102: ...ShareCenter Pro User Manual 102 Drag and drop the folders you want to backup to the Backup your data from window ...
Страница 104: ...ShareCenter Pro User Manual 104 9 Click the Add button The newly created schedule appears in the Schedule List ...
Страница 119: ...119 The Share Folder List appears 4 Double click the individual share folder to view its contents ...
Страница 142: ...ShareCenter Pro User Manual 142 6 The shutdown runs automatically ...

