34
Chapter 1
Basic Operation
■
[Color] tab
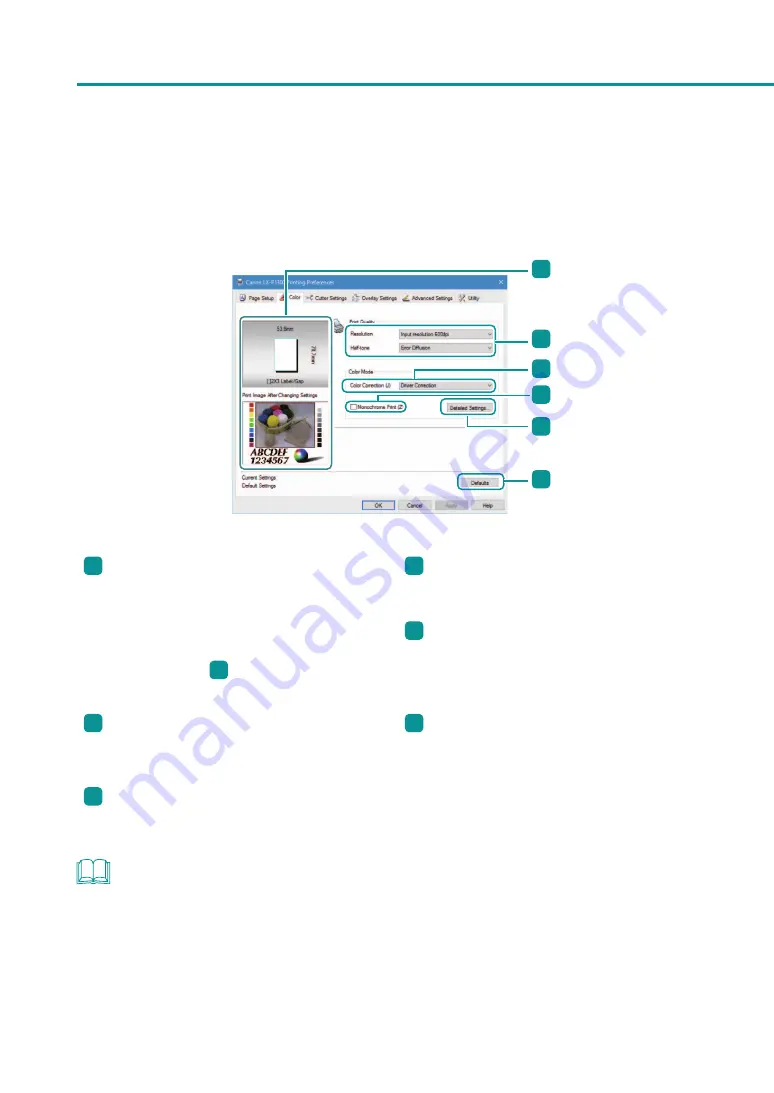
On the [Color] tab can be configured settings of print quality and color.
1
2
3
4
5
6
1
Preview window showing the current settings
The paper size currently set on the [Page Setup]
tab and the print image finished with color
correction on the [Color] tab are displayed.
Upper pane: Paper Size
([Page Setup] tab
3
)
Lower pane: Print image after color correction
4
Monochrome Print
Select this check box to make black-and-white
prints.
5
[Detailed Settings...]
Clicking this button displays the [Detailed
Settings] dialog box. Use this dialog box to
correct color more finely.
2
Print Quality
Using [Resolution] and [Half-tone], printing can
be excuted with your desired print quality.
6
[Defaults]
Clicking this button restores the default settings
on the [Color] tab.
3
Color Correction
Set the color correction method.
NOTE
• The settings configured on the [Detailed Settings] dialog box do not change even if you click [Defaults] on the
[Color] tab.
Содержание LX-P1300
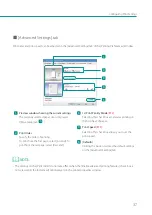
Страница 1: ...User s Guide COLOR LABEL PRINTER LX P1300 LX D1300 CANON FINETECH NISCA INC 2018 4Y1 8615 030...
Страница 98: ...92 Chapter 2 Printing 4 Finish updating the special settings 1 1 Click Close...
Страница 138: ...132 Chapter 3 Maintenance...
Страница 155: ...Chapter 4 Troubleshooting For Troubleshooting Operations 150 List of Error Messages Warning Messages 164...
Страница 179: ...Chapter 5 Appendix Moving the Printer 174 Uninstall Printer Driver 184 About Network Utility 186...
Страница 189: ...183 Moving the Printer...
Страница 206: ...200 Chapter 5 Appendix 2 Configure Time Out Value Extension 1 2 1 Check the Extend Time Out value check box 2 Click OK...


