128
Chapter 3 Maintenance
4
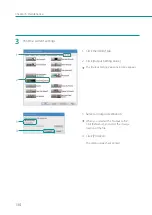
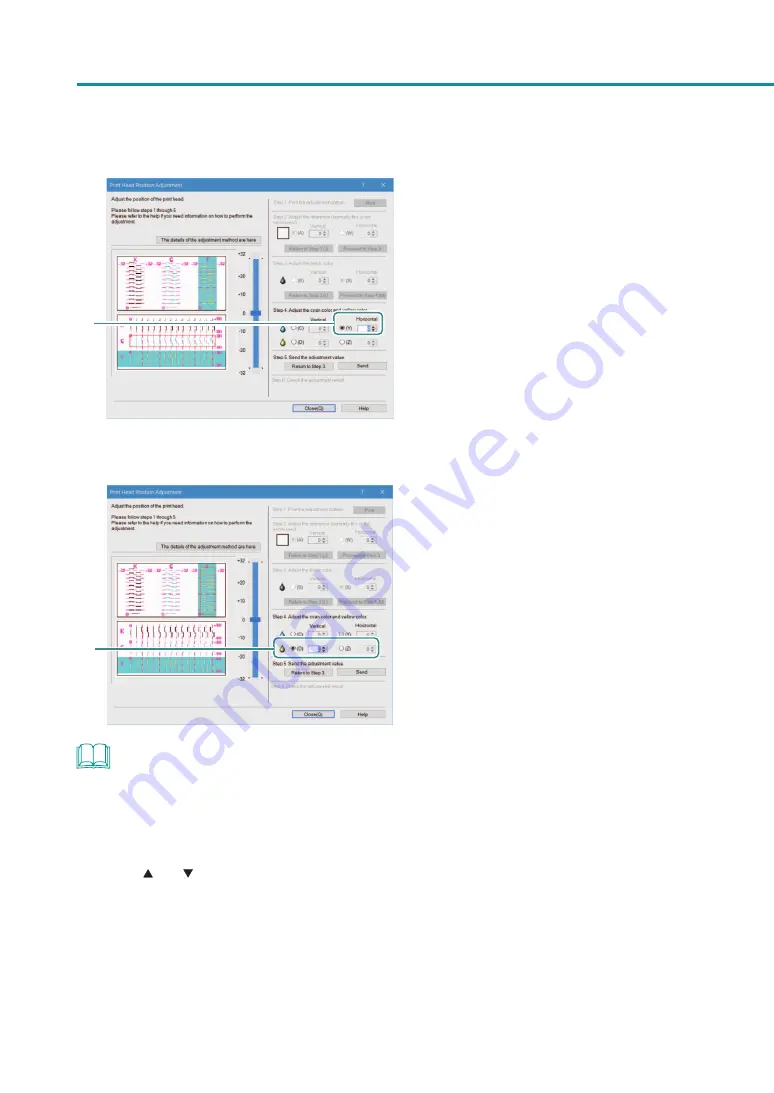
4. Click the button (Y) and then specify the
horizontal adjustment value.
If the radio button is selected, the visible point
in the adjustment pattern in [Head Position
Adjustment] dialog box will be outlined in red.
5
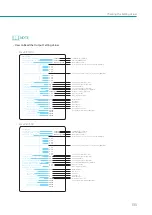
5. Adjust the print head position for yellow.
(Adjustment pattern [Y])
Read the vertical and horizontal
adjustment values in the same manner
as cyan and then click radio buttons (D)
and (Z) one after another to specify the
vertical and horizontal adjustment values.
If the radio button is selected, the visible point
in the adjustment pattern in [Head Position
Adjustment] dialog box will be outlined in red.
NOTE
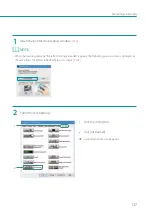
• To specify the adjustment value, move the slider or enter a value directly in the entry box interlocked with the
slider.
• The vertical adjustment range is from -32 to +32, and the horizontal adjustment range is from -30 to +30.
However, the adjustment range may be limited depending on the current settings. Specify the adjustment value
between and shown on the slider scale.
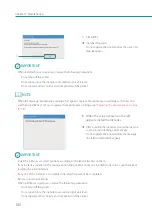
• To retry from [Step 3] (adjustment of the print head position for black), click [Return to Step 3].
Содержание LX-P1300
Страница 1: ...User s Guide COLOR LABEL PRINTER LX P1300 LX D1300 CANON FINETECH NISCA INC 2018 4Y1 8615 030...
Страница 98: ...92 Chapter 2 Printing 4 Finish updating the special settings 1 1 Click Close...
Страница 138: ...132 Chapter 3 Maintenance...
Страница 155: ...Chapter 4 Troubleshooting For Troubleshooting Operations 150 List of Error Messages Warning Messages 164...
Страница 179: ...Chapter 5 Appendix Moving the Printer 174 Uninstall Printer Driver 184 About Network Utility 186...
Страница 189: ...183 Moving the Printer...
Страница 206: ...200 Chapter 5 Appendix 2 Configure Time Out Value Extension 1 2 1 Check the Extend Time Out value check box 2 Click OK...


