76
Chapter 2
Printing
2
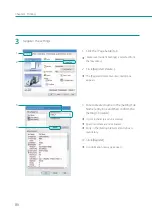
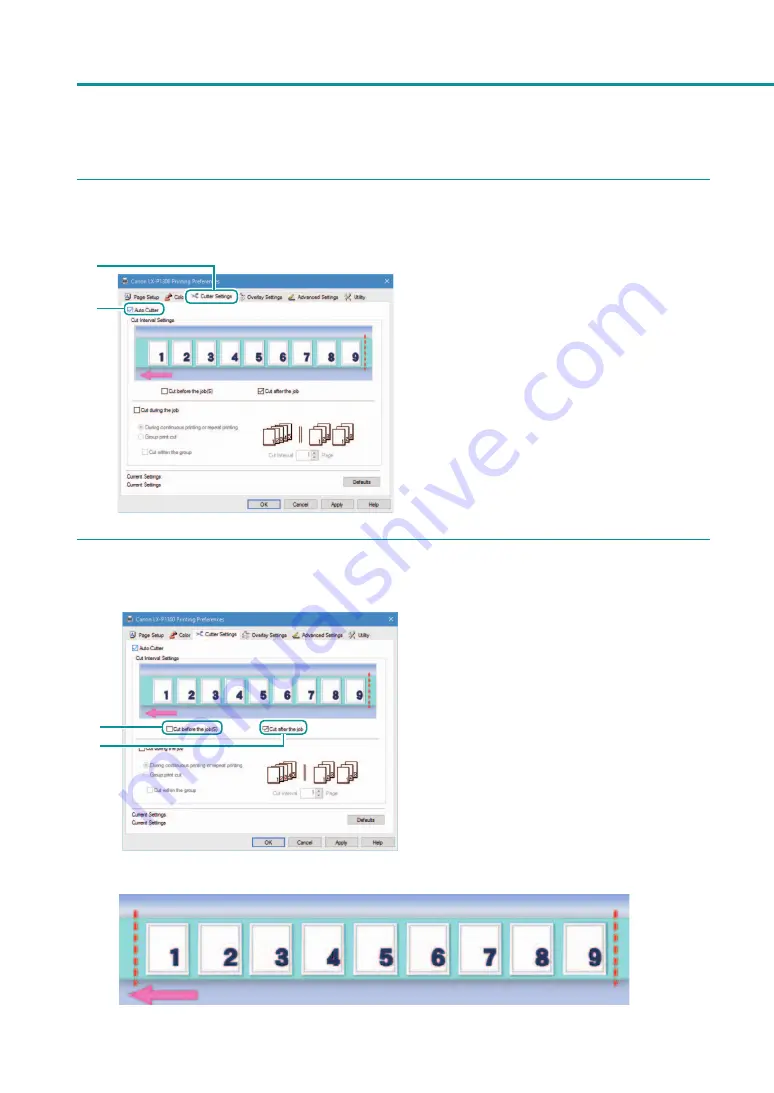
Set the auto cutter.
1
2
1. Click the [Cutter Settings] tab.
2. Check the [Auto Cutter] check box.
By default, this check box is selected.
3
Select the cutting timing(s) (for the beginning of printing and/or the end of printing).
1
2
1. To cut paper at the beginning of printing,
select the [Cut before the job] check box.
2. To cut paper at the end of printing, select
the [Cut after the job] check box.
By default, this check box is selected.
(Image of cut paper) Paper is cut at the beginning and the end of printing.
Содержание LX-P1300
Страница 1: ...User s Guide COLOR LABEL PRINTER LX P1300 LX D1300 CANON FINETECH NISCA INC 2018 4Y1 8615 030...
Страница 98: ...92 Chapter 2 Printing 4 Finish updating the special settings 1 1 Click Close...
Страница 138: ...132 Chapter 3 Maintenance...
Страница 155: ...Chapter 4 Troubleshooting For Troubleshooting Operations 150 List of Error Messages Warning Messages 164...
Страница 179: ...Chapter 5 Appendix Moving the Printer 174 Uninstall Printer Driver 184 About Network Utility 186...
Страница 189: ...183 Moving the Printer...
Страница 206: ...200 Chapter 5 Appendix 2 Configure Time Out Value Extension 1 2 1 Check the Extend Time Out value check box 2 Click OK...


