Calibrate the media
Introduction
In case of print quality issues you should always perform a media calibration.
It is advised to calibrate media when you have loaded a new media type or media width.
NOTE
Media calibration is type and width dependent. When you have two different sizes of the same
media type you must perform calibration for each size.
Also the leading edge position of the media before starting the calibration is important. If the
calibration is started from the media in the drawer, the calibration also optimizes the lead-in
(movement of the leading edge over the platen) to prevent white or black lines in the first meter
of the print when printing. This part is not done when the leading edge already passed the end
of the platen. E.g. because of a manual feed.
Media profiles configured with a lock tension bar (see link: Print and wind with a locked tension
bar) do not have the lead-in calibration part. So be aware when changing the [Winding tension]
settings or applying leading edges before calibrating.
Procedure
1.
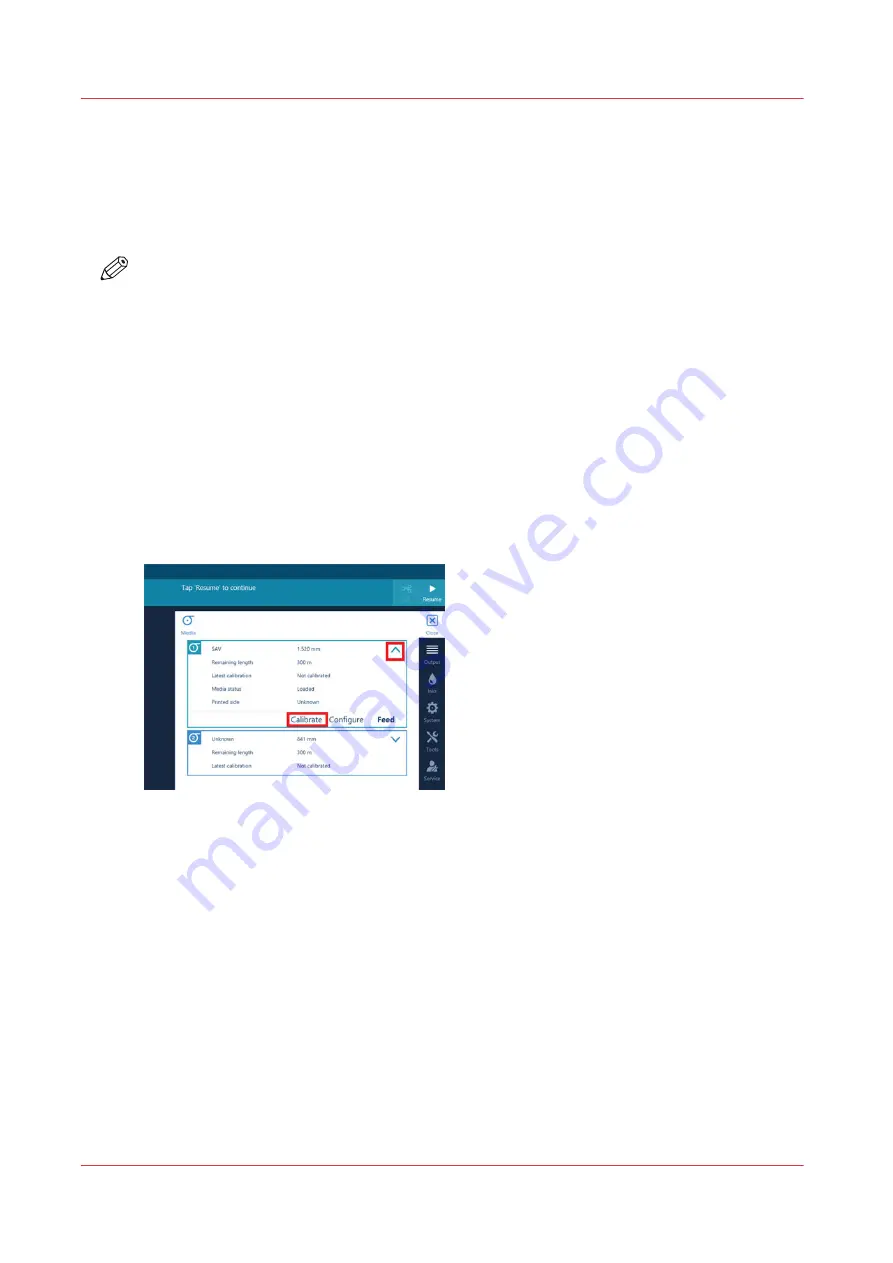
On the operator panel tap on the [Media] icon on the right.
2.
Tap on the arrow to select the roll you want to calibrate and tap on [Calibrate].
The printer starts the calibration. Two small prints are made that can be disposed. This process
can take several minutes.
3.
When the calibration is finished a message will appear on the operator panel, tap on [OK].
Calibrate the media
120
Chapter 4 - Handle the media
Содержание Colorado M Series
Страница 1: ...Colorado M series Extended operation guide 2023 Canon Production Printing ...
Страница 9: ...Chapter 1 Introduction ...
Страница 17: ...Instruction videos Available documentation Chapter 1 Introduction 17 ...
Страница 20: ...Optional features 20 Chapter 1 Introduction ...
Страница 21: ...Chapter 2 Safety information ...
Страница 32: ...Safety System 32 Chapter 2 Safety information ...
Страница 33: ...Chapter 3 Explore the system ...
Страница 40: ...The components of the printer top cover open 40 Chapter 3 Explore the system ...
Страница 41: ...Chapter 4 Handle the media ...
Страница 70: ...FLXfinish in the RIP 70 Chapter 4 Handle the media ...
Страница 165: ...Chapter 5 Print a job ...
Страница 174: ...Use the PRISMAsync Remote Control app 174 Chapter 5 Print a job ...
Страница 175: ...Chapter 6 Maintain the system ...
Страница 206: ...6 Unscrew the six green screws of the mirror boxes manually Clean the mirrors 206 Chapter 6 Maintain the system ...
Страница 249: ...Chapter 7 Improve quality ...
Страница 259: ...Chapter 8 Configure the network and security settings ...
Страница 290: ...Enable system installation from USB 290 Chapter 8 Configure the network and security settings ...
Страница 291: ...Chapter 9 Troubleshooting and support ...
Страница 309: ...Install a license via ORS Chapter 9 Troubleshooting and support 309 ...
Страница 313: ...Install a license received via e mail Chapter 9 Troubleshooting and support 313 ...
Страница 342: ...No gradual variation vertical banding Vertical banding 342 Chapter 9 Troubleshooting and support ...
Страница 363: ...Chapter 10 Regulation Notices ...
Страница 377: ......


