


72
Appendices
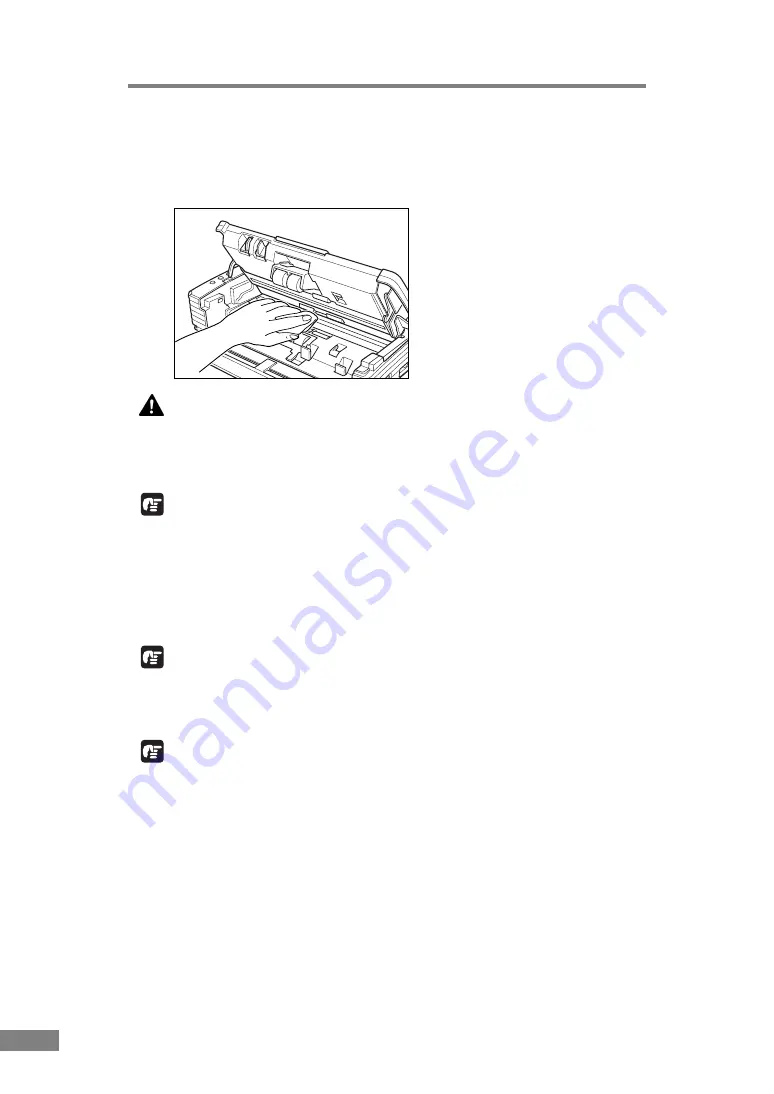
2.
Use a blower to keep the interior of the scanner free of dust and paper particles.
3.
Use a clean dry cloth to wipe dirt off the sensor glass.
Wipe both the top and bottom sensor glasses.
CAUTION
Do not use spray type cleaners to clean the scanner. Precision
mechanisms, such as the light source, may get wet which will
cause a malfunction.
IMPORTANT
Scratches on the sensor glass may cause marks on the images and could cause
feeding errors. If there are scratches on the sensor glass, contact your local
authorized Canon dealer or service representative.
4.
Use a commercially available cotton swab to clean off any dirt from the
shading boards at the front and back of the sensor glasses.
IMPORTANT
Wipe both the top and bottom shading boards.
5.
Wipe the rollers with a firmly wrung cloth moistened with water.
IMPORTANT
• Do not use detergent to clean the rollers, since any detergent on the rollers
could cause a feeding error.
• If you cannot freely rotate the rollers, do not force them to rotate. Just clean
the part that you can see. Forcing the rollers to rotate may cause a feeding
error.
6.
Remove the roller unit and retard roller. (See “Removing and Attaching the
Feed Roller,” on p. 79.)
Содержание 0080B002
Страница 46: ...42 Using the Scanner 3 Double click Scanners and Cameras 4 Select CANON DR 2580C USB and then click Properties ...
Страница 47: ...Using the Scanner 43 Chapter 2 Canon DR 2580C USB Properties is displayed 5 Click the Events tab ...
Страница 56: ...52 Using the Scanner 3 Double click Scanners and Cameras 4 Select CANON DR 2580C USB and then click Properties ...
Страница 57: ...Using the Scanner 53 Chapter 2 CANON DR 2580C USB Properties is displayed 2 Click the Maintenance tab ...
Страница 72: ...68 Using the Scanner ...
Страница 80: ...76 Appendices 3 Double click Scanners and Cameras 4 Select CANON DR 2580C USB and then click Properties ...
Страница 81: ...Appendices 77 Chapter 3 Canon DR 2580C USB Properties is displayed 2 Click the Maintenance tab ...
Страница 103: ...Appendices 99 Chapter 3 3 After uninstallation is complete click the Finish button to exit the uninstaller ...


