40
Using the Scanner
3.
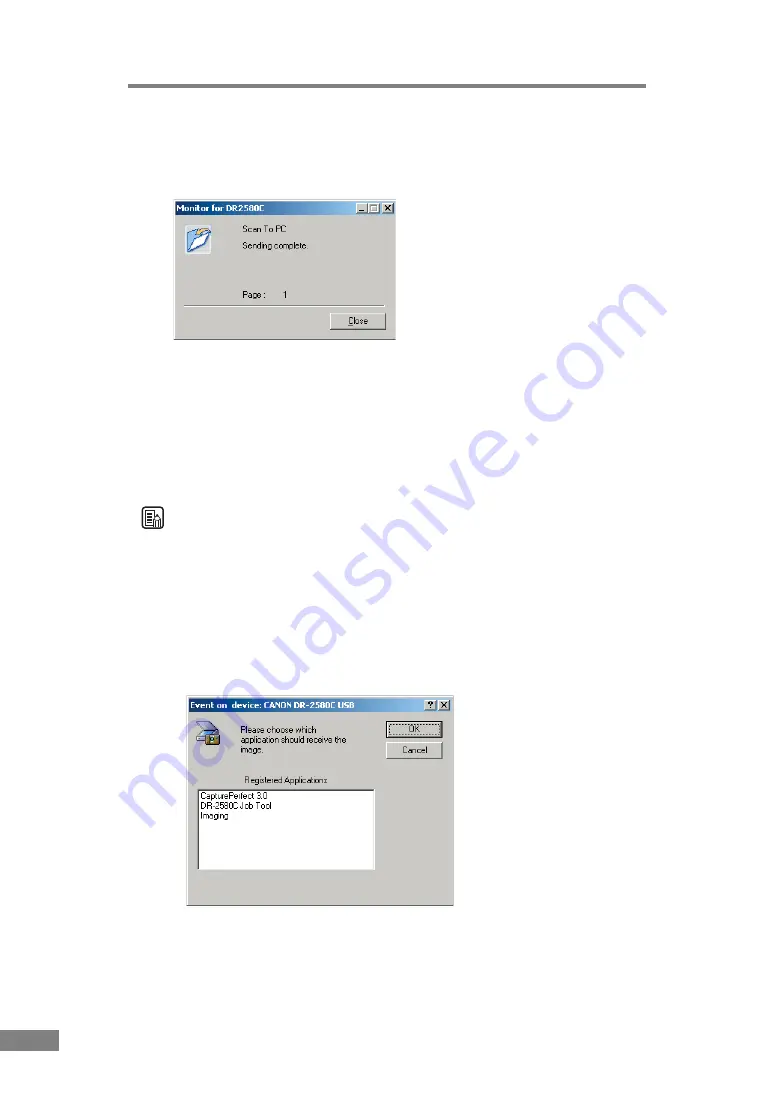
When there are no more document sheets, the image data is transferred
according to the specified conditions.
[Sending complete] is displayed on the “Monitor for DR2580C.”
4.
Click [Close] to close the “Monitor for DR2580C.”
About the Launcher
Only applications supported by the Windows event function can be started
with the Job Function’s [Launcher]. To use the [Launcher], specify one
application in advance to be started according to the event settings.
Note
• Depending on the application, it may not operate normally with the
[Launcher].
• In the initial status of the DR-2580C immediately after setup, all the
applications the event function supported are enabled. At this point, if no
event settings are changed, the following dialog box is displayed when the
[Launcher] is executed.
When this dialog box is displayed, you can either select and start an
application or click [Cancel] to change the event settings.
Содержание 0080B002
Страница 46: ...42 Using the Scanner 3 Double click Scanners and Cameras 4 Select CANON DR 2580C USB and then click Properties ...
Страница 47: ...Using the Scanner 43 Chapter 2 Canon DR 2580C USB Properties is displayed 5 Click the Events tab ...
Страница 56: ...52 Using the Scanner 3 Double click Scanners and Cameras 4 Select CANON DR 2580C USB and then click Properties ...
Страница 57: ...Using the Scanner 53 Chapter 2 CANON DR 2580C USB Properties is displayed 2 Click the Maintenance tab ...
Страница 72: ...68 Using the Scanner ...
Страница 80: ...76 Appendices 3 Double click Scanners and Cameras 4 Select CANON DR 2580C USB and then click Properties ...
Страница 81: ...Appendices 77 Chapter 3 Canon DR 2580C USB Properties is displayed 2 Click the Maintenance tab ...
Страница 103: ...Appendices 99 Chapter 3 3 After uninstallation is complete click the Finish button to exit the uninstaller ...


