Using the Scanner
19
Chapter 2
• When using the U-Turn path to scan a document that is longer than 11.7"
(297 mm), use the bypass mode and feed pages one at a time. Attempting to
use the U-Turn path for continuous feed scanning of a document that is
longer than 11.7" (297 mm) can cause the document pages to fall onto the
feed tray and become jammed in the scanner.
• Scanning documents before the ink is dry can cause problems with the
scanner. Always make sure that the ink on a document is dry before scanning
it.
• Scanning documents that are written in pencil or similar material can make
the rollers dirty, which can then transfer the dirt to subsequent documents.
Always clean the rollers after scanning a document written in pencil.
• When scanning a two-sided document that is printed on thin paper, the image
on the opposite side of each page may show through. Adjust the scanning
intensity in the application software before scanning the document.
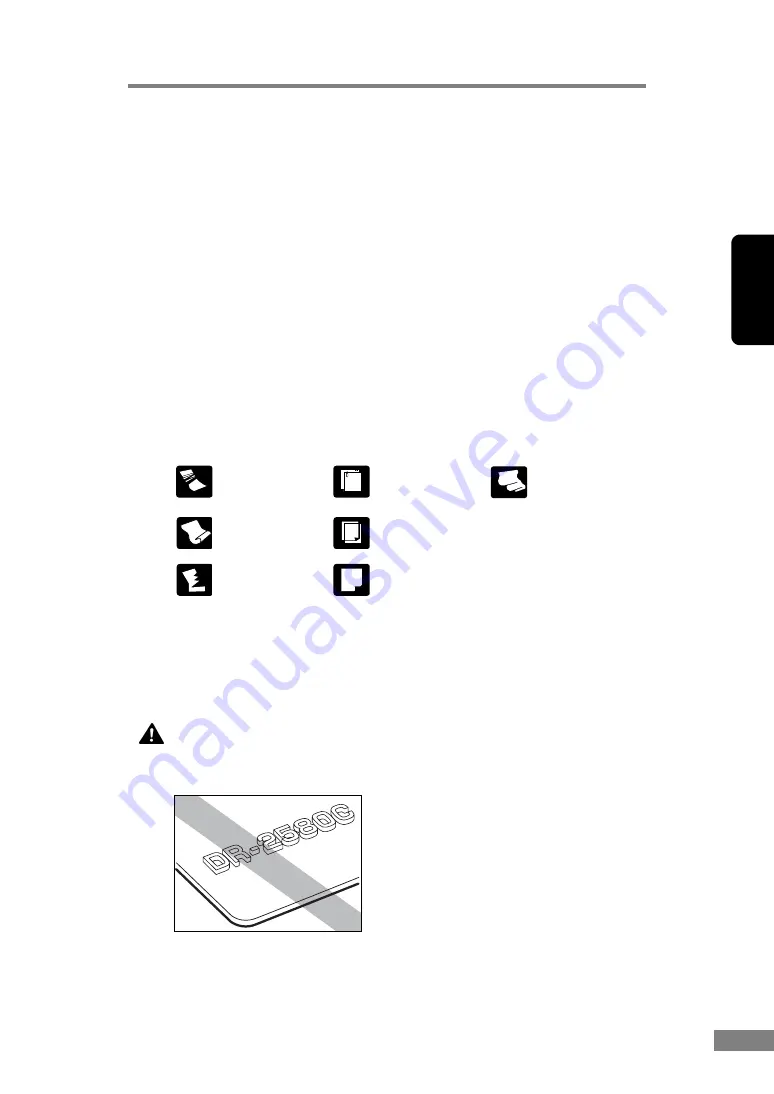
• Scanning the following types of documents can cause a paper jam or
malfunction. To scan such a document, make a photocopy of the document
and then scan the photocopy.
• Note that glossy documents or business card sometimes cannot be scanned
correctly, or functions such as paper size detection and deskew do not
function properly due to reflected light.
• When scanning business cards, make sure to select the bypass mode and
straight path.
CAUTION
The results of scanning embossed cards are not guaranteed. Note
that scanning embossed cards may scratch the sensor glass.
Wrinkled or
creased documents
Documents with
paper clips or
staples
Extremely thin,
translucent paper
Curled document
Carbon paper
Torn documents
Coated paper
Embossed Card
Содержание 0080B002
Страница 46: ...42 Using the Scanner 3 Double click Scanners and Cameras 4 Select CANON DR 2580C USB and then click Properties ...
Страница 47: ...Using the Scanner 43 Chapter 2 Canon DR 2580C USB Properties is displayed 5 Click the Events tab ...
Страница 56: ...52 Using the Scanner 3 Double click Scanners and Cameras 4 Select CANON DR 2580C USB and then click Properties ...
Страница 57: ...Using the Scanner 53 Chapter 2 CANON DR 2580C USB Properties is displayed 2 Click the Maintenance tab ...
Страница 72: ...68 Using the Scanner ...
Страница 80: ...76 Appendices 3 Double click Scanners and Cameras 4 Select CANON DR 2580C USB and then click Properties ...
Страница 81: ...Appendices 77 Chapter 3 Canon DR 2580C USB Properties is displayed 2 Click the Maintenance tab ...
Страница 103: ...Appendices 99 Chapter 3 3 After uninstallation is complete click the Finish button to exit the uninstaller ...


