S-7300A
8. REPLACING PARTS
147
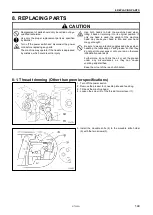
8-2. Thread trimming knife (Premier specifications)
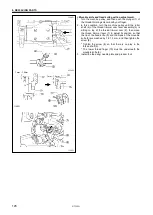
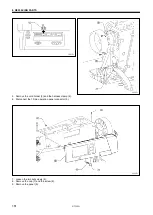
1. Turn off the power switch.
2. Remove the presser foot, needle plate and feed dog.
3. Tilt back the machine head.
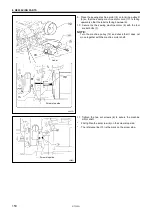
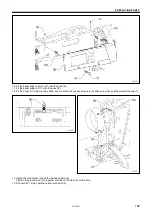
4. Loosen the screw (2) of the thread trimmer lever (1) and
the screw (4) of the upper knife lever (3).
(This will allow the upper and lower knife holders and the
needle bar mechanism to operate independently.)
5. Install the lower knife (6) to the lower knife holder (7) with
the two screws (5).
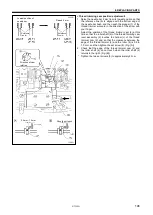
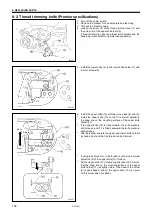
6. Install the upper knife (10) with the two screws (8) and (9).
*
Install the upper knife (10) so that it is almost parallel to
the ridge line on the mounting surface of the upper knife
holder (11).
*
If the upper knife (10) is tilted forward, the knife pressure
will increase, and if it is tilted backward, the knife pressure
will decrease.
*
After adjusting, operate the upper and lower knife holders
by hand and check that the thread can be trimmed.
*
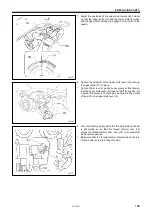
If using thick thread, or if the thread is not being trimmed,
adjust the tilt of the upper knife (10) forward.
*
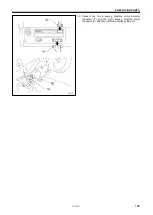
Tilt the upper knife (10) forward slightly (about 0.3 mm) so
that the ridge line on the mounting surface of the upper
knife holder (11) is slightly visible. (The head of the screw
(9) is pan-shaped, and so the upper knife (10) can pivot
on this screw when it is tilted.)
0951D
0952D
Back
Front
Parallel
0950D
Содержание S-7300A
Страница 8: ...S 7300A vi Control box Oil tank Transformer box 100 V 400 V system only 0874D ...
Страница 9: ...S 7300A vii ...
Страница 107: ...S 7300A 6 ASSEMBLY 96 1094D 6 14 Stand 1 Stand L 2 Stands R 3 pcs ...
Страница 174: ...S 7300A 8 REPLACING PARTS 163 15 Install the top cover 1 16 Install the pulley cover 2 1029D 1030D ...

