S-7300A
11. TROUBLESHOOTING
177
Problem
Possible cause
Page
10 Upper and lower threads
are breaking.
・
Is the needle tip bent? Is the needle tip blunt?
If the needle tip is bent or blunt, replace the needle.
・
Is the needle properly installed?
If it is incorrect, install the needle correctly.
・
Is the machine properly threaded?
If it is incorrect, thread the thread correctly.
・
Is the rotary hook sufficiently lubricated?
If the oil gauge is down to the lower reference line in the oil
gauge window, add more oil.
・
Is the upper or lower thread tension too weak or too strong?
Adjust the upper thread or lower thread tension.
・
Is the upper thread may be loose because the thread take-up spring
operating range is too small?
Adjust the position of the thread take-up spring.
・
Is the rotary hook, feed dog or other part damaged?
If the thread path is damaged, smooth it with sandpaper or
similar.
Alternatively, replace the damaged part.
・
Is the thread path damaged?
If the thread path is damaged, smooth it with sandpaper.
Alternatively, replace the damaged part.
Instruction
manual
Instruction
manual
Instruction
manual
Instruction
manual
114*
Instruction
manual
Instruction
manual
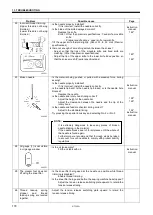
11 Thread breaks during
backtack sewing.
・
Is the backtack sewing speed too fast?
Use the panel to reduce the backtack sewing speed.
Instruction
manual
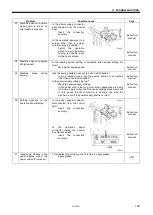
12 Backtack sewing pitch
varies depending on the
sewing direction.
Backtack edge is not
aligned.
Adjust using MSW-201.
11*
13 Thread tightening around
X-over seam areas.
・
Is the height of the feed dog correct?
Increase the feed dog height.
122*
14 Upper thread is pulling out
of the needle after thread
trimming.
・
Is the upper thread trailing length after thread trimming appropriate?
Decrease the tension of the pre-tension.
・
Is the thread path not smooth enough?
Use a file with a fine grain or sandpaper to polish smooth the
thread path.
・
Does the thread being used slip easily?
Turn the needle bar bush thread guide D sideways to increase
the resistance.
・
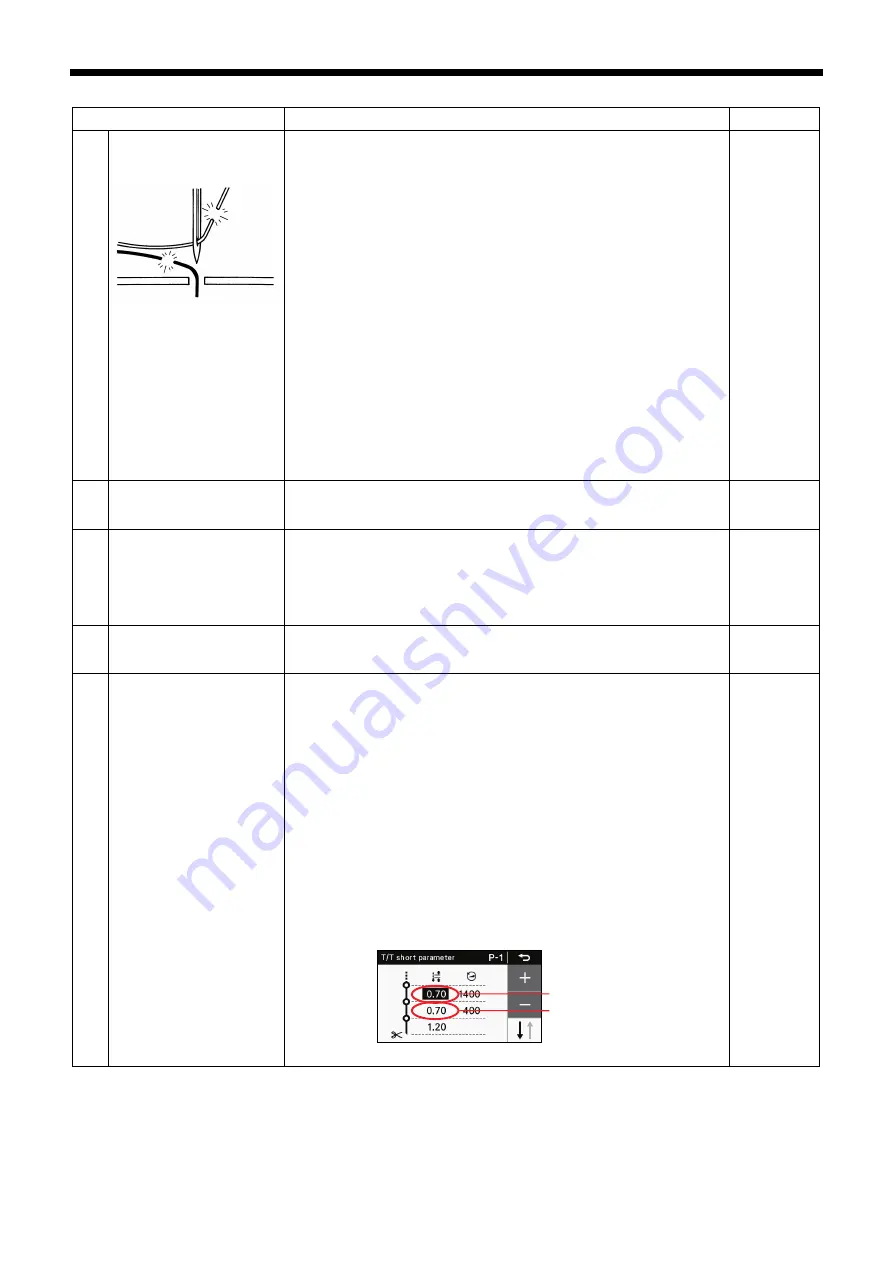
If the upper thread is pulling out of the needle after thread trimming,
check using the method given below.
1. Check the upper thread trailing length.
2. Re-adjust the upper thread trailing length to make it longer.
3. Keep pressing the best PFM mode key, and then select "T/T
short parameter".
(1) Delete the stitch pitch for the previous stitch.
(2) Decrease the sewing speed for the final stitch and the
stitch before it.
135
・
136
Instruction
manual
Instruction
manual
Stitch pitch for 1st stitch
Stitch pitch for 2nd stitch
0471M
Содержание S-7300A
Страница 8: ...S 7300A vi Control box Oil tank Transformer box 100 V 400 V system only 0874D ...
Страница 9: ...S 7300A vii ...
Страница 107: ...S 7300A 6 ASSEMBLY 96 1094D 6 14 Stand 1 Stand L 2 Stands R 3 pcs ...
Страница 174: ...S 7300A 8 REPLACING PARTS 163 15 Install the top cover 1 16 Install the pulley cover 2 1029D 1030D ...

