3-22
¡
Changing the look of the label
Adding frames
Use the Frame function to print borders around an entire label or individual area on a
label. You can choose different framing options for each label in the text buffer, and you
can choose separate options for label frames and area frames:
•
The label frame options let you print a border around the whole label. You can select the
thickness and color of the border lines, as well as the shape of the border.
•
The area frame options let you print a rectangular border around individual areas on a label.
You can select the thickness and color of the border lines, but you cannot choose the border’s
shape.
The size of a label’s frame depends on a variety of factors:
•
Frames adjust horizontally to encompass the longest line of text. However, if a label length is
specified, the entire length of the label is framed.
•
If the label doesn’t contain areas, the frame adjusts vertically based on the amount and size of
the text on the label. The frame is not based on the width of the installed supply.
•
If the label uses a standard layout, the frame’s height is based on the width of the installed
supply regardless of the height of the text.
•
If the label contains areas but does not use a standard layout, the frame’s height is based on the
maximum text height in the area with the most text. However, if the areas are also framed, the
height of the label frame is based on the width of the installed supply, regardless of the height
of the text.
Follow these steps to frame a label or an area on a label:
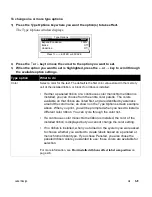
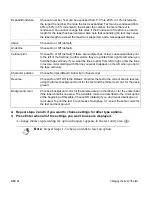
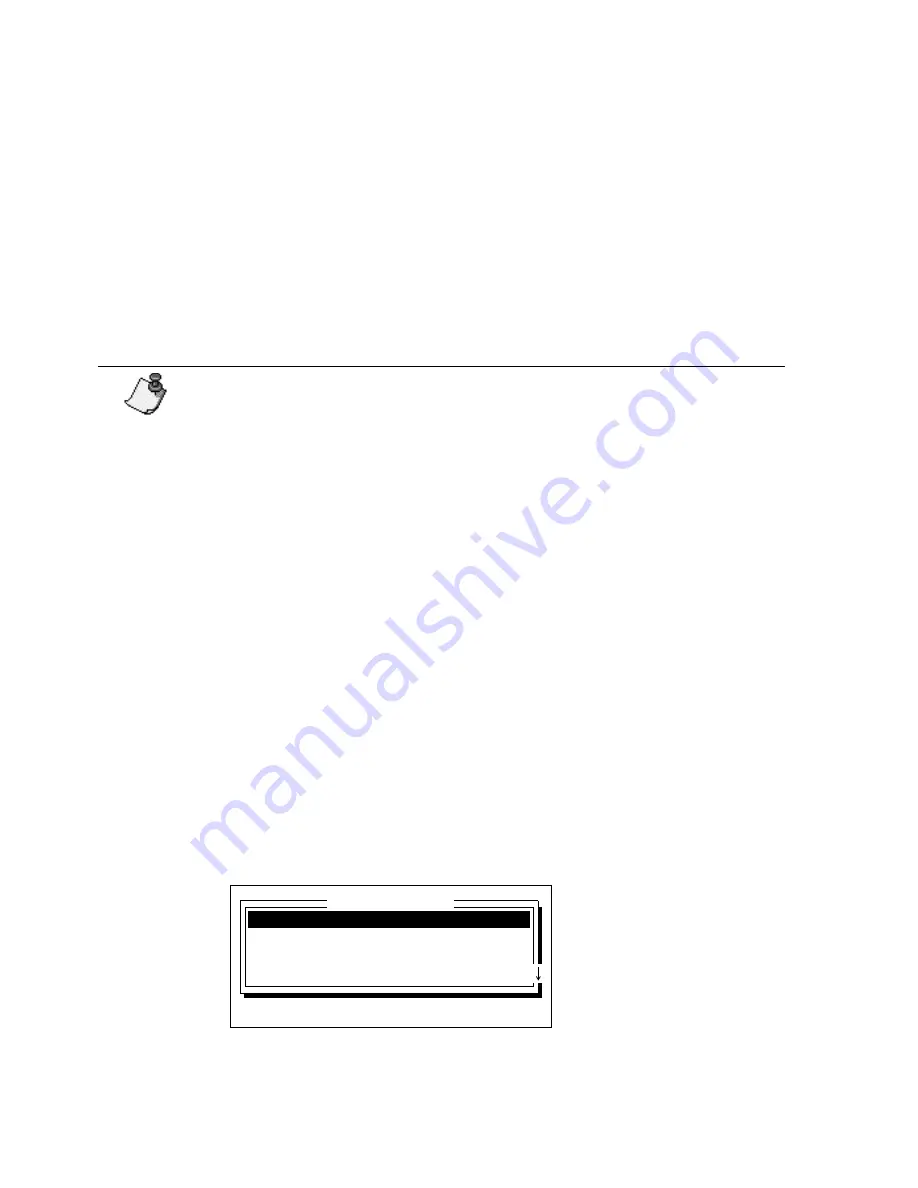
1) Display the label or area you want to frame and press the Frame key.
The Frame Options window displays.
Note:
If you frame areas for a label in which a non-rectangular frame is
used, the label’s frame setting is ignored. A rounded rectangle, ellipse or
arrow label frame won’t print if individual areas on the label are also
framed.
Label:
Off
Label line width:
Thin
Label frame color:
Black
Label frame shape:
Rectangle
Frame Options
Press
↑↓←→
, ENTER or ESC
Содержание POWERMark
Страница 1: ...User s Guide Manuel d utilisation Manual de usauario...
Страница 10: ...x Specifications...
Страница 56: ...2 16 Using specialty applications...
Страница 90: ...3 34 Working with bar codes...
Страница 124: ...7 4 Maintaining the system...
Страница 125: ...1 Signs Application 0...
Страница 126: ...2 Signs Application Differences from standard operating system 1 2 2 2 2 3 4 5 6 1 7 8...
Страница 129: ...Exiting the application 5 Exiting the application 2 2 1 Note 1 Quitting application Are you sure No...
Страница 141: ...Printing signs 17 2 If the Print Range window is displayed specify which signs you want to print 72 9 8 2...
Страница 148: ...1 Hazardous Waste Labels Application 0 1 2...
Страница 149: ...2 Hazardous Waste Labels Application Differences from standard operating system 3 4 5 6 7 8 0 9...
Страница 152: ...Exiting the application 5 Exiting the application 3 8 Note 8 Quitting application Are you sure No...
Страница 168: ...1 Pipe Markers Application 0...
Страница 169: ...2 Pipe Markers Application Differences from standard operating system 1 2 3 40 5 6 7 8 9...
Страница 172: ...Exiting the application 5 Exiting the application 1 2 1 8 Note 8 Quitting application Are you sure No...
Страница 192: ......


