1-18
¡
Using the display screen
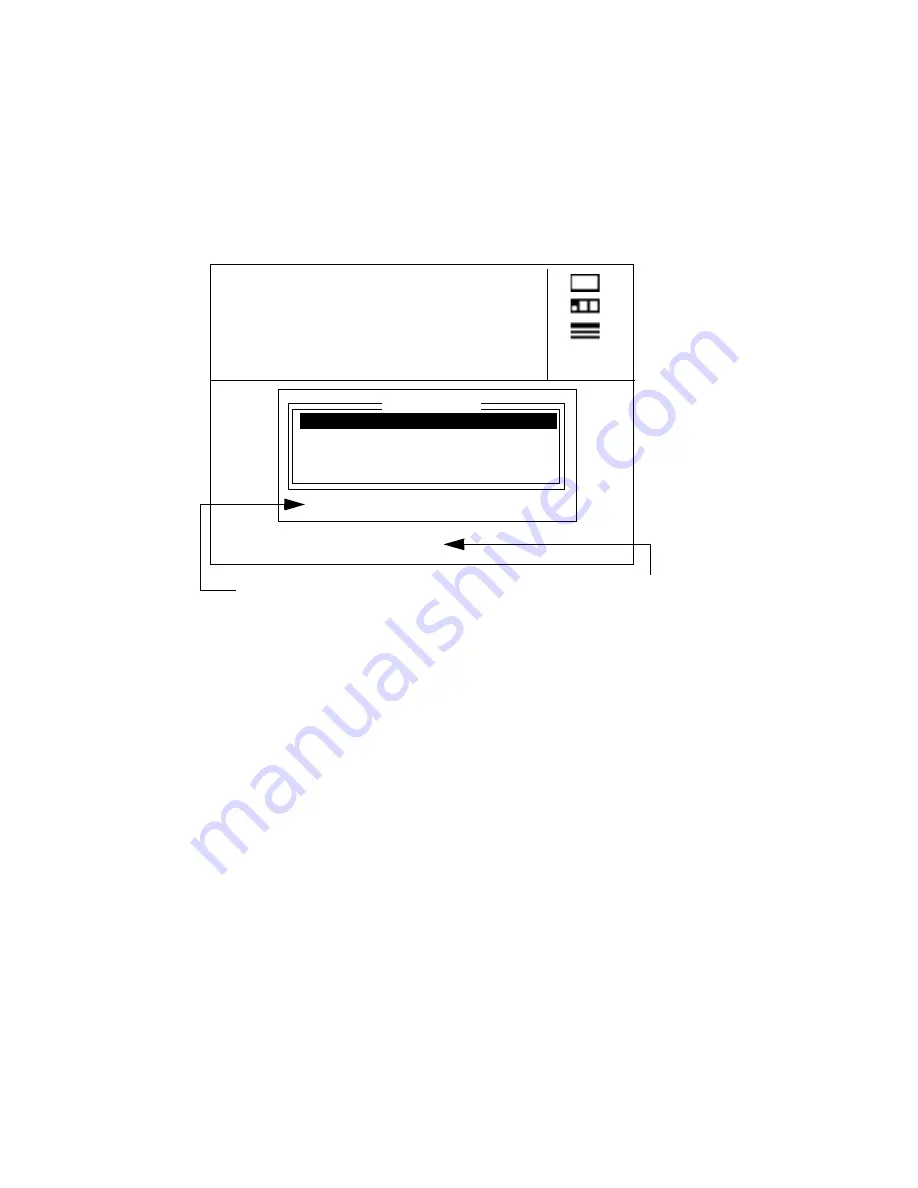
The selection window
The selection window lets you choose options that you want to set and select settings for those
options. When you press a function key on the labeling system keyboard, a selection window with
the same name as the key you pressed displays in the preview area. For example, when you press
the Type Options key, you need to select settings for the options. The window shown below
appears when you press the Type Options key.
In most selection windows, you can use the following keys.
•
Press the up and down arrow keys (
↑
and
↓)
to move the cursor between the options displayed
in the window. If an arrow appears on the right side of the window, the window contains options
that don’t fit in the display. Press the arrow keys to display the additional options.
•
When an option is highlighted, press the left and right arrow keys (
←
and
→)
to display the
choices you can select. Some options, such as underlining, have on/off options. For other
options, such as Justification, you can select from several choices. Continue to press the keys
to scroll through the available choices. The setting that is displayed when you close the window
is the one that will be used.
•
Use the alphanumeric keys on the keyboard to type your choice when an option requires it.
For example, if you are changing the type size, you need to type the size you want to use.
•
Press the Enter key to accept any changes you’ve made in the selection window. The system
then either returns you to the text entry area and redisplays the preview area or carries out the
function you chose. In some cases, additional windows or prompts may appear.
•
Press the Escape key to return to the text entry area without accepting any changes you’ve
made in the selection window.
:
:
:
Color:
*
*Black*
Expand/Condense:100%
Italics:Off
Underline:Off
Type Options
Press
↑↓←→
, ENTER or ESC
The help line below the
selection window displays the
keys that are available.
In some cases, the sample area
shows you the effect of the setting
that’s currently selected.
Aa
High Pressure Steam
13.75”
1
1
1
Содержание POWERMark
Страница 1: ...User s Guide Manuel d utilisation Manual de usauario...
Страница 10: ...x Specifications...
Страница 56: ...2 16 Using specialty applications...
Страница 90: ...3 34 Working with bar codes...
Страница 124: ...7 4 Maintaining the system...
Страница 125: ...1 Signs Application 0...
Страница 126: ...2 Signs Application Differences from standard operating system 1 2 2 2 2 3 4 5 6 1 7 8...
Страница 129: ...Exiting the application 5 Exiting the application 2 2 1 Note 1 Quitting application Are you sure No...
Страница 141: ...Printing signs 17 2 If the Print Range window is displayed specify which signs you want to print 72 9 8 2...
Страница 148: ...1 Hazardous Waste Labels Application 0 1 2...
Страница 149: ...2 Hazardous Waste Labels Application Differences from standard operating system 3 4 5 6 7 8 0 9...
Страница 152: ...Exiting the application 5 Exiting the application 3 8 Note 8 Quitting application Are you sure No...
Страница 168: ...1 Pipe Markers Application 0...
Страница 169: ...2 Pipe Markers Application Differences from standard operating system 1 2 3 40 5 6 7 8 9...
Страница 172: ...Exiting the application 5 Exiting the application 1 2 1 8 Note 8 Quitting application Are you sure No...
Страница 192: ......


