77
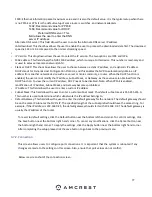
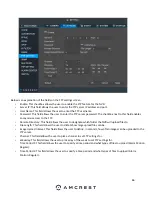
1500: Ethernet information packet maximum value and it is also the default value. It is the typical setup when there
is no PPPoE or VPN. It is the default setup of some routers, switches, and network adapters.
1492: Recommend value for PPPoE
1468: Recommend value for DHCP.
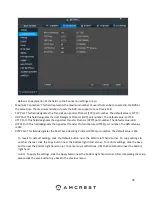
Preferred DNS server: This
field allows the user to enter the DNS
server IP address.
Alternate DNS server: This field allows the user to enter the Alternate DNS server IP address.
LAN download: This checkbox allows the user to enable the user to process the downloaded data first. The download
speed is 1.5X or 2.0X compared to the normal streaming speed.
•
•
IP Version: This dropdown allows the user to select the IP version. The two options are IPV4 and IPV6.
•
MAC address: This field shows the NVR
’s MAC address, which is uniq
ue to this device. This number is read-only and
is used to access a local area network (LAN).
•
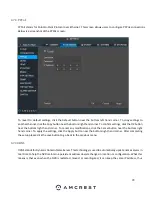
Static vs DHCP: This check box allows the user to choose between a static IP address, and a dynamic IP address.
DHCP stands for Dynamic Host Configuration Protocol, and this enables the NVR to automatically obtain an IP
address from another network device such as a server or more commonly, a router. When the DHCP function is
enabled, the user cannot modify the IP address, Subnet Mask, or Gateway, as these values are obtained from the
DHCP function. To view the current IP address, DHCP needs to be disabled. Note: When PPPoE is enabled,
modification of IP Address, Subnet Mask, and Gateway becomes prohibited.
•
IP Address: This field allows the user to enter a custom IP address.
•
Subnet Mask: This field allows the user to enter a custom subnet mask. The default subnet mask is 255.255.255.0.
This number is used to determine which subnetwork the IP address belongs to.
•
Default Gateway: This field allows the user to enter the default gateway for the network. The default gateway should
be on the same IP subnet as the NVR
’s IP.
The specified length of the subnet prefix should have the same string. For
example, if the IP address is 192.168.0.25, the default gateway should start with 192.168.0.X. The default gateway is
usually the IP address of the router.
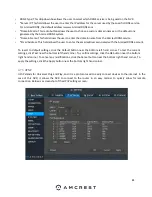
To revert to default settings, click the Default button near the bottom left hand corner. To confirm settings, click
the Save button near the bottom right hand corner. To cancel any modifications, click the Cancel button near
the bottom right hand corner. To apply the settings, click the Apply button near the bottom right hand corner.
After completing the setup please click the save button to go back to the previous menu.
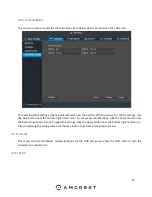
4.7.2. Connection
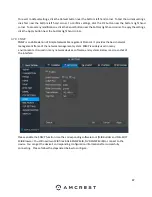
This screen allows users to configure port connections. It is important that the system is rebooted if any
changes are made to the settings on this screen. Also, ensure that port values do not conflict.
Below is a screenshot of the connection screen:
Содержание NV21 Series
Страница 1: ...Network Video Recorder User Manual Version 1 0 4 Revised November 21st 2018 ...
Страница 29: ...29 Now you can go to the smart add interface Click smart add button you can see device enables DHCP function ...
Страница 201: ...201 Figure 5 39 5 9 2 7 Email The email interface is shown as in Figure 5 40 ...
Страница 214: ...214 Figure 5 58 ...
Страница 215: ...215 Figure 5 59 Figure 5 60 Figure 5 61 Figure 5 62 Please refer to the following sheet for detailed information ...
Страница 227: ...227 Figure 5 77 Figure 5 78 ...
Страница 245: ...245 Figure 5 102 5 10 2 Log Here you can view system log See Figure 5 103 Figure 5 103 ...
Страница 257: ...257 3 You will see the Registration Successful message and a confirmation email will be sent to you ...

