32
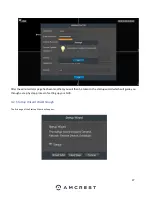
4.2.2. Network
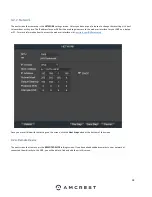
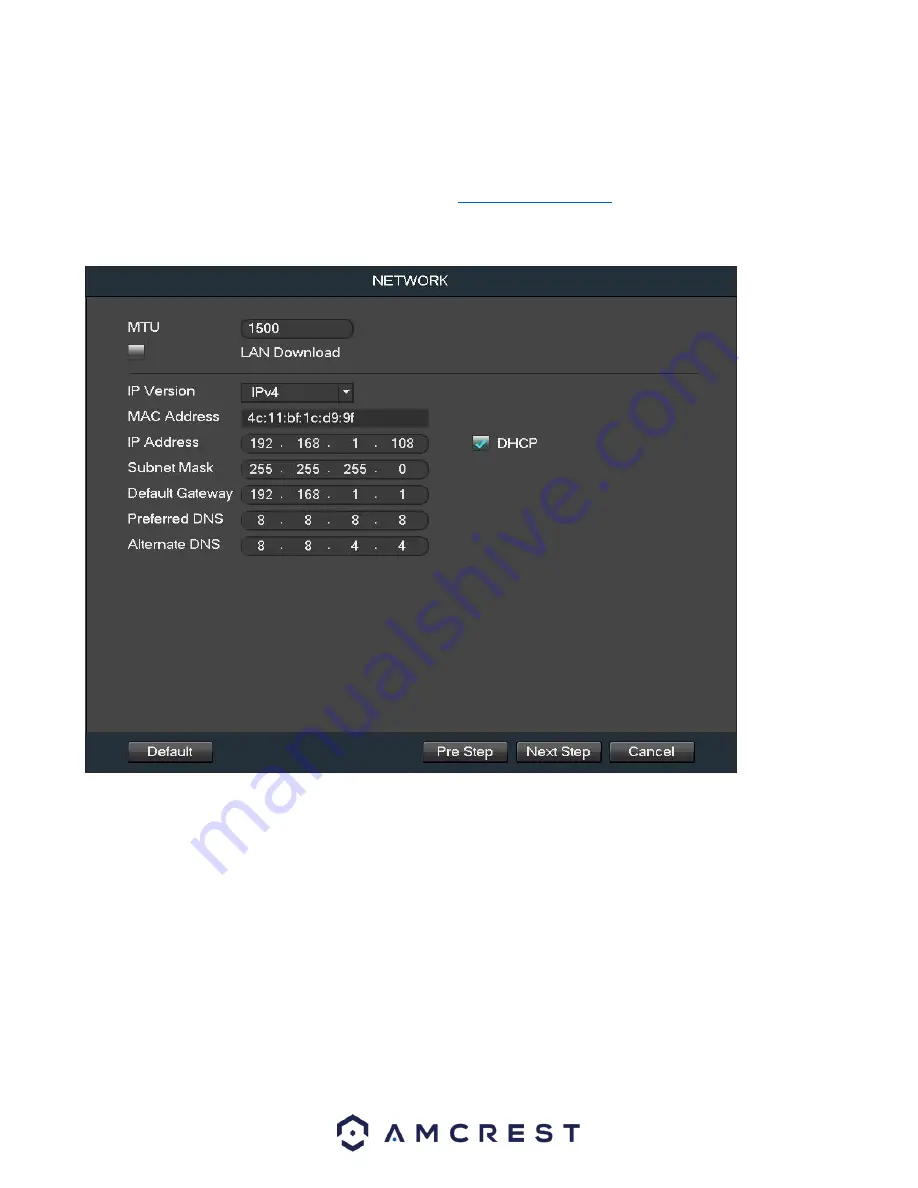
The next screen that comes up is the
NETWORK
settings screen.
Unless you have a specific reason to change these settings, it’s best
to leave them as they are.
The IP address for your NVR will be used to gain access to the web user interface for your NVR on a laptop
or PC. For more information how to access the web user interface visit:
amcrest.com/NVRwebsetup
Once you are satisfied with the settings on this screen, click the
Next Step
button at the bottom of the screen.
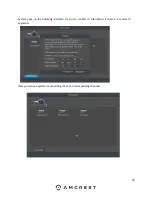
4.2.3. Remote Device
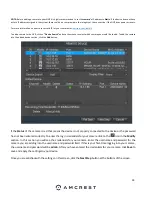
The next screen that comes up is the
REMOTE DEVICE
settings screen. If you have already added cameras to your network or
connected them directly to this NVR, you will be able to find and add them in this menu.
Содержание NV21 Series
Страница 1: ...Network Video Recorder User Manual Version 1 0 4 Revised November 21st 2018 ...
Страница 29: ...29 Now you can go to the smart add interface Click smart add button you can see device enables DHCP function ...
Страница 201: ...201 Figure 5 39 5 9 2 7 Email The email interface is shown as in Figure 5 40 ...
Страница 214: ...214 Figure 5 58 ...
Страница 215: ...215 Figure 5 59 Figure 5 60 Figure 5 61 Figure 5 62 Please refer to the following sheet for detailed information ...
Страница 227: ...227 Figure 5 77 Figure 5 78 ...
Страница 245: ...245 Figure 5 102 5 10 2 Log Here you can view system log See Figure 5 103 Figure 5 103 ...
Страница 257: ...257 3 You will see the Registration Successful message and a confirmation email will be sent to you ...


