47
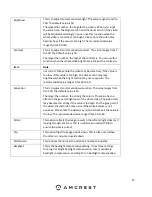
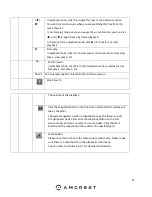
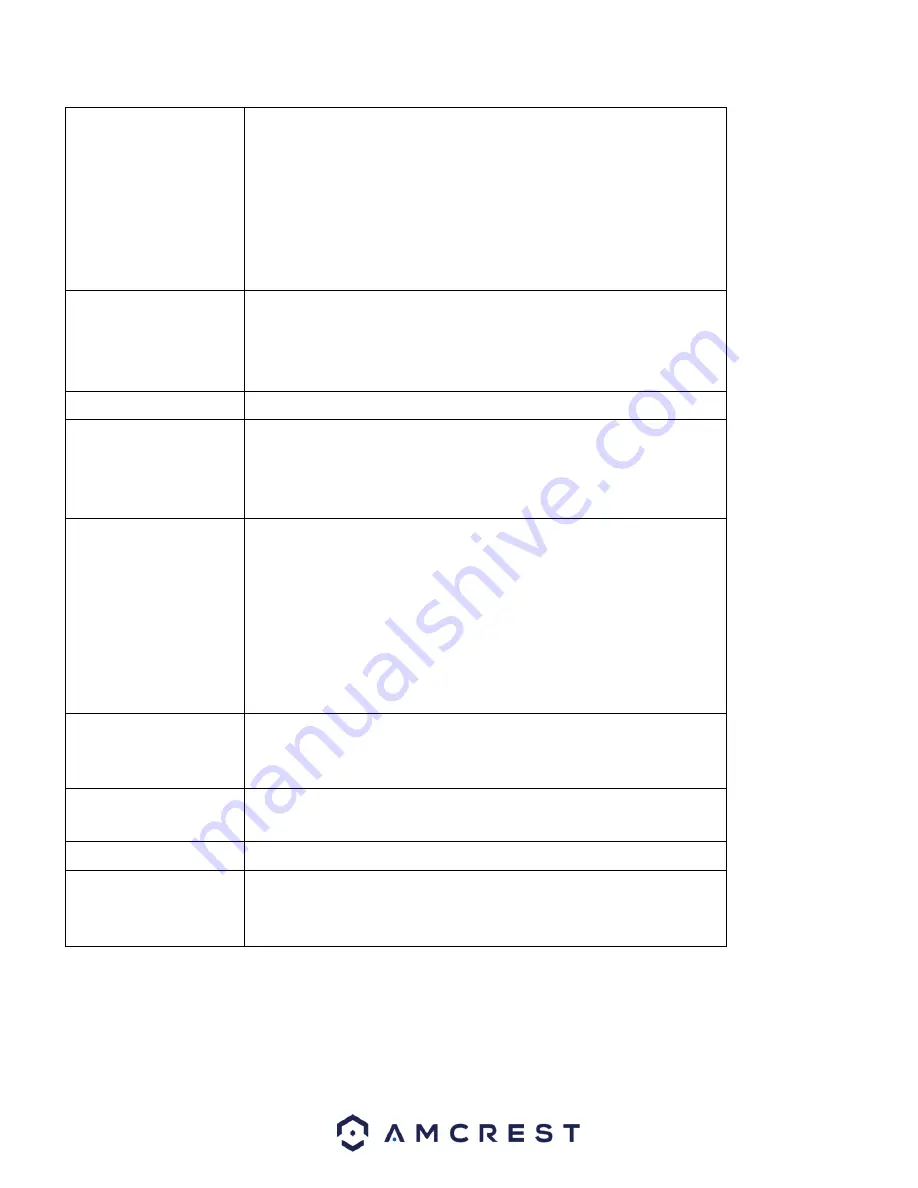
Brightness
This is to adjust monitor window bright. The value ranges from 0 to
100. The default value is 50.
The larger the number, the brighter the video is. When you input
the value here, the bright section and the dark section of the video
will be adjusted accordingly. You can use this function when the
whole video is too dark or too bright. Please note the video may
become hazy if the value is too high. The recommended value
ranges from 40 to 60.
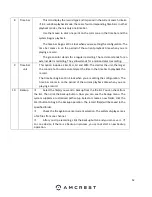
Contrast
This is to adjust monitor window contrast. The value ranges from 0
to 100. The default value is 50.
The larger the number, the higher the contrast is. You can use this
function when the whole video brightness is OK but the contrast is
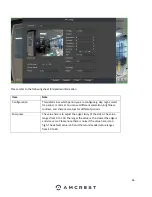
Item
Note
not correct. Please note the video may become hazy if the value is
too low. If this value is too high, the dark section may lack
brightness while the bright section may over exposure. The
recommended value ranges from 40 to 60.
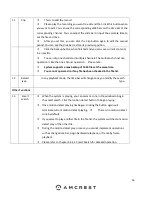
Saturation
This is to adjust monitor window saturation. The value ranges from
0 to 100. The default value is 50.
The larger the number, the strong the color is. This value has no
effect on the general brightness of the whole video. The video color
may become too strong if the value is too high. For the grey part of
the video, the distortion may occur if the white balance is not
accurate. Please note the video may not be attractive if the value is
too low. The recommended value ranges from 40 to 60.
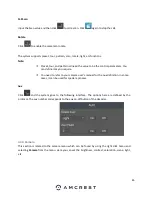
Mirror
This option reflects the image to switch the left and right sides (as if
looking through a mirror). This is useful when used with Flip to
ensure the view is correct.
Flip
This option flips the image upside down. This is often used when
the camera is mounted upside down.
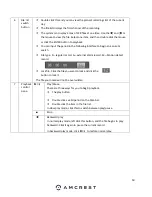
3D Denoise
This reduces the noise in the video to enhance the quality.
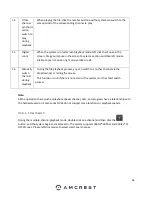
Backlight
This is the backlight compensation setting. It has three settings
for a High or bright backlight compensation, Low or moderate
backlight compensation, and Stop for no backlight compensation.
Содержание NV21 Series
Страница 1: ...Network Video Recorder User Manual Version 1 0 4 Revised November 21st 2018 ...
Страница 29: ...29 Now you can go to the smart add interface Click smart add button you can see device enables DHCP function ...
Страница 201: ...201 Figure 5 39 5 9 2 7 Email The email interface is shown as in Figure 5 40 ...
Страница 214: ...214 Figure 5 58 ...
Страница 215: ...215 Figure 5 59 Figure 5 60 Figure 5 61 Figure 5 62 Please refer to the following sheet for detailed information ...
Страница 227: ...227 Figure 5 77 Figure 5 78 ...
Страница 245: ...245 Figure 5 102 5 10 2 Log Here you can view system log See Figure 5 103 Figure 5 103 ...
Страница 257: ...257 3 You will see the Registration Successful message and a confirmation email will be sent to you ...

